Downloaded 1,148 times


Microsoft Word 2007 is a powerful word processing program used to create professional documents like newsletters and books. It has ribbon tabs for common tasks like formatting text on the Home tab and inserting images on the Insert tab. Word allows you to add borders, pictures, tables, and other elements and format text using various tools on the ribbon tabs. Common formatting options include changing font, size, style, and alignment.
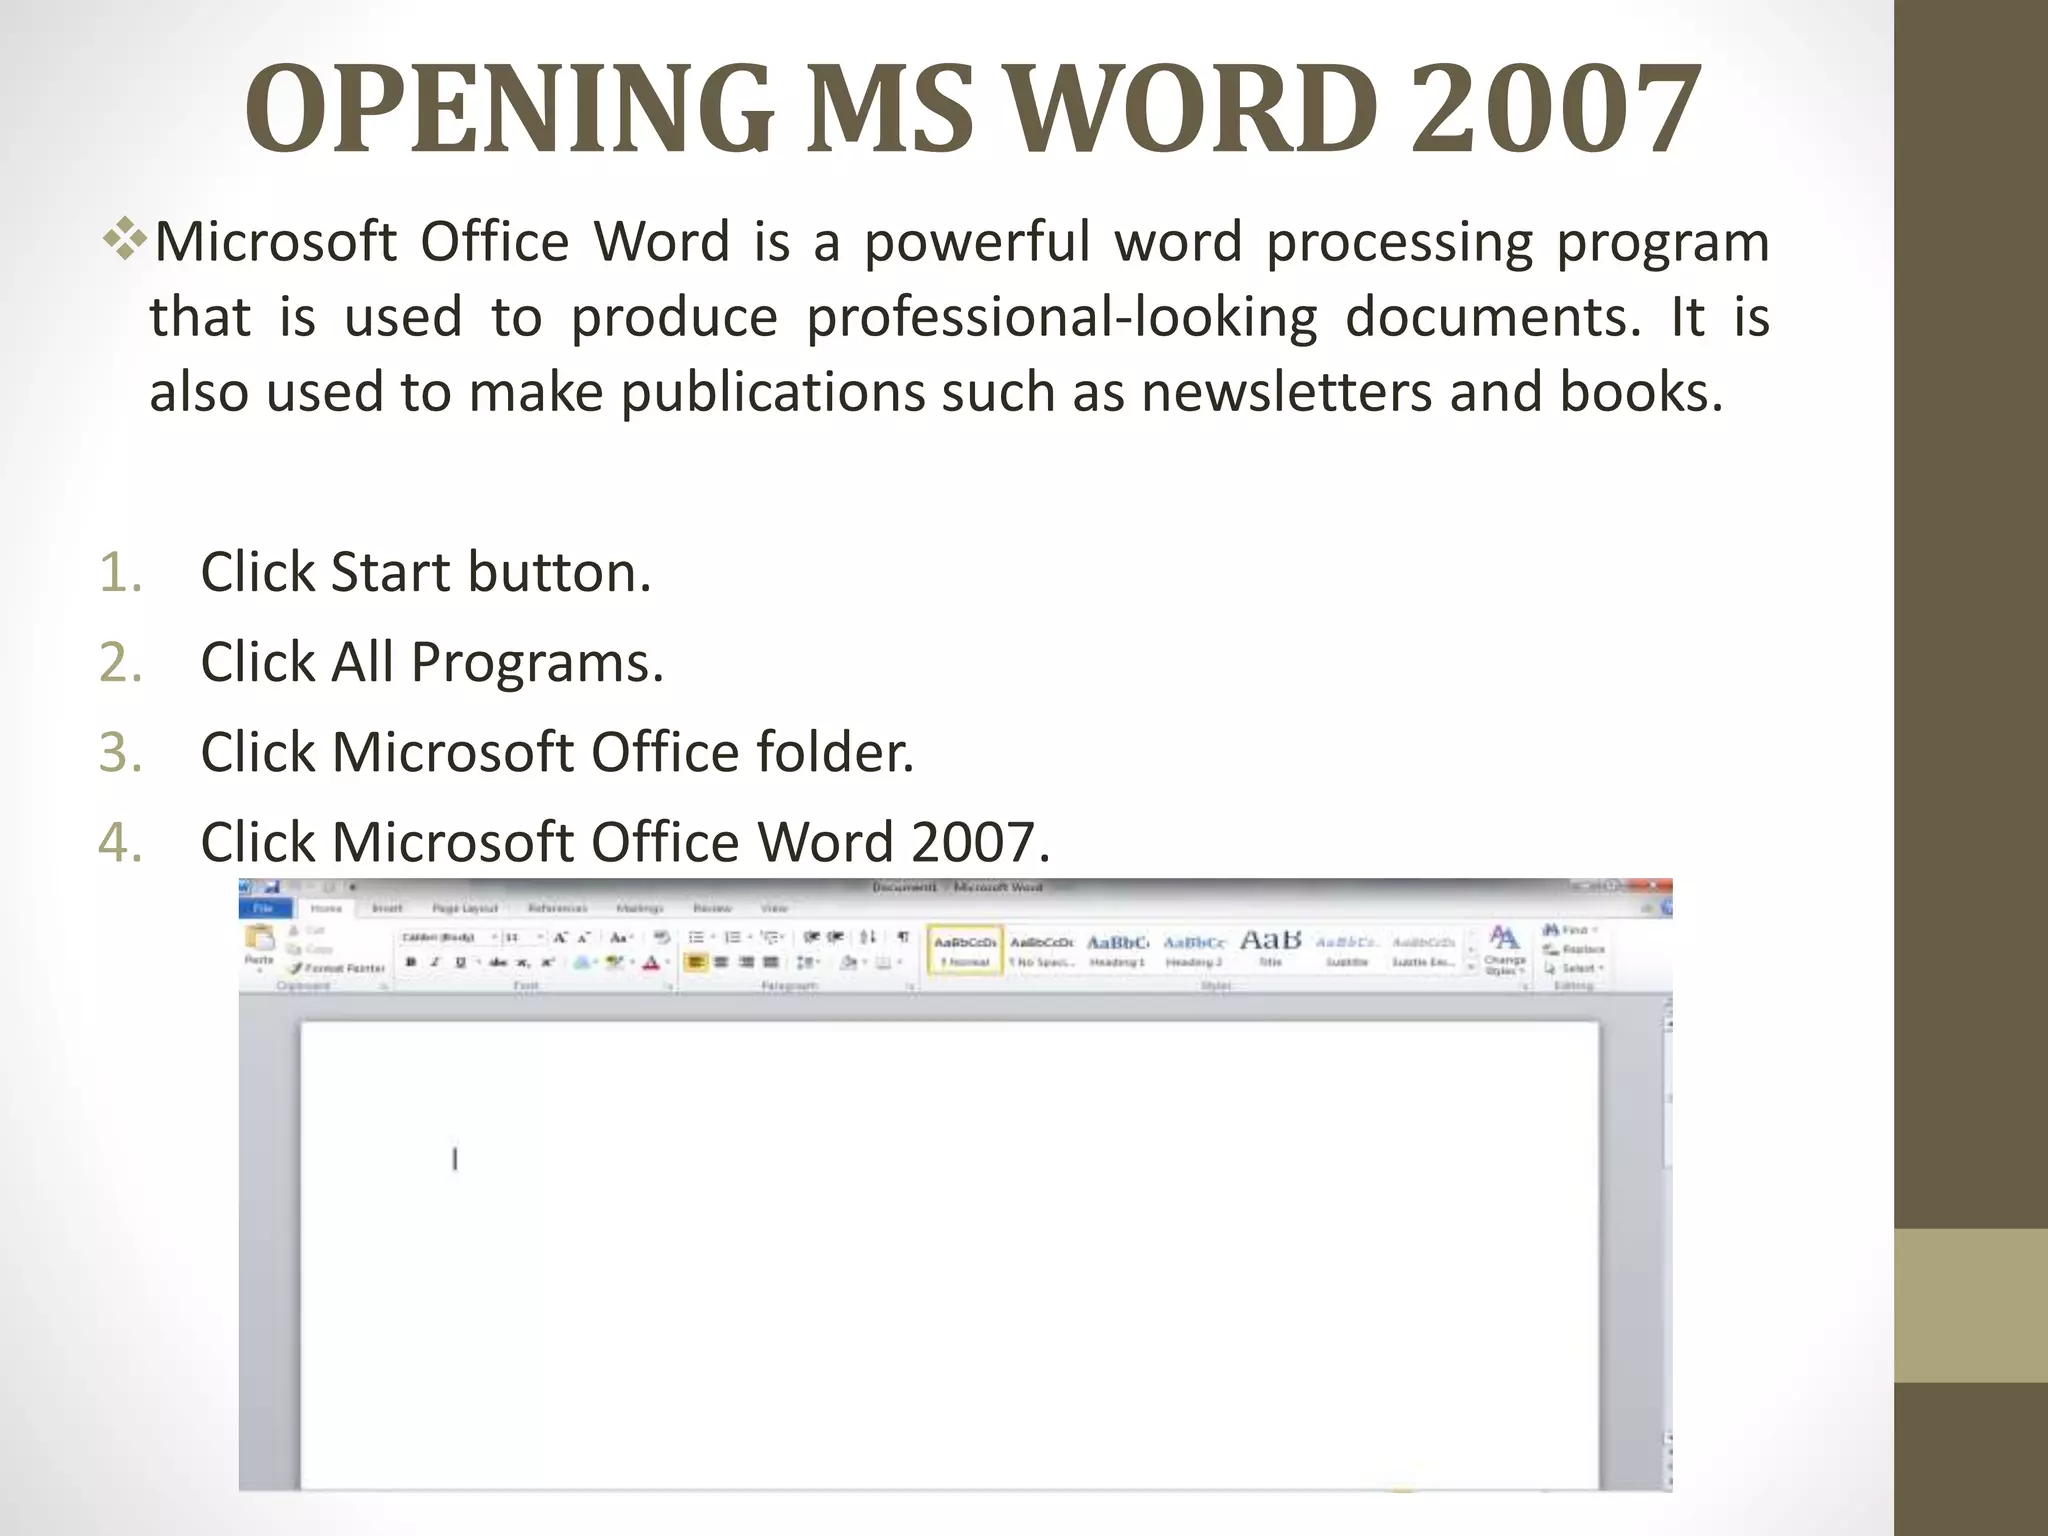
Introduction to Microsoft Word 2007, a powerful word processing tool for documents and publications. Steps to open MS Word.
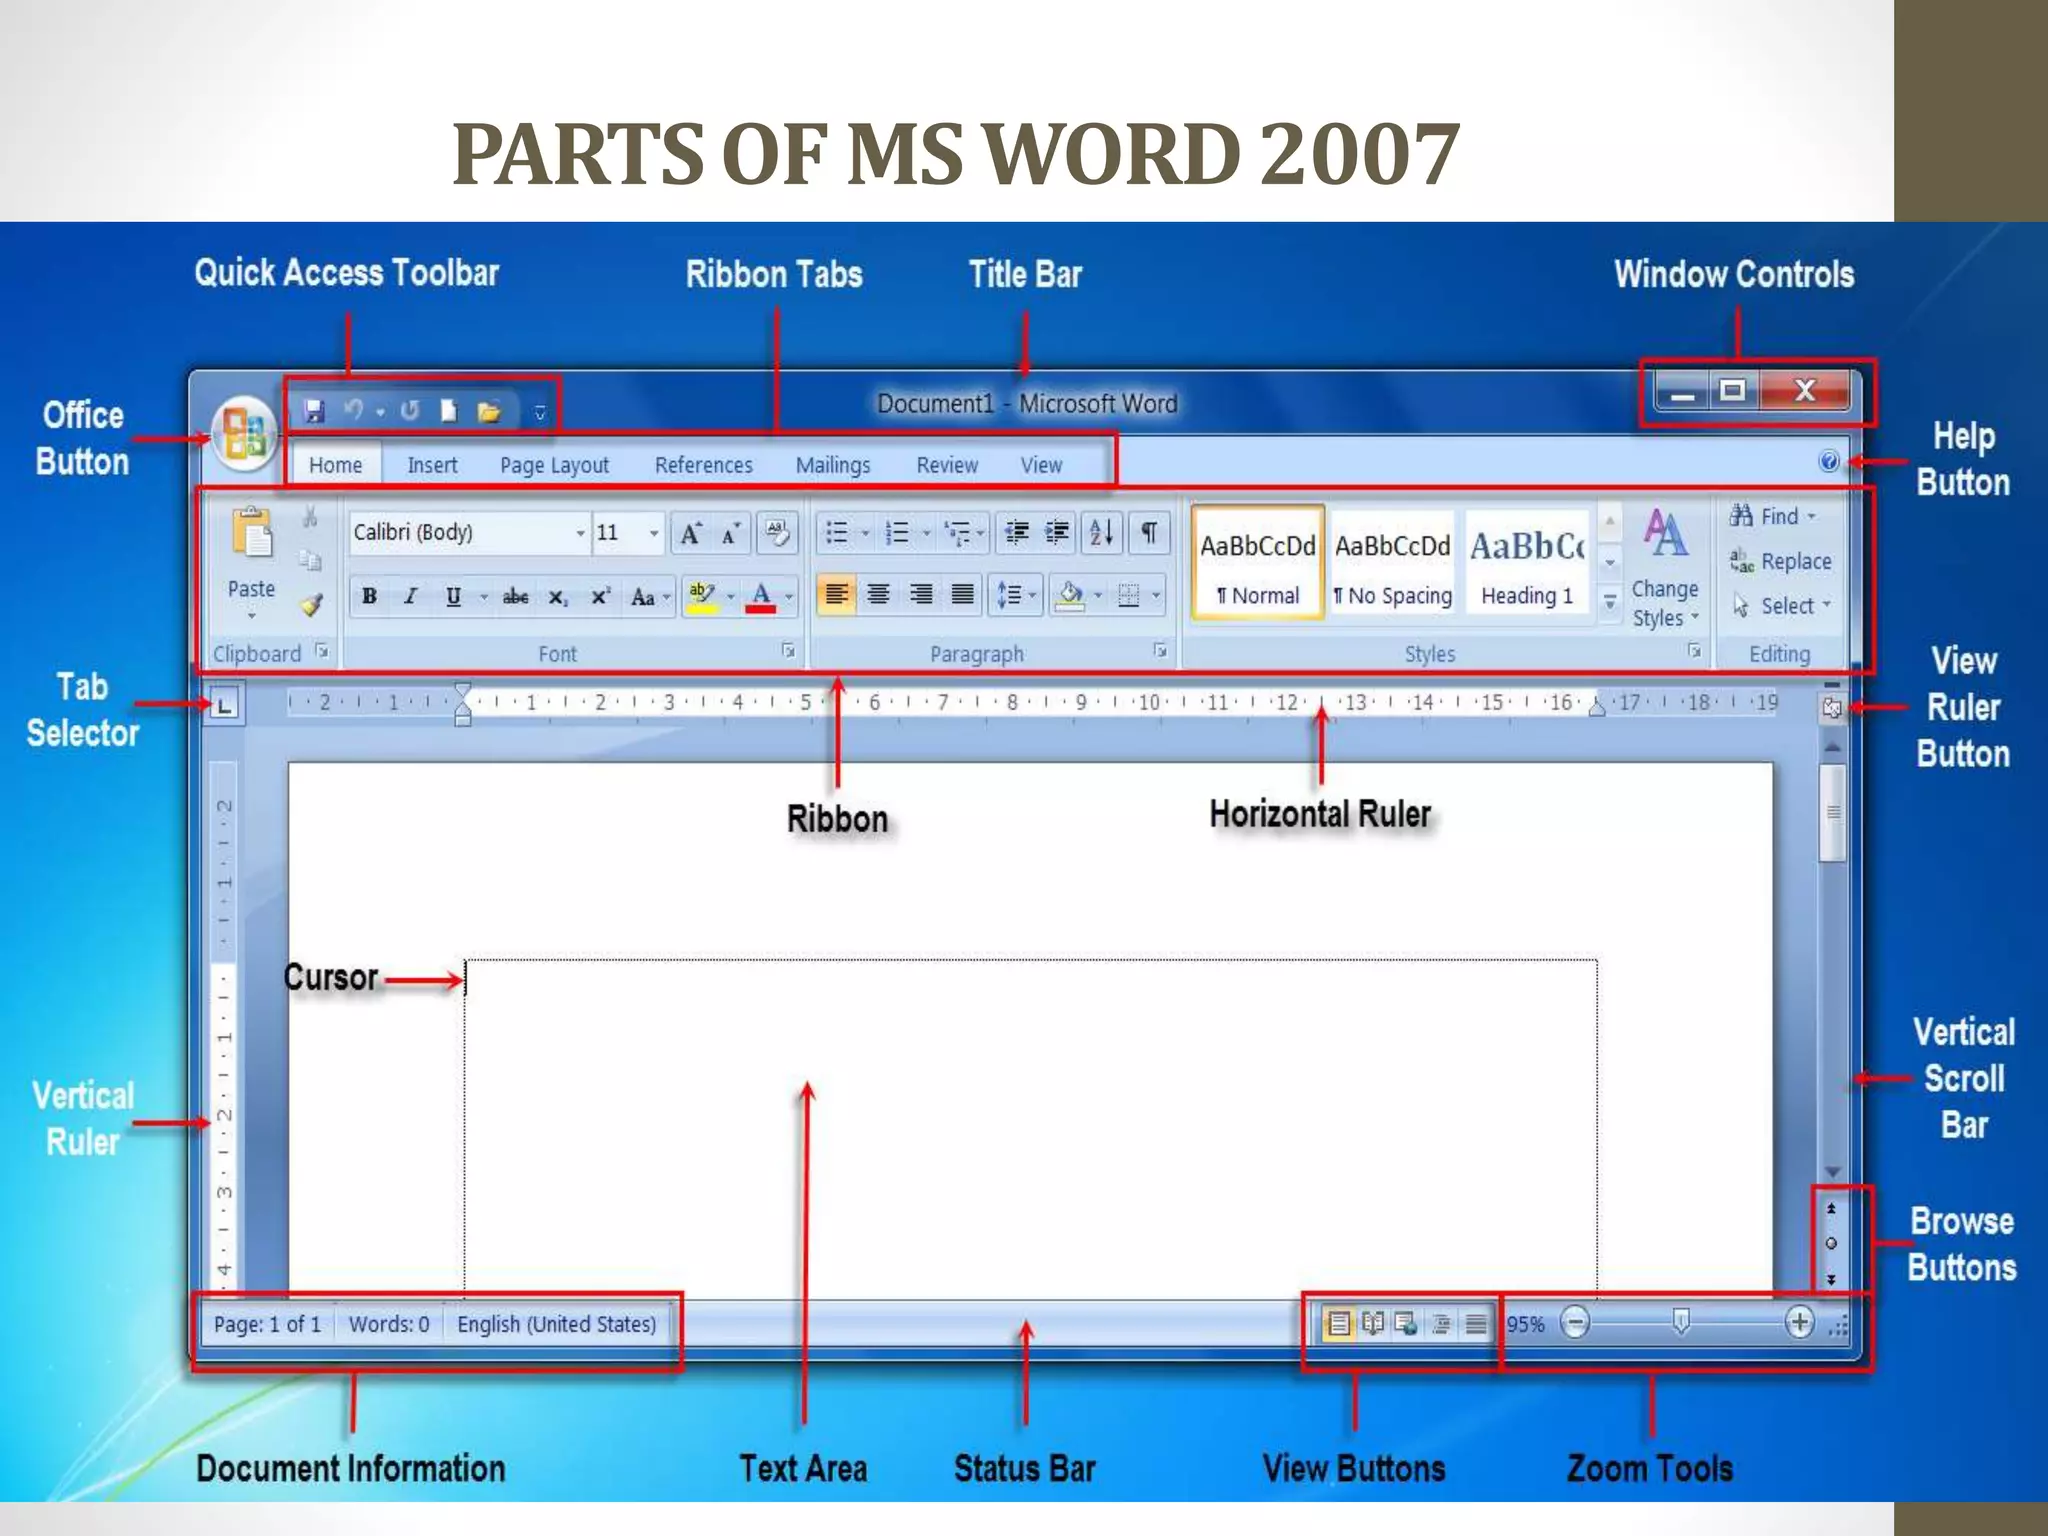
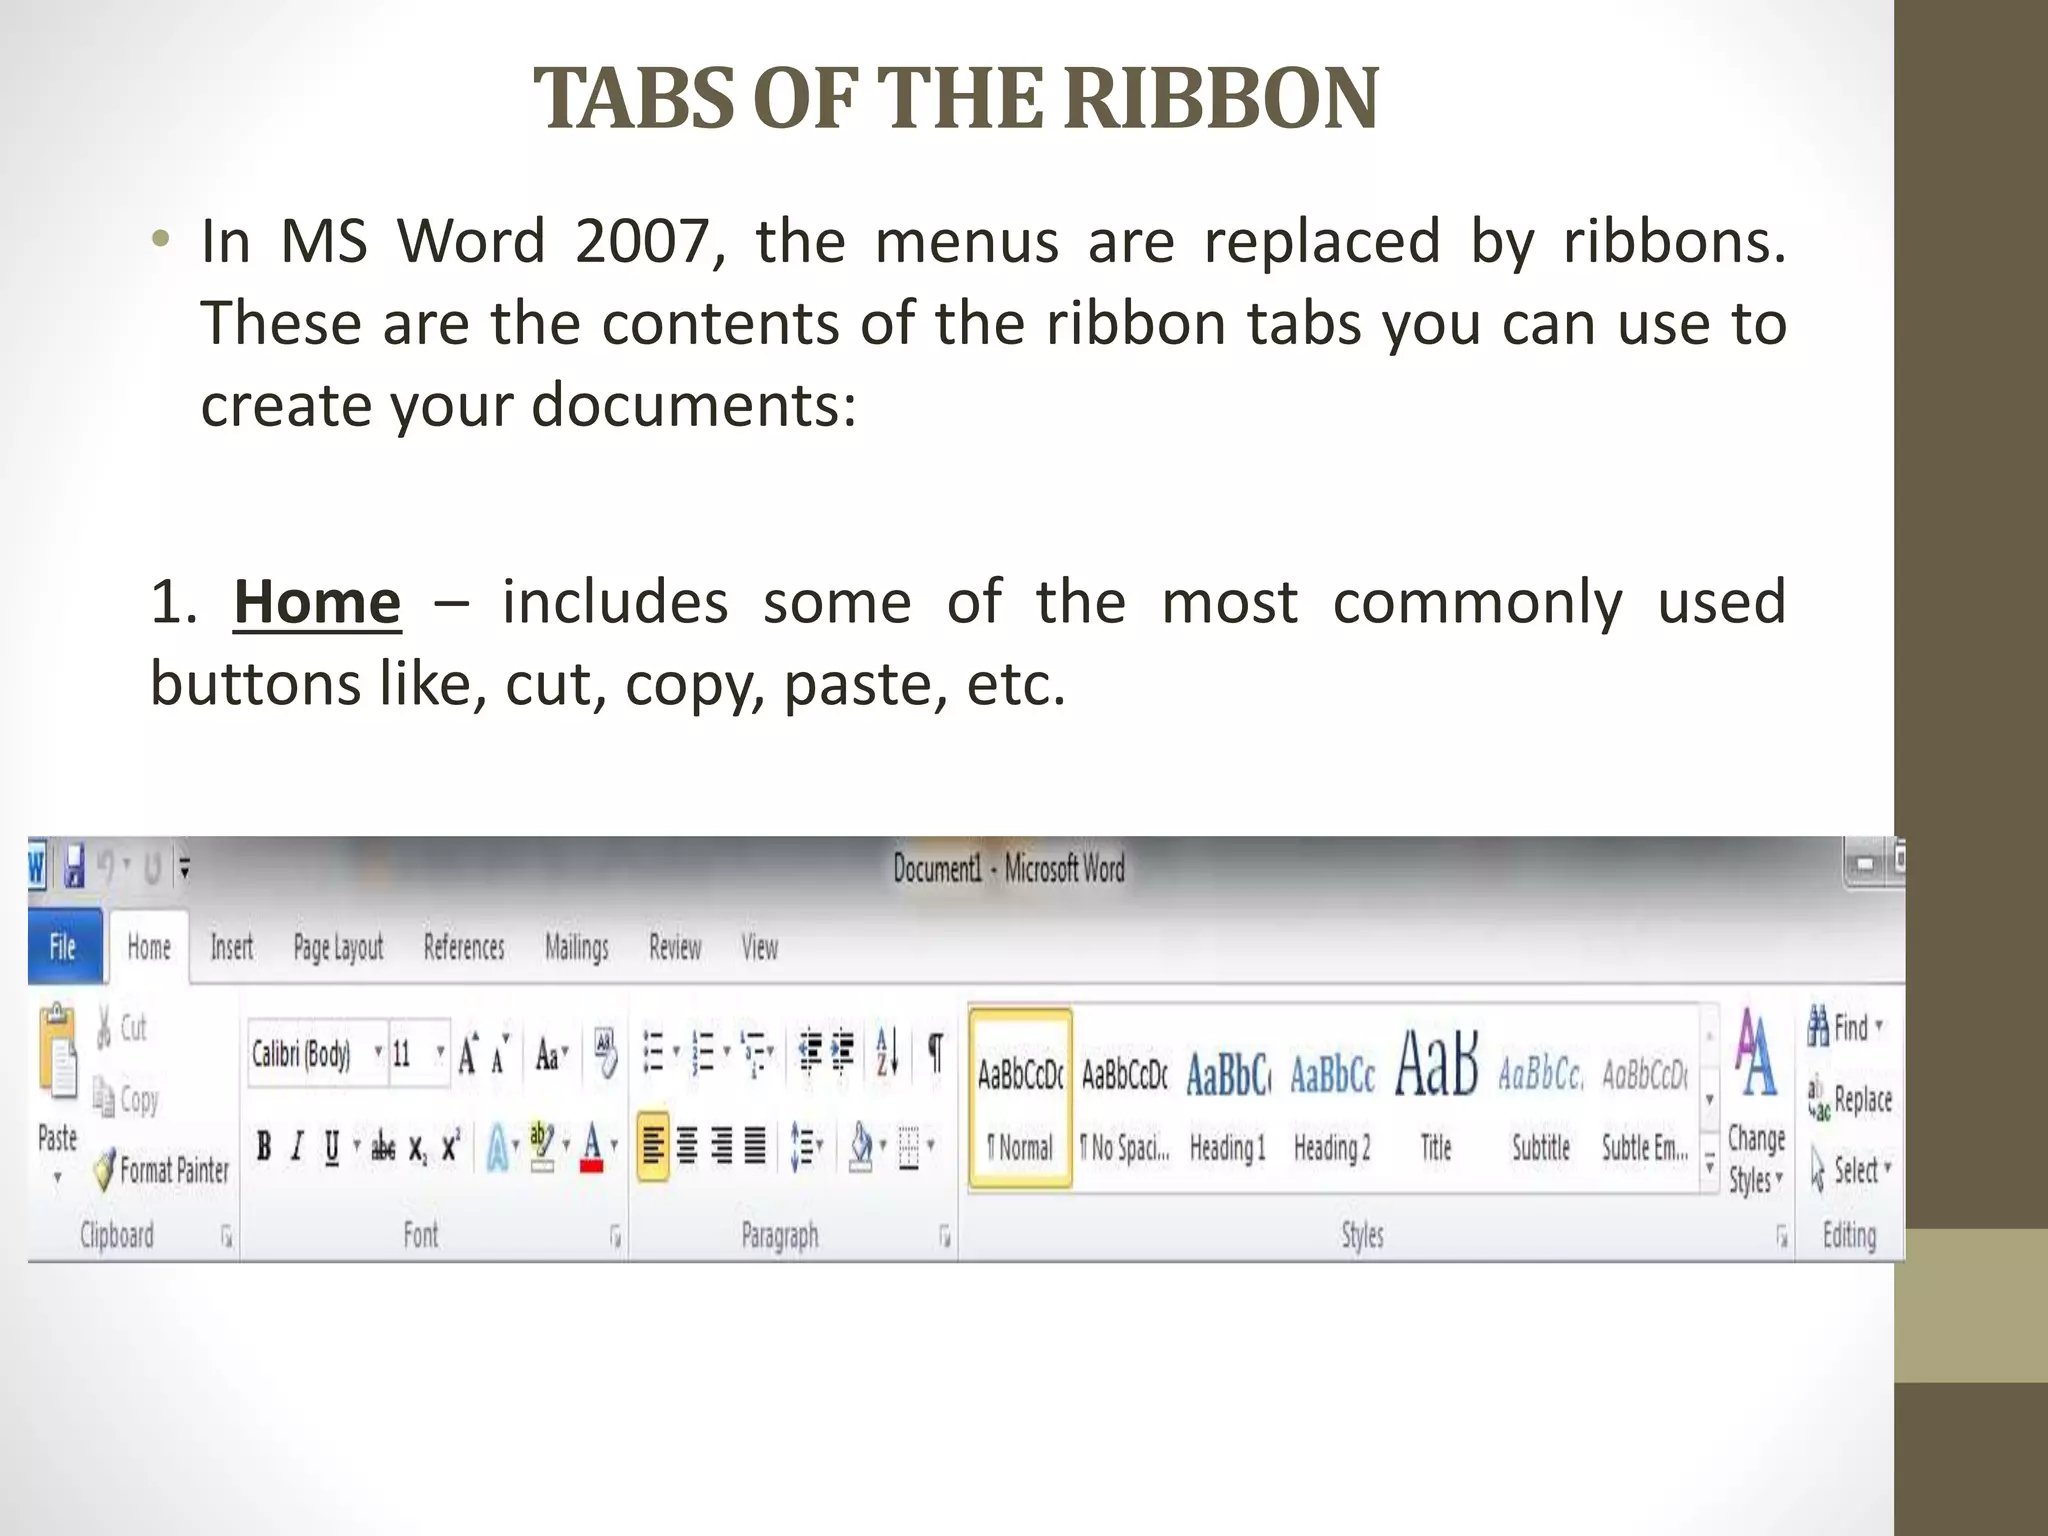
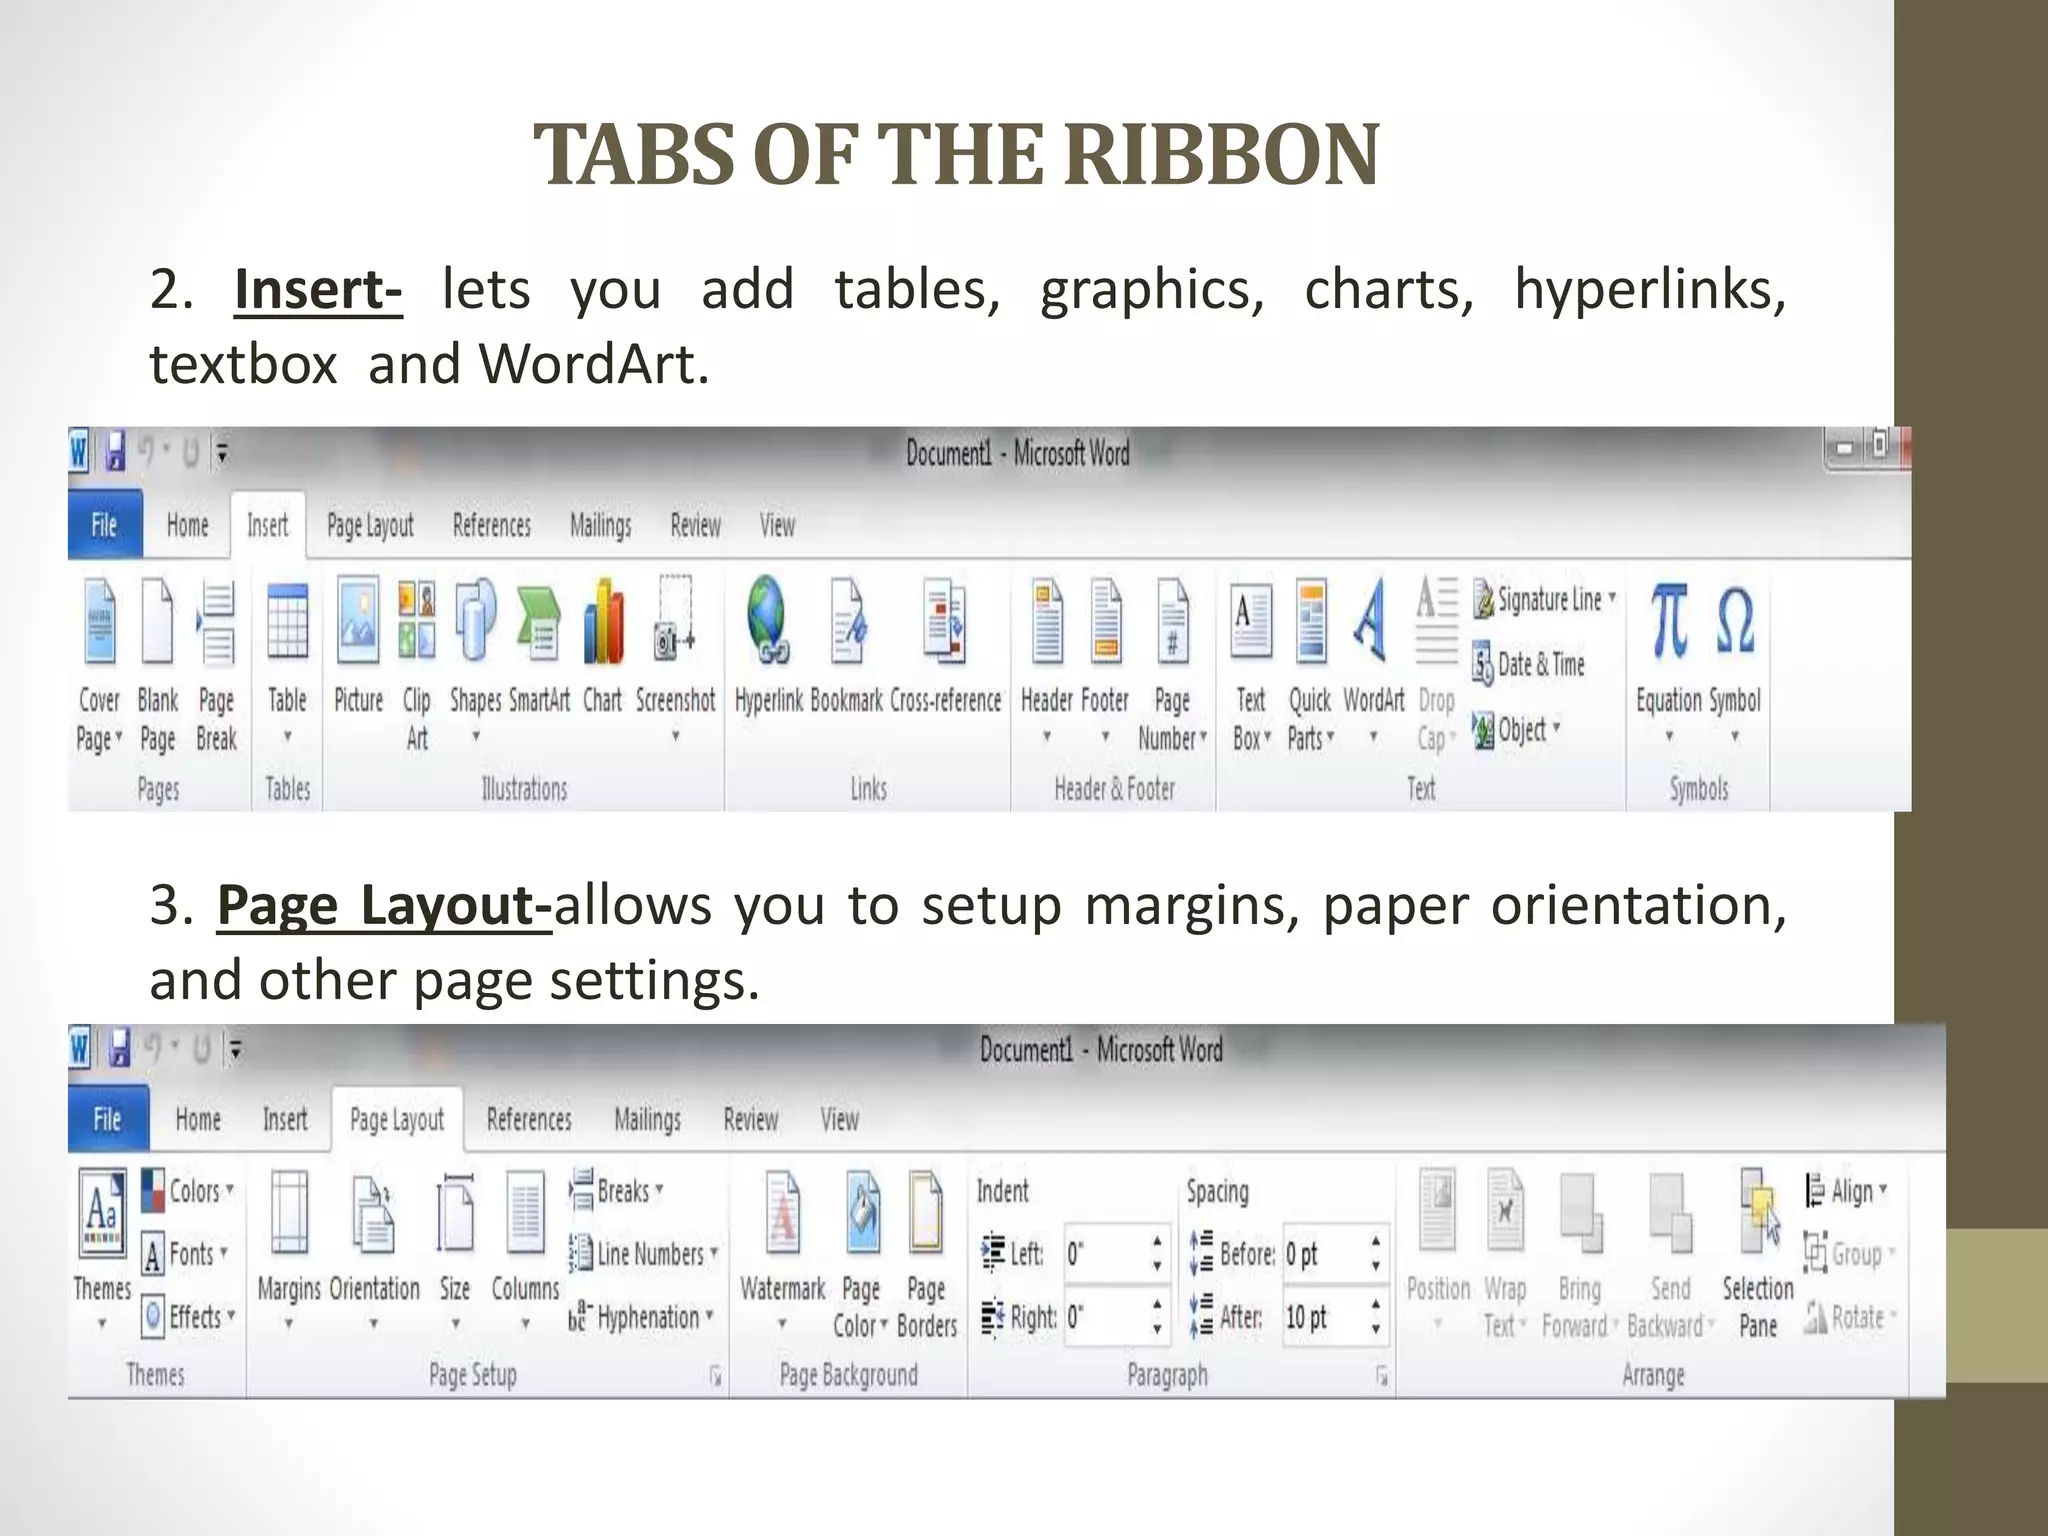
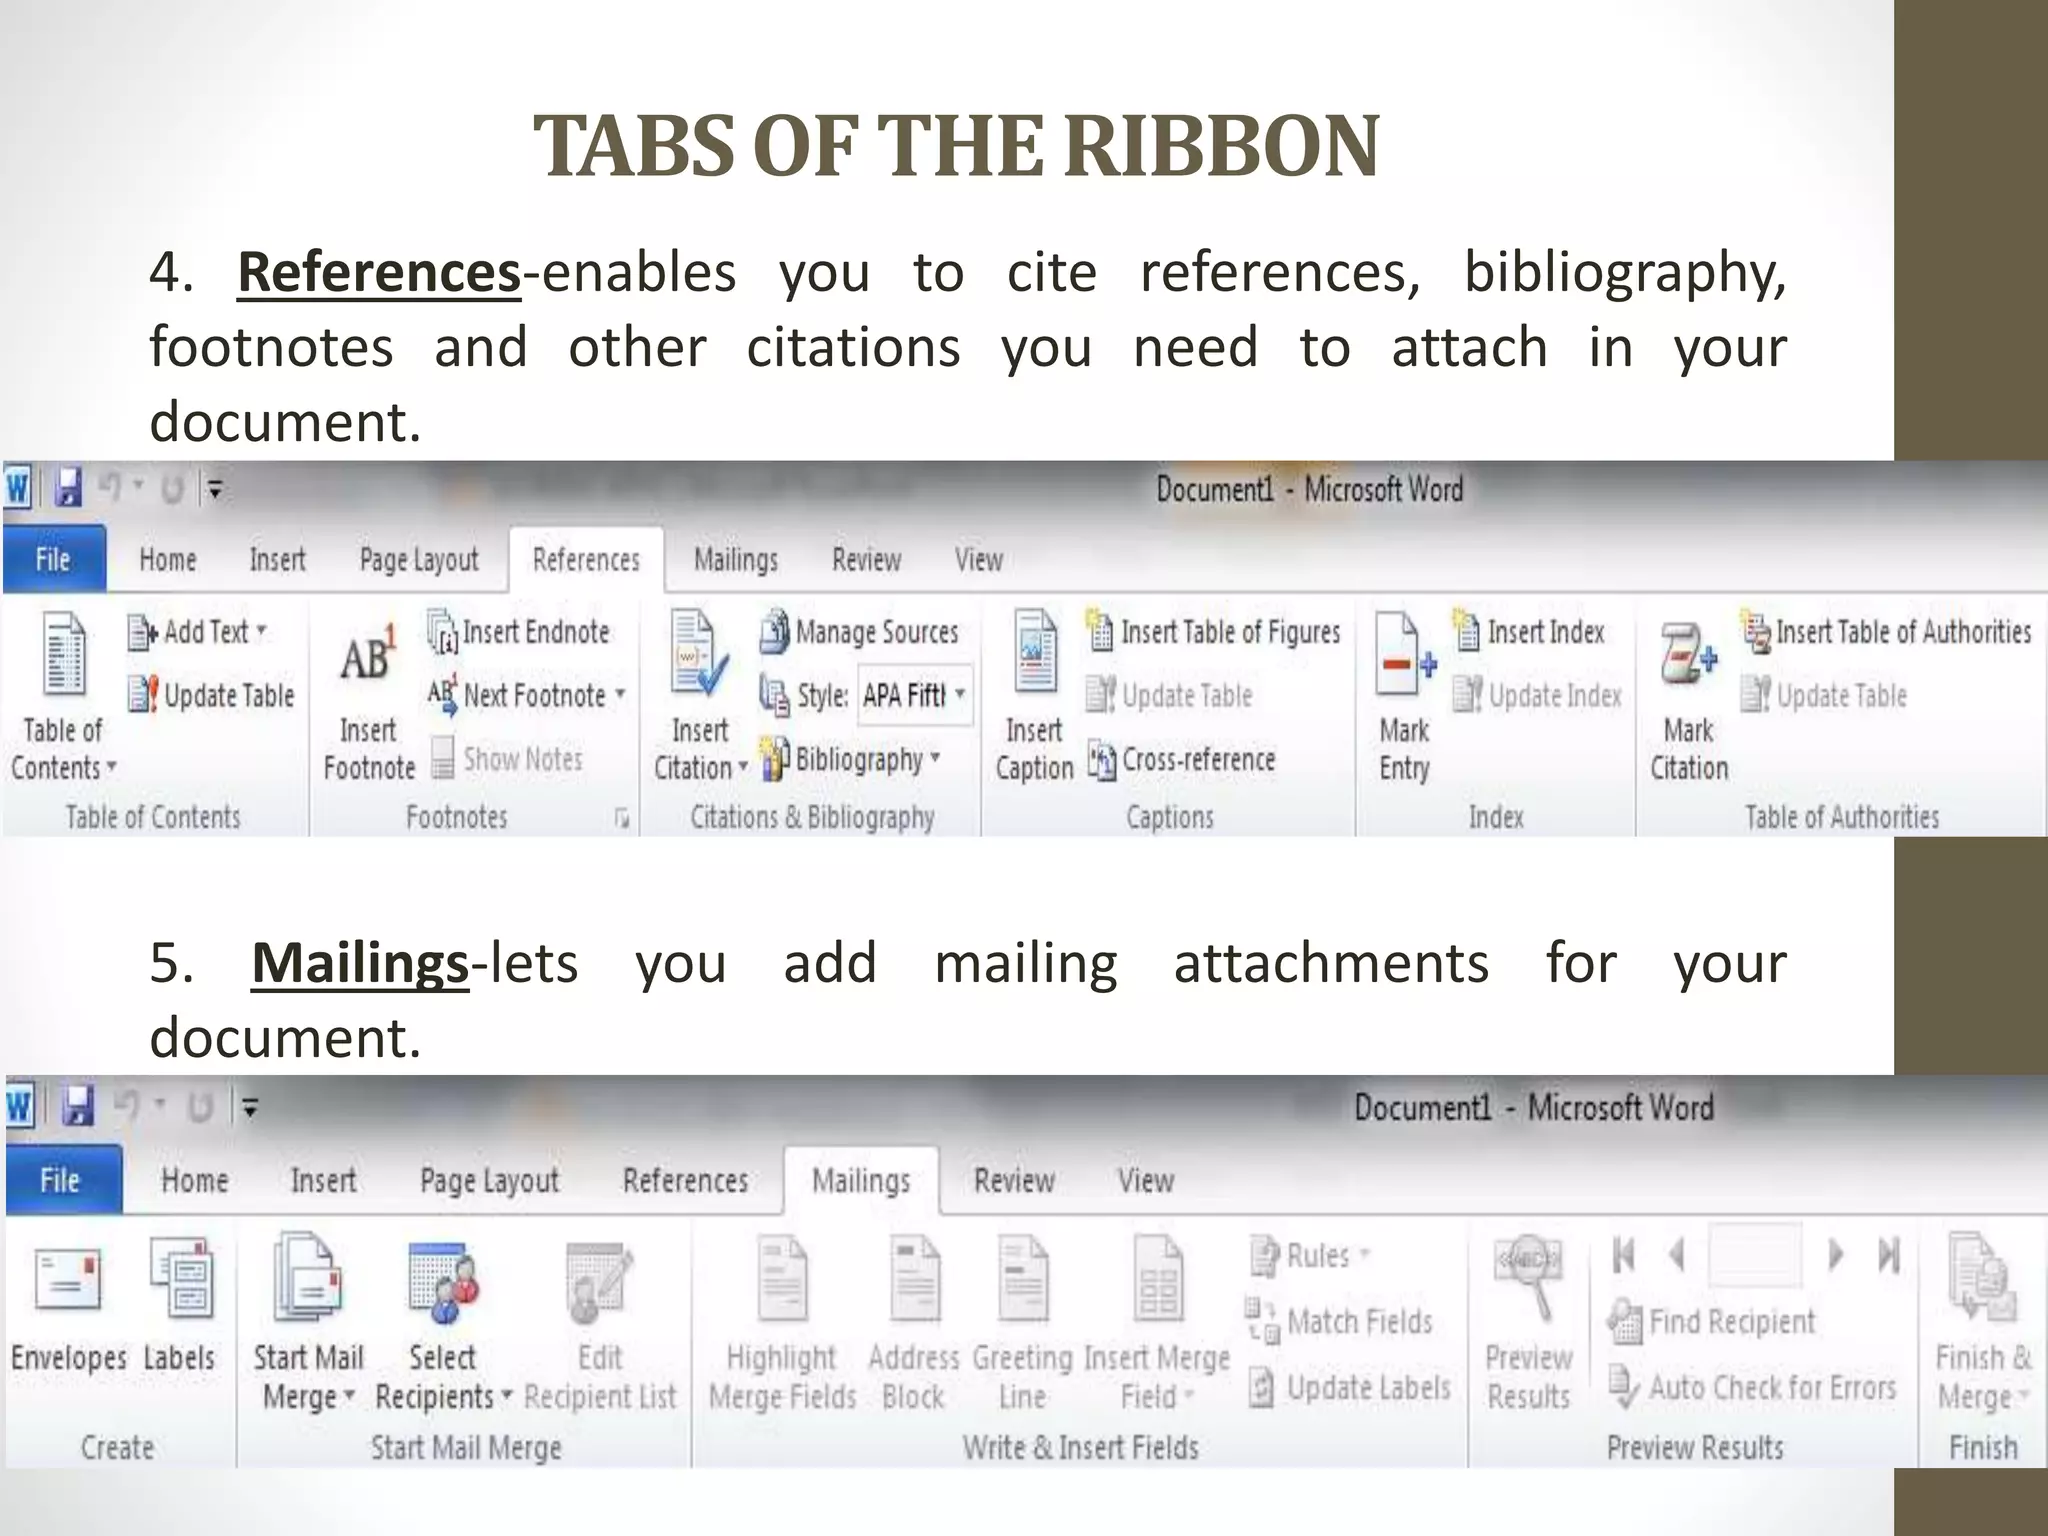
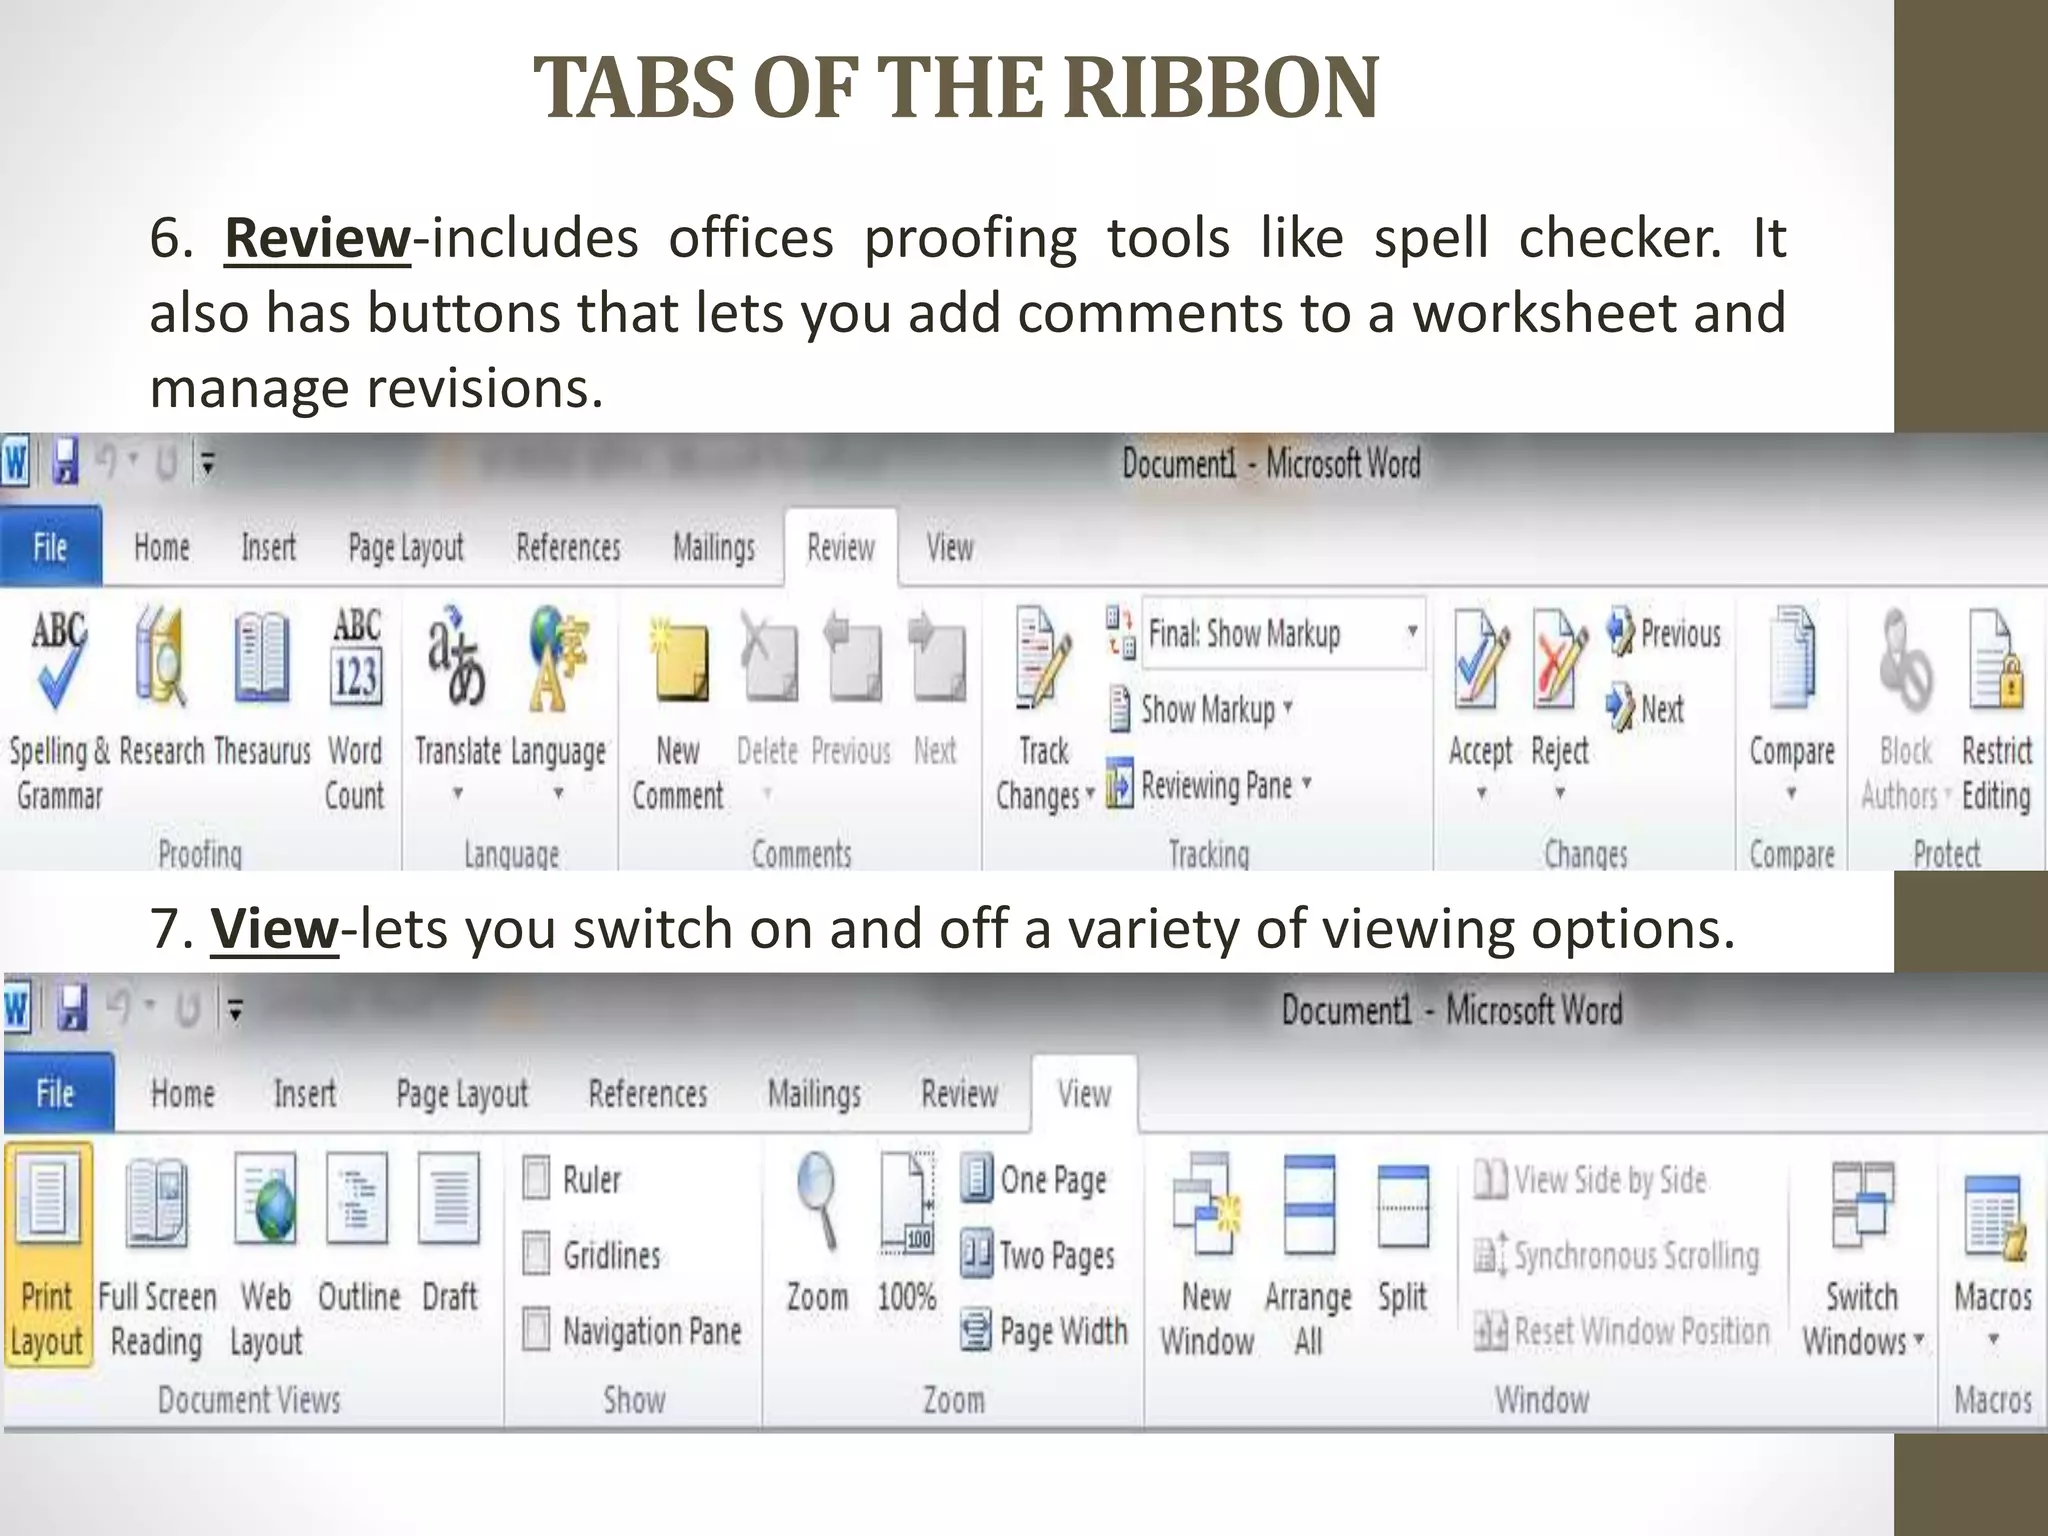
Overview of the Ribbon components in MS Word 2007 including tabs like Home, Insert, and more that aid document creation.
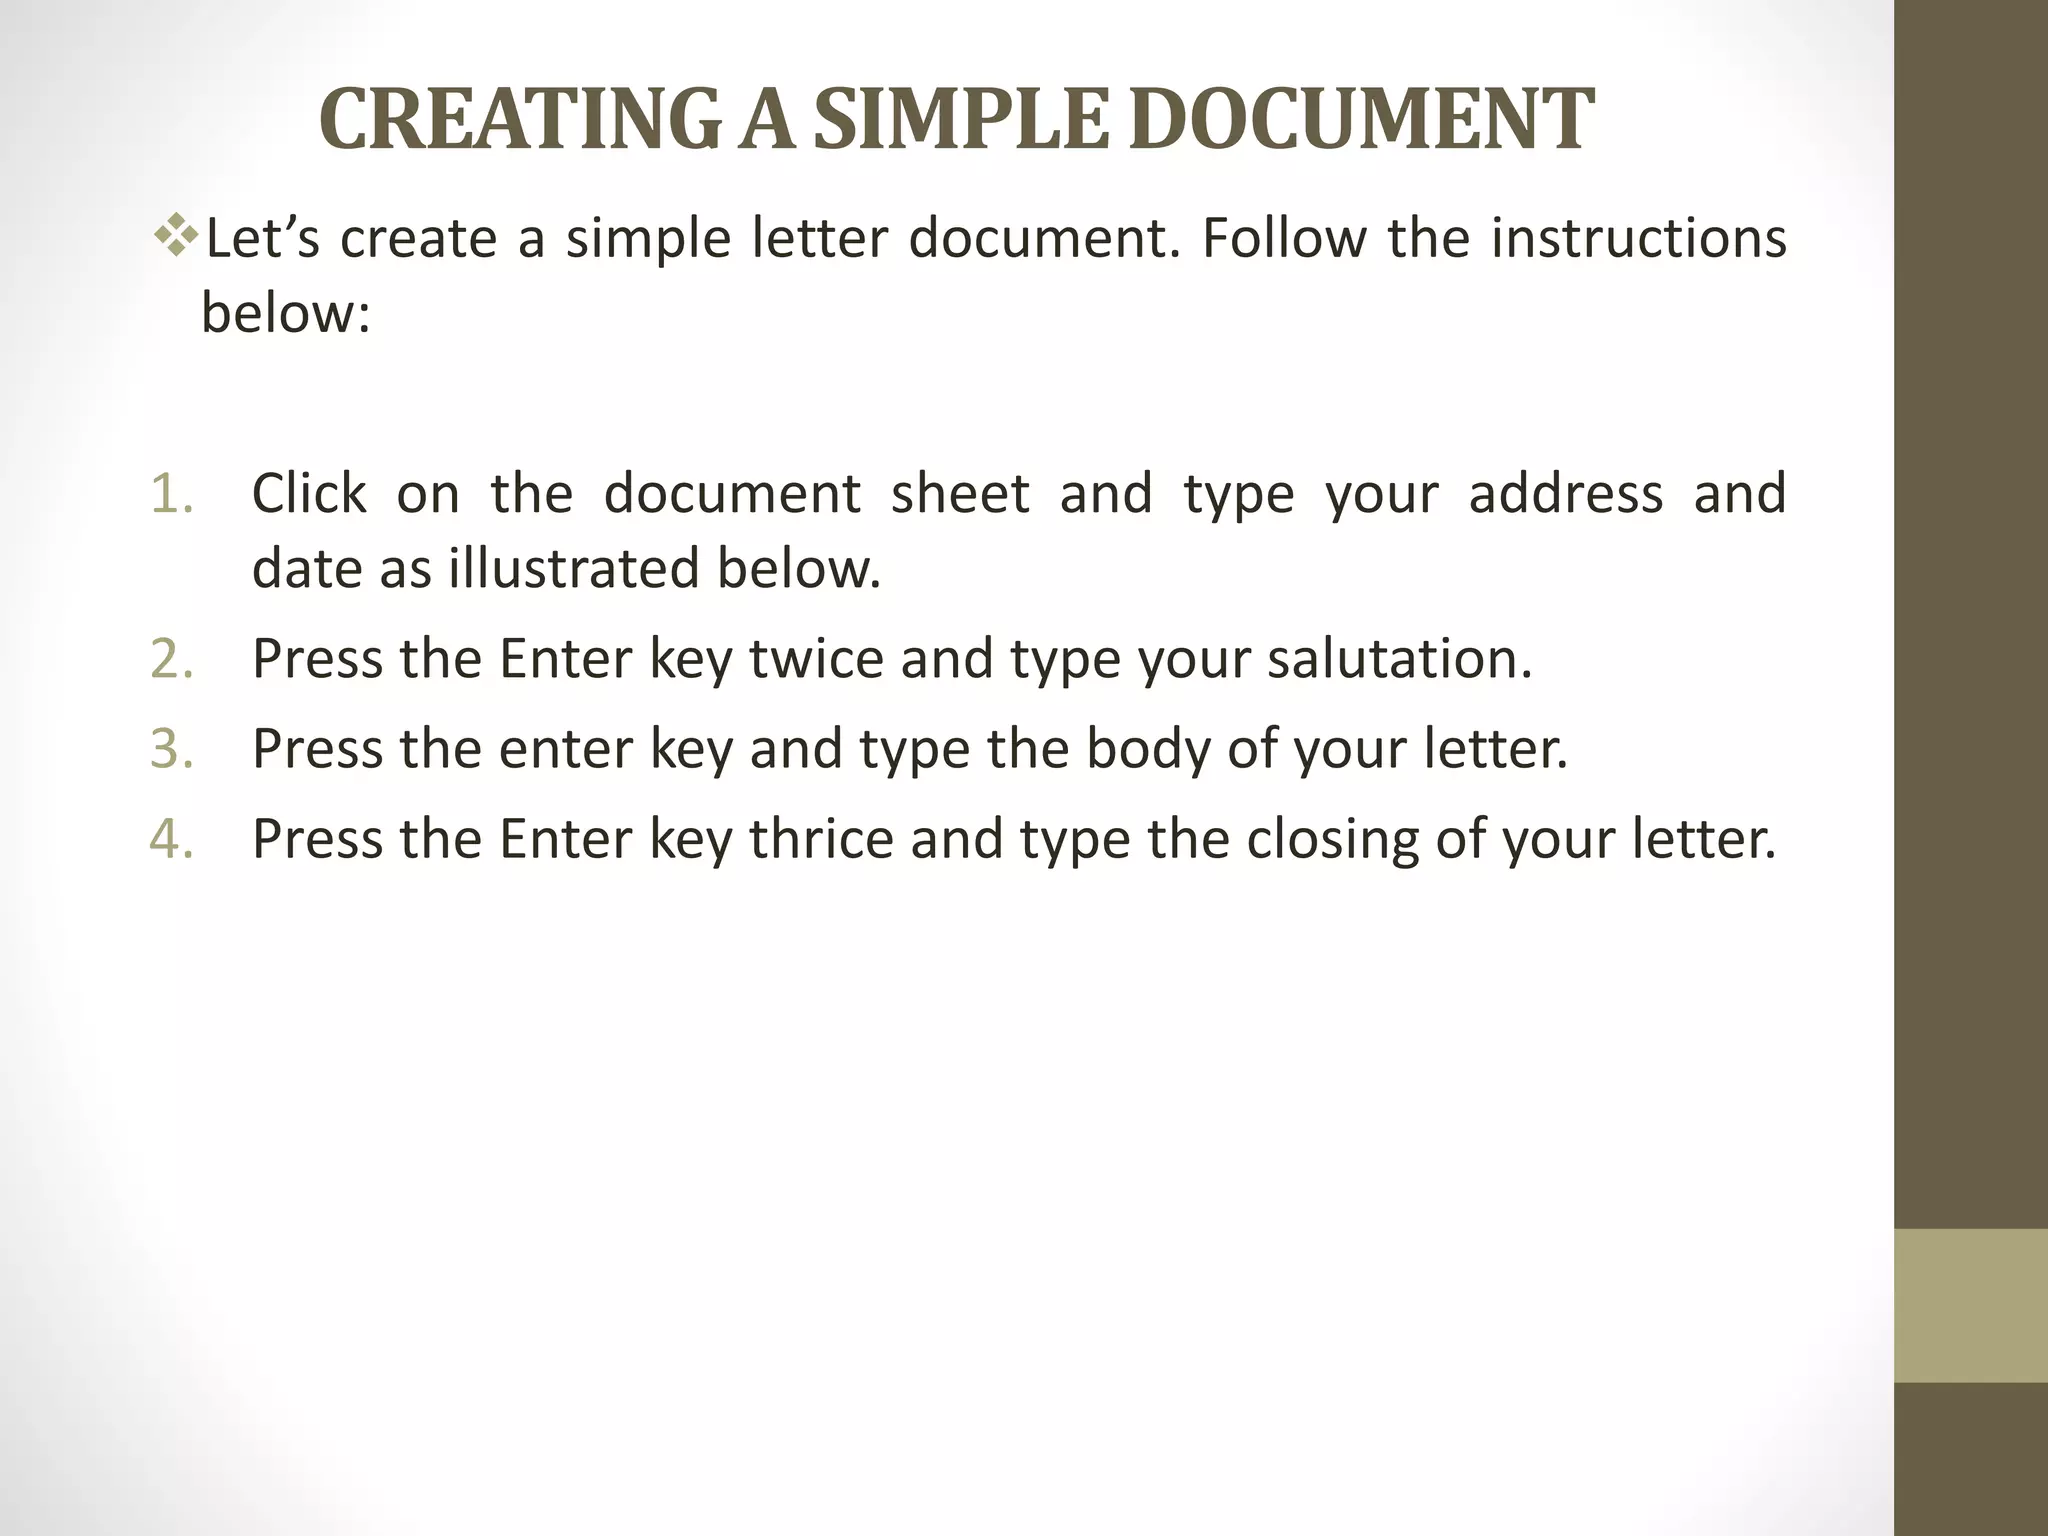
Instructions for creating a simple letter document including typing address, date, salutation, body, and closing.
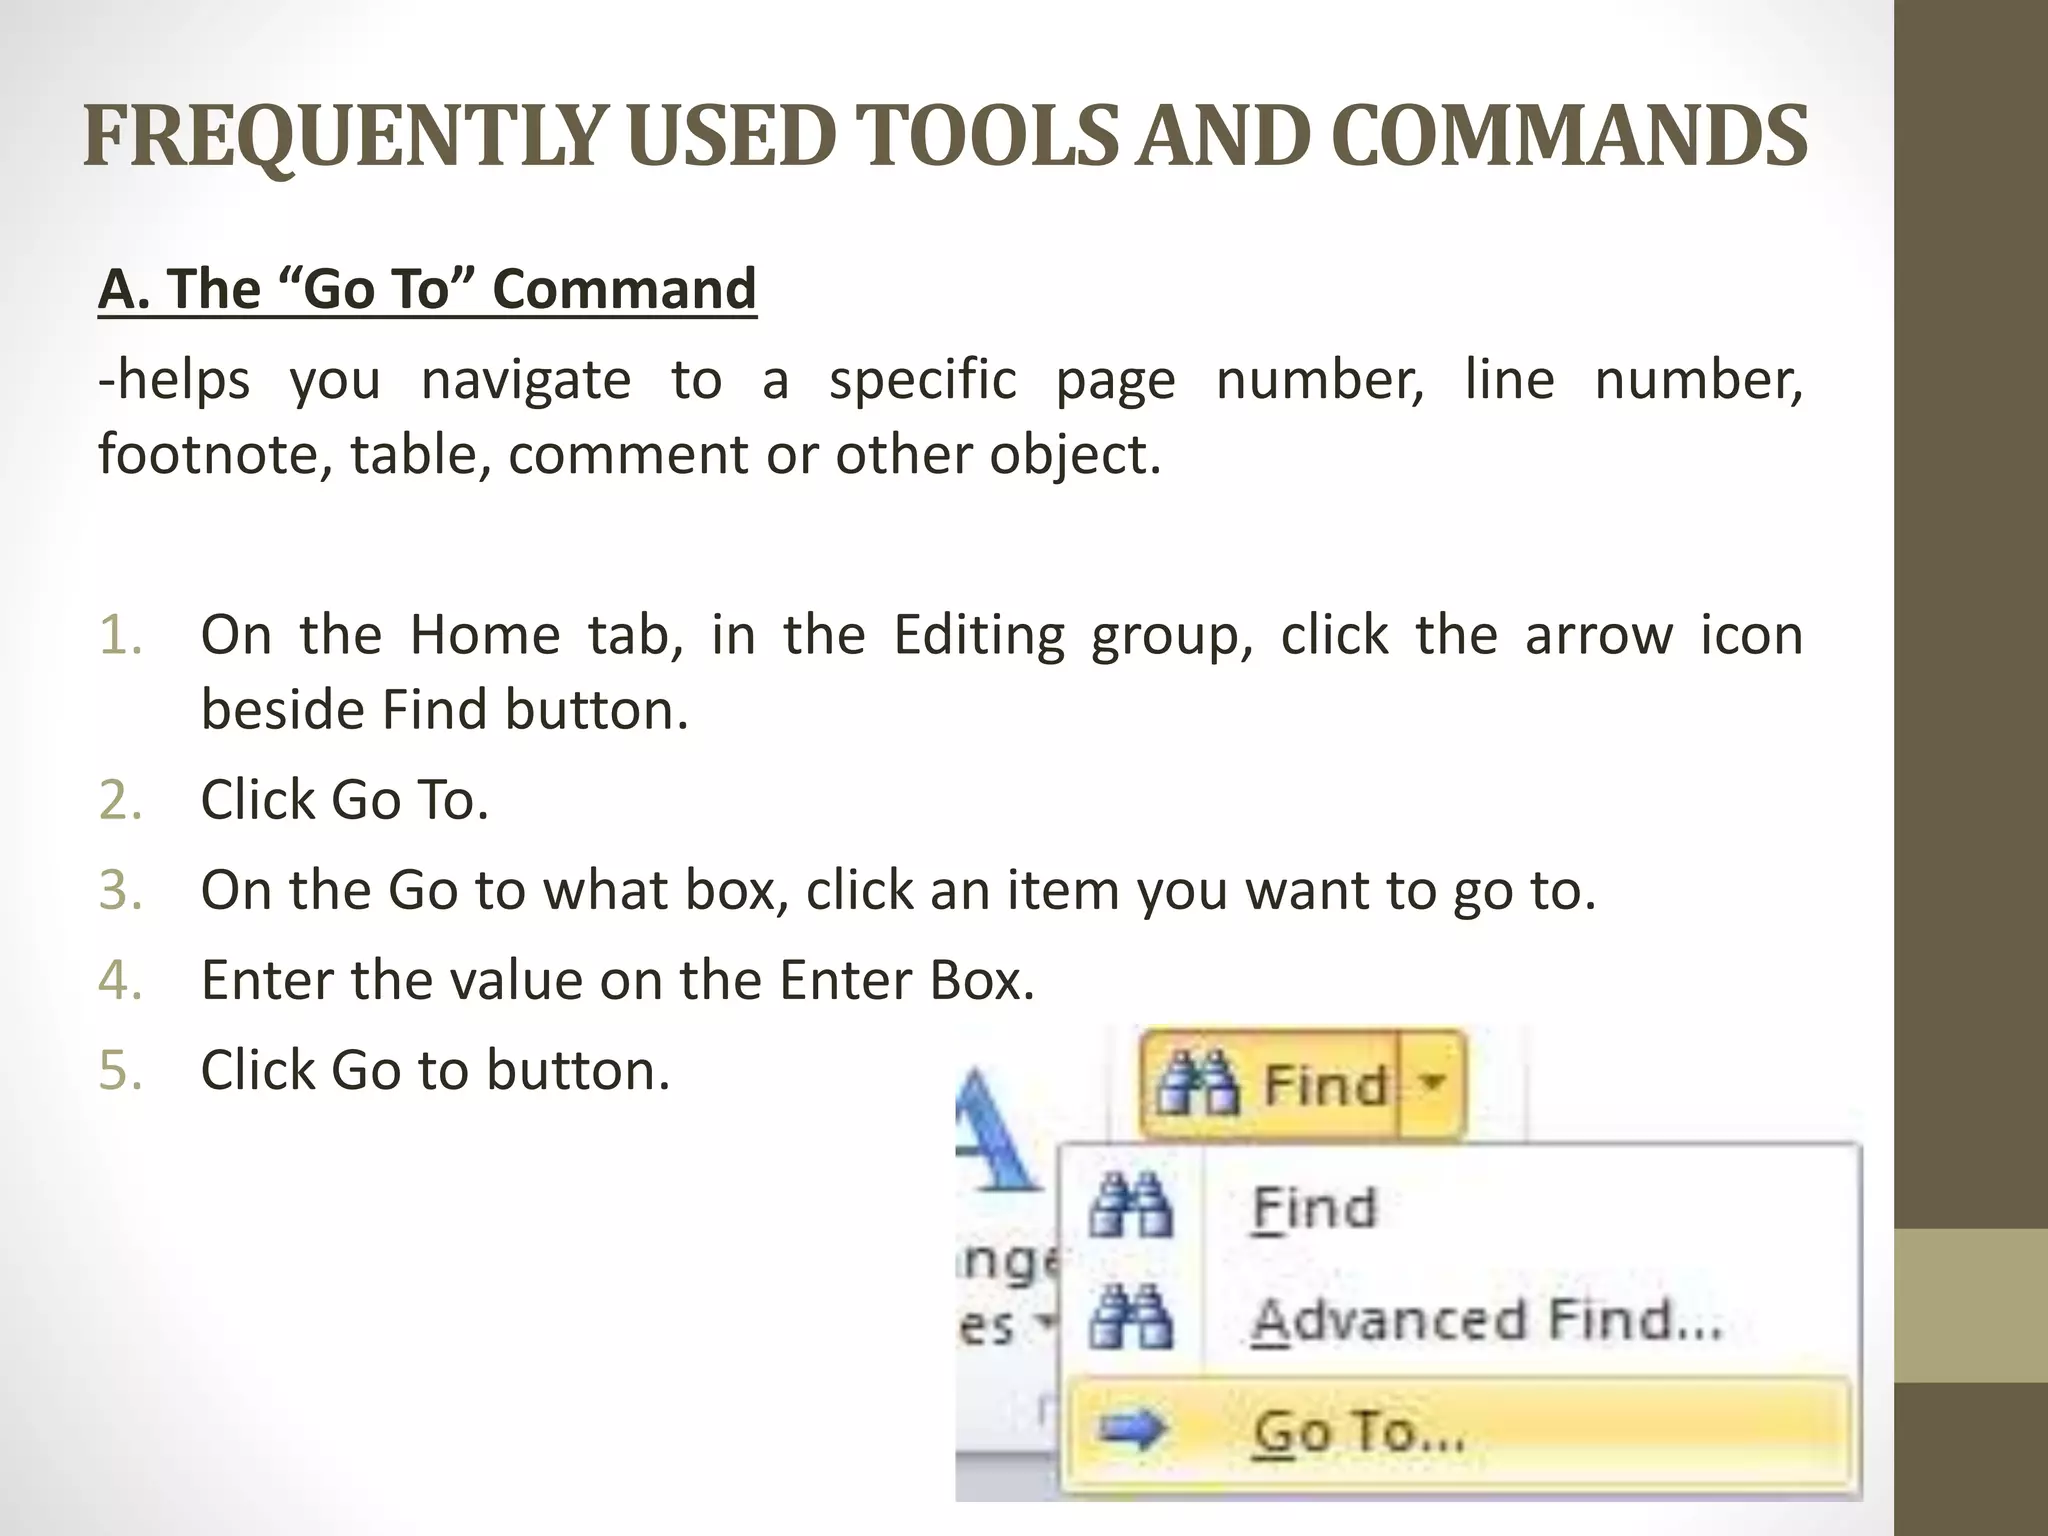
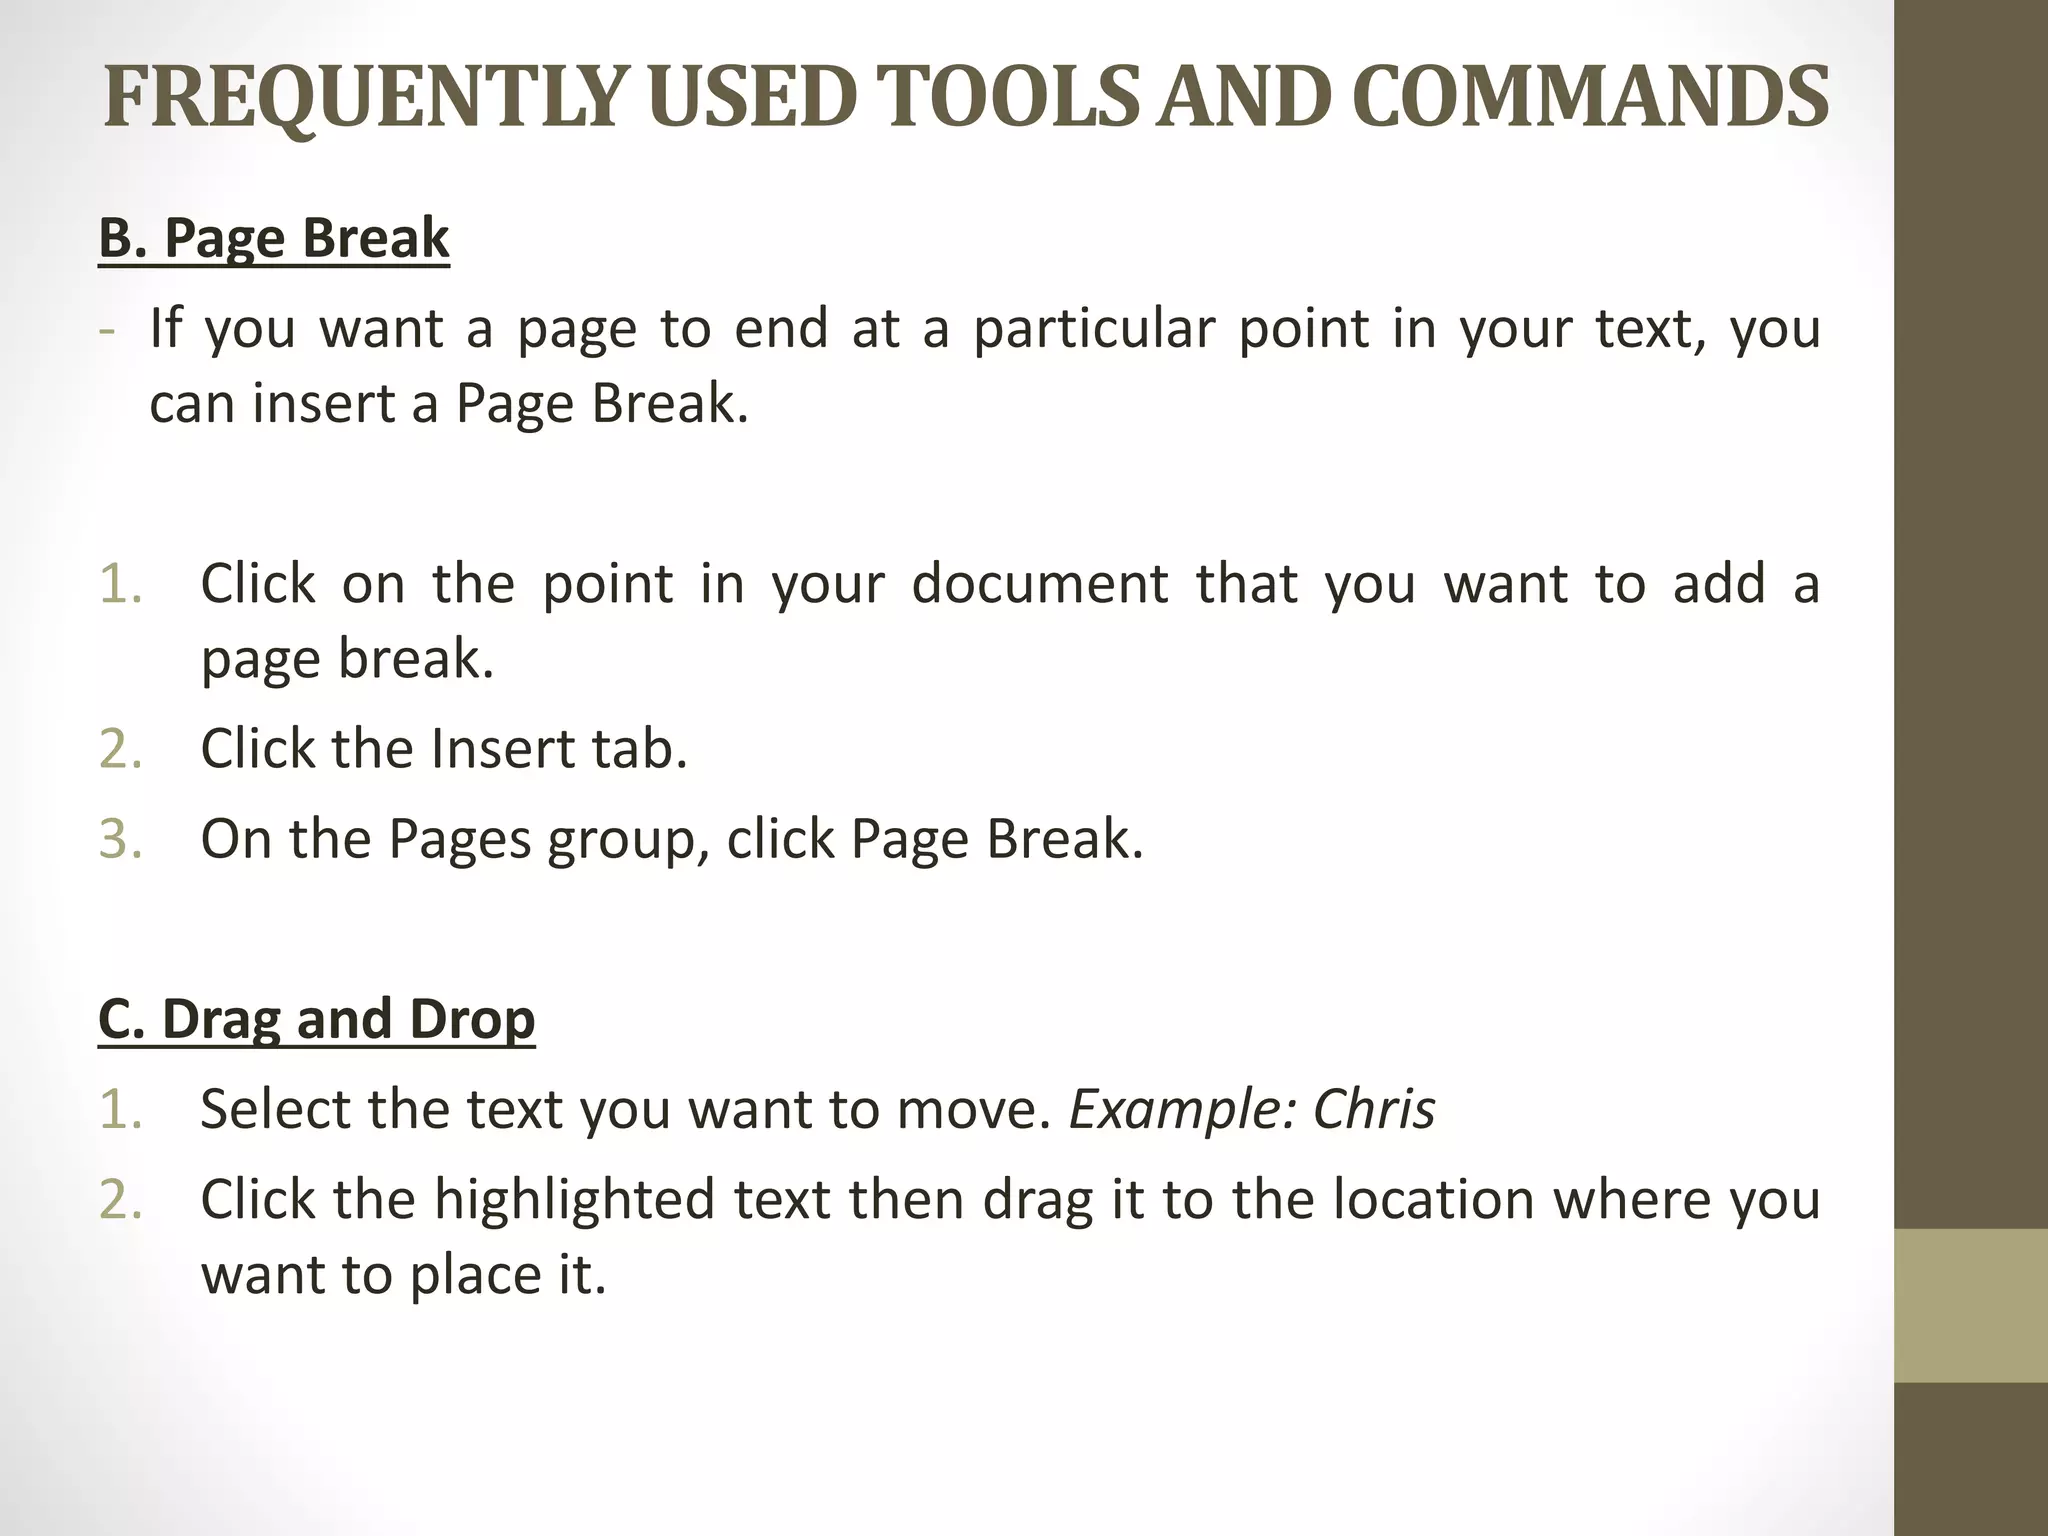
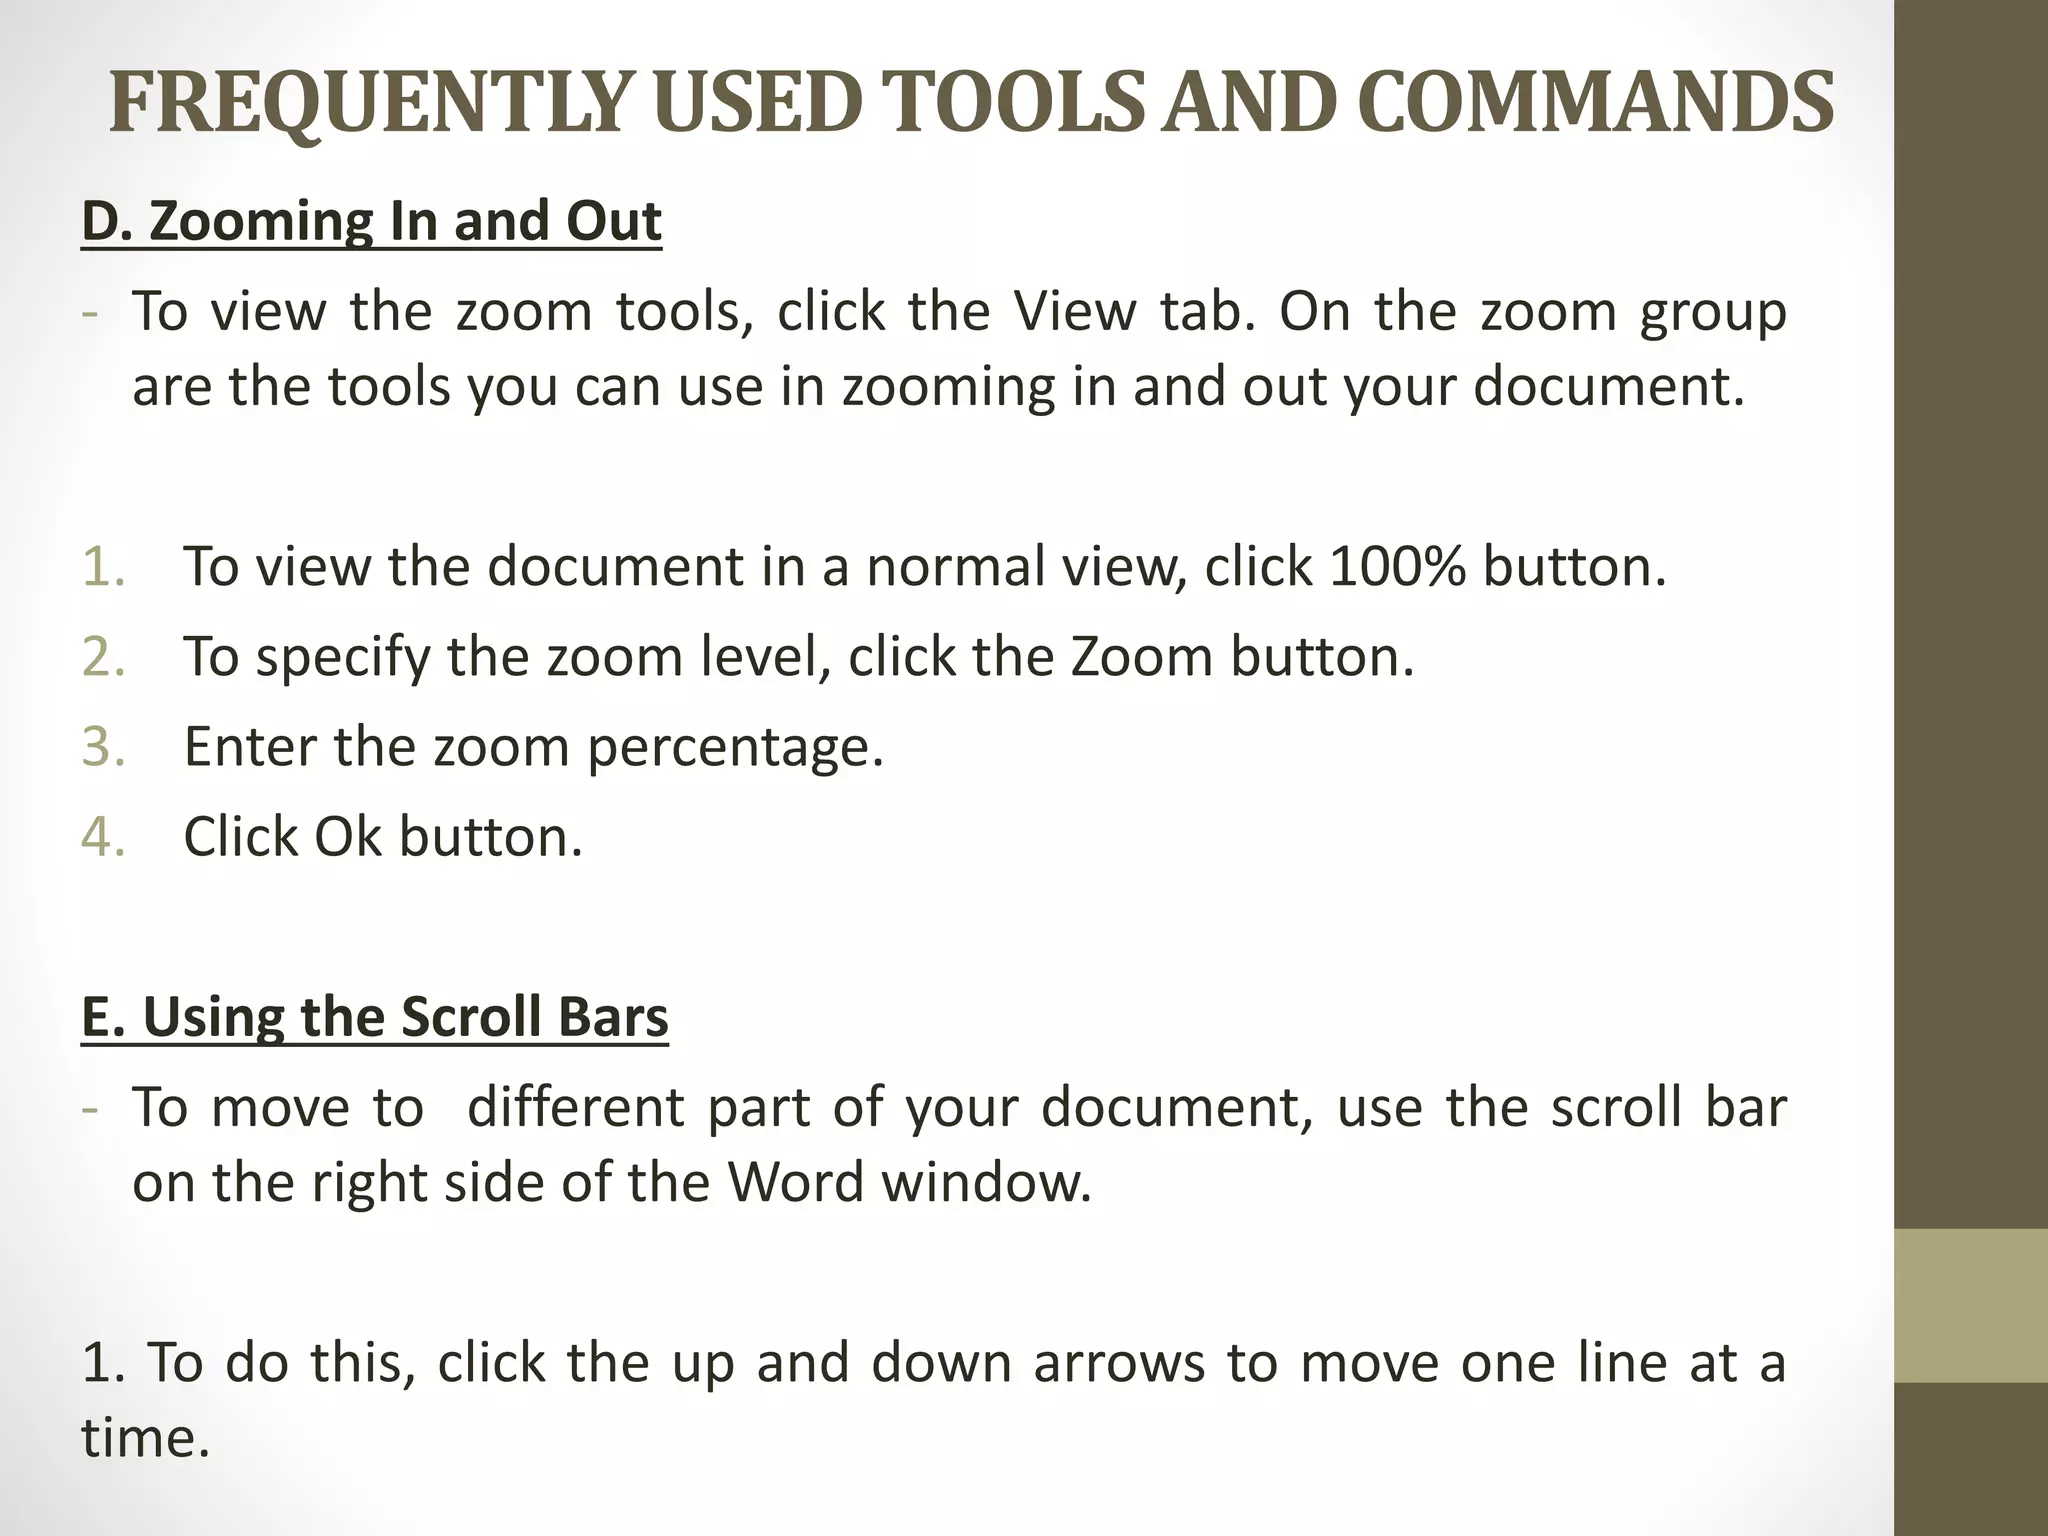
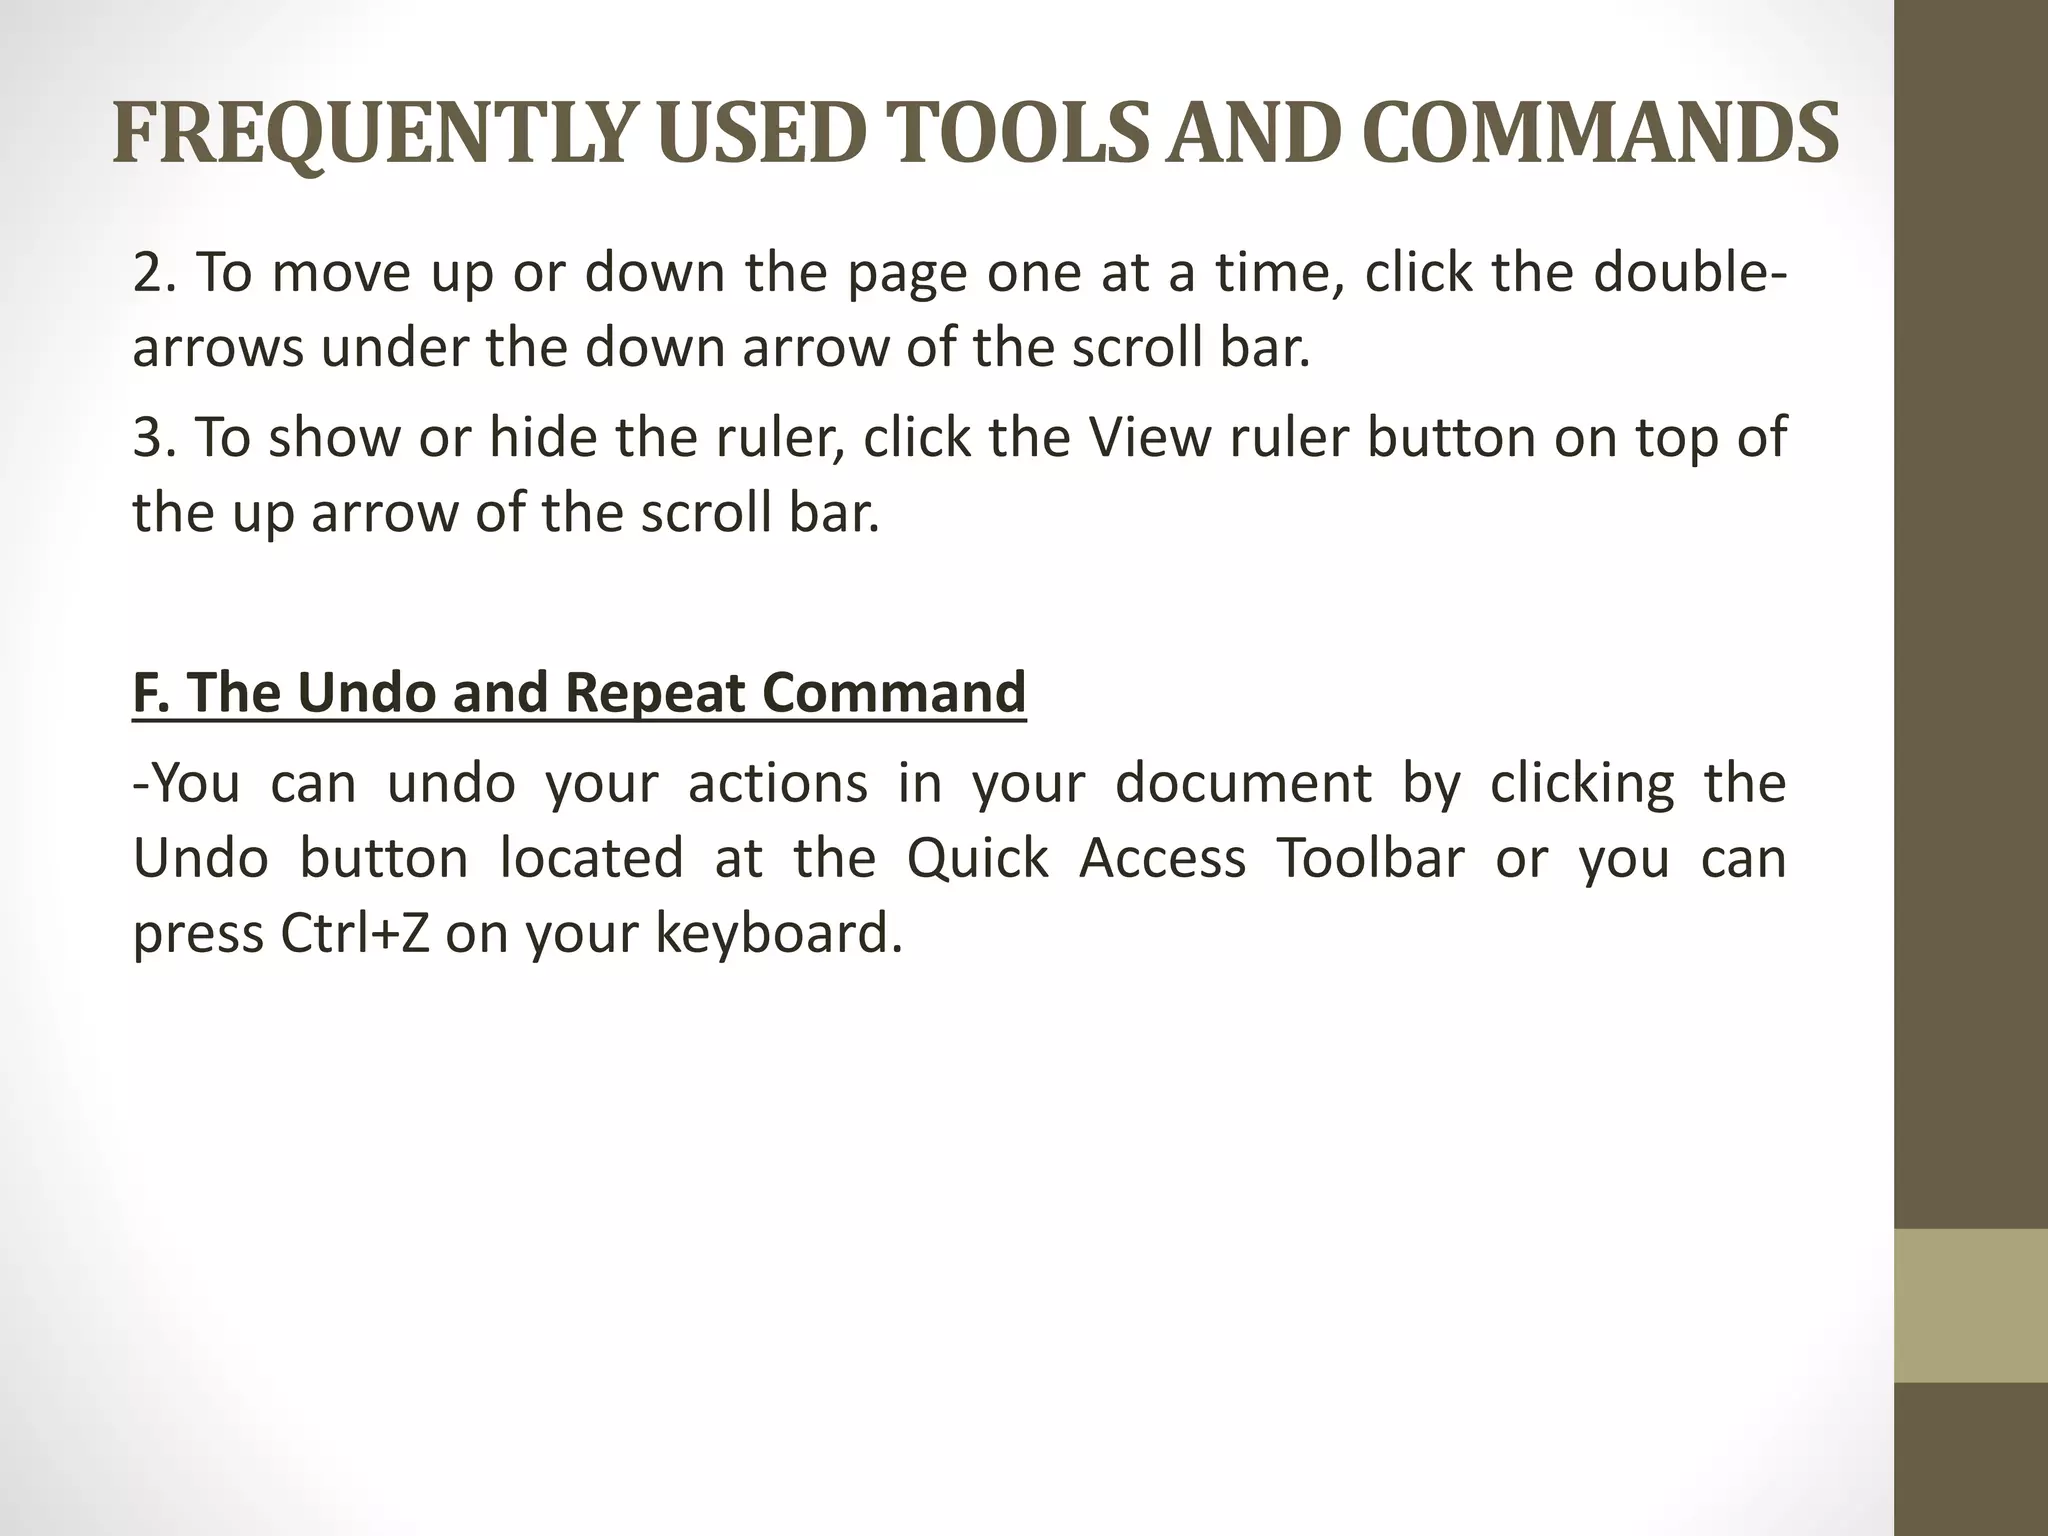
How to navigate (Go To), insert page breaks, drag and drop text, zoom, scroll, and use undo/redo commands.
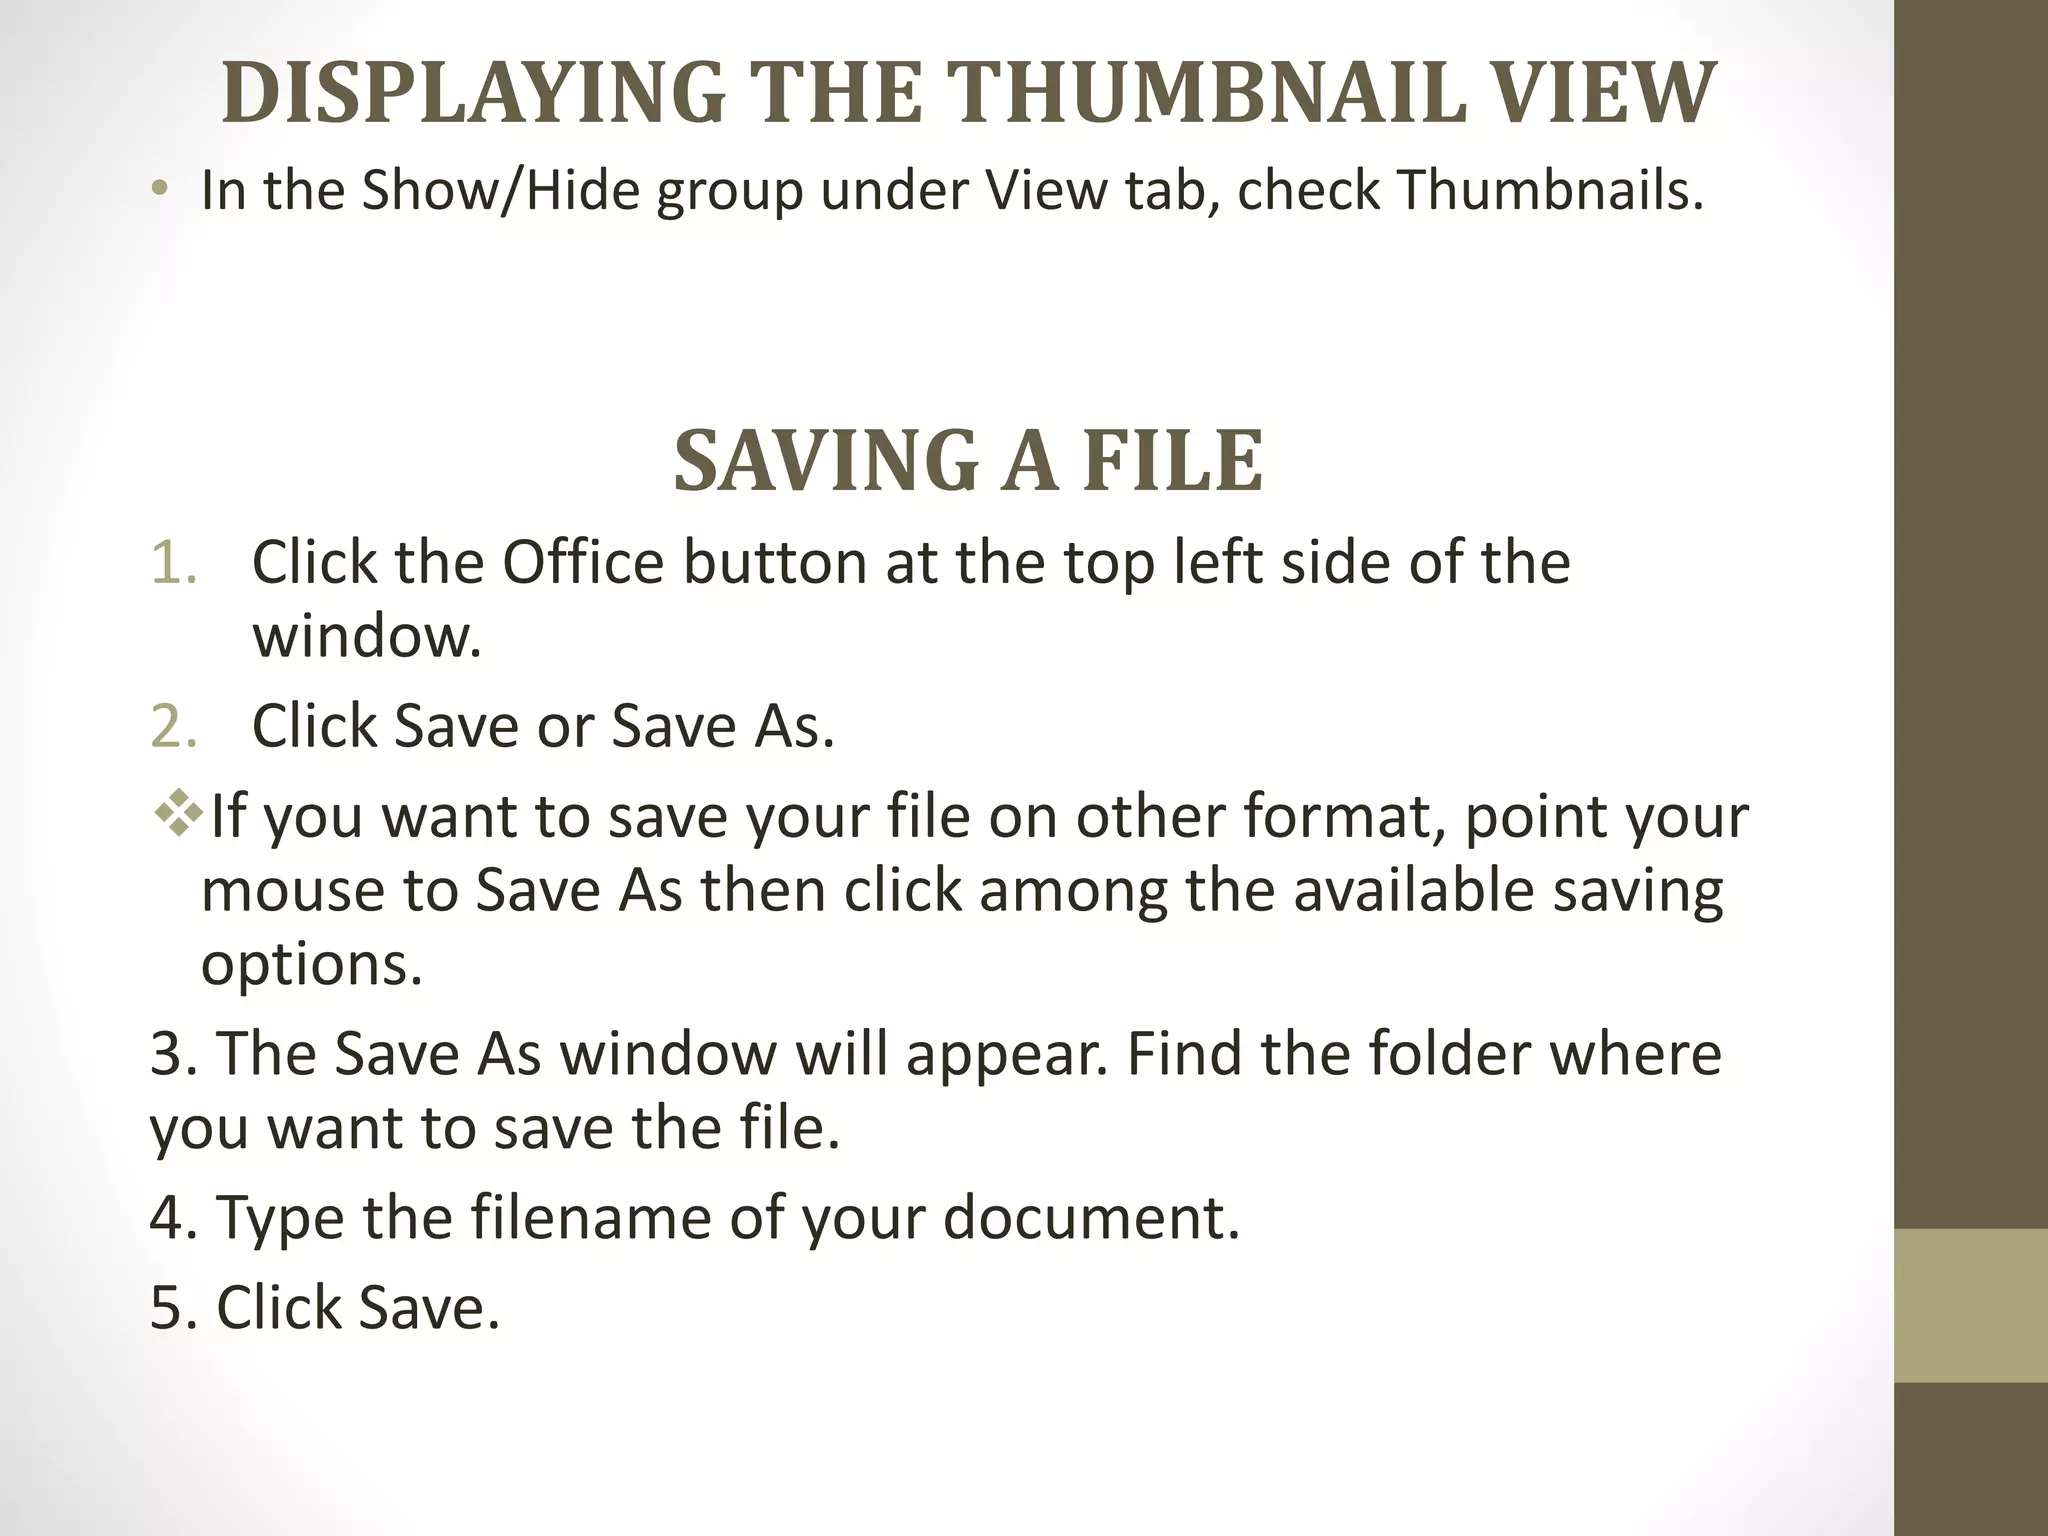
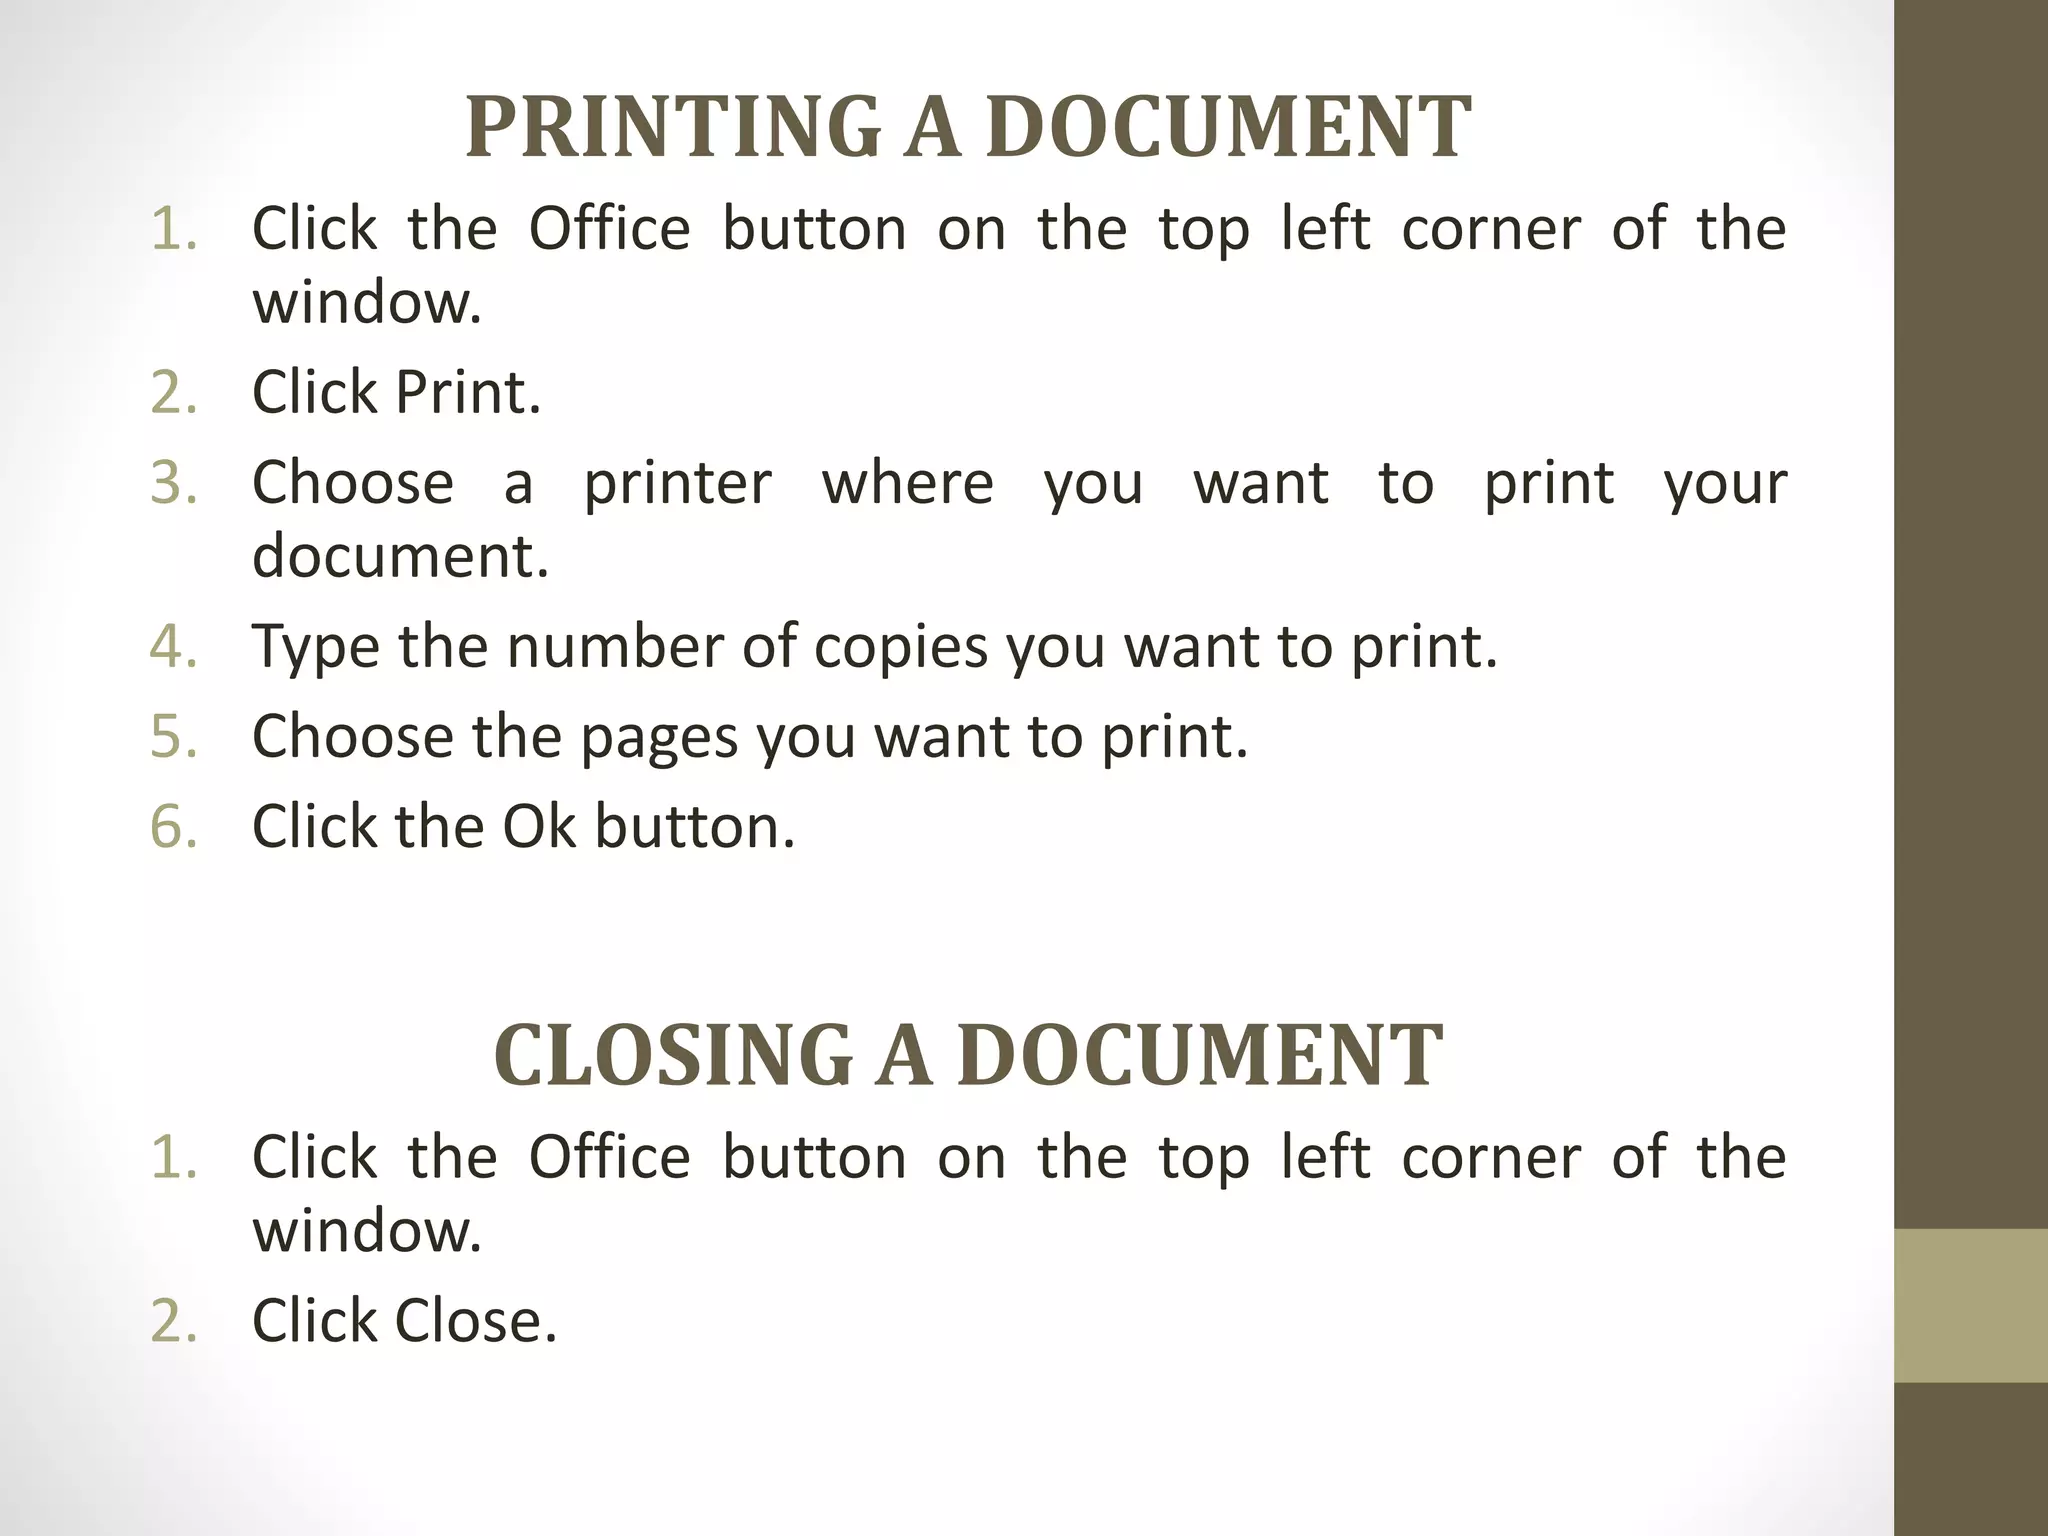
Steps to display thumbnail view, save files, print documents, and close Word.
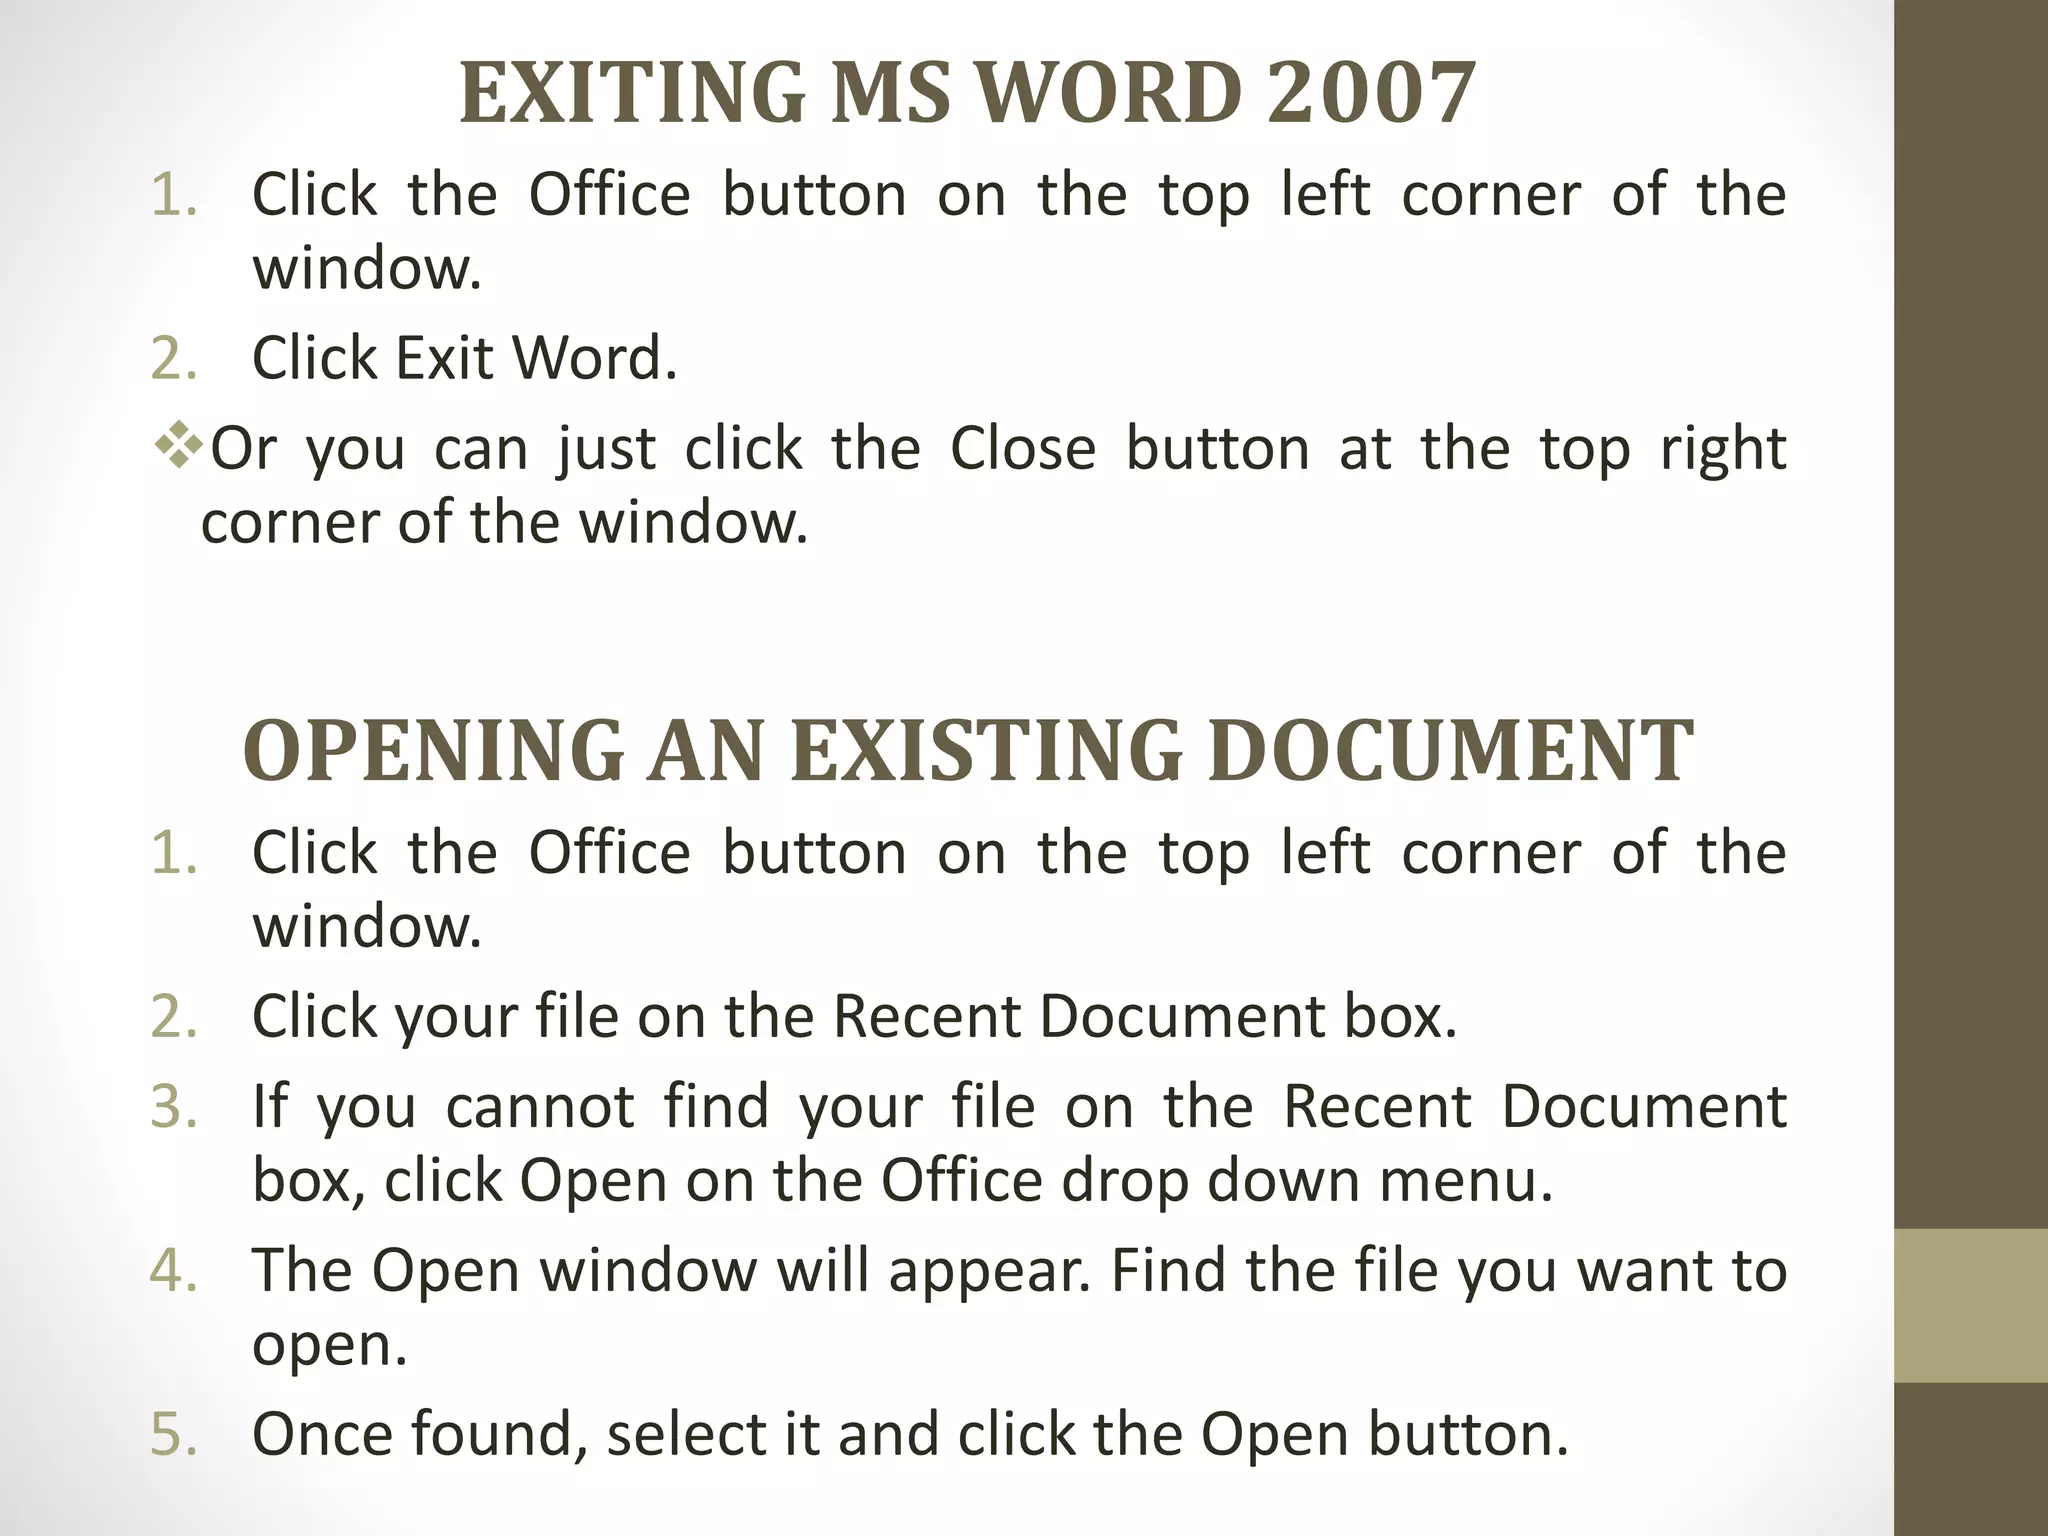
Instructions for exiting Word 2007 and opening existing documents.
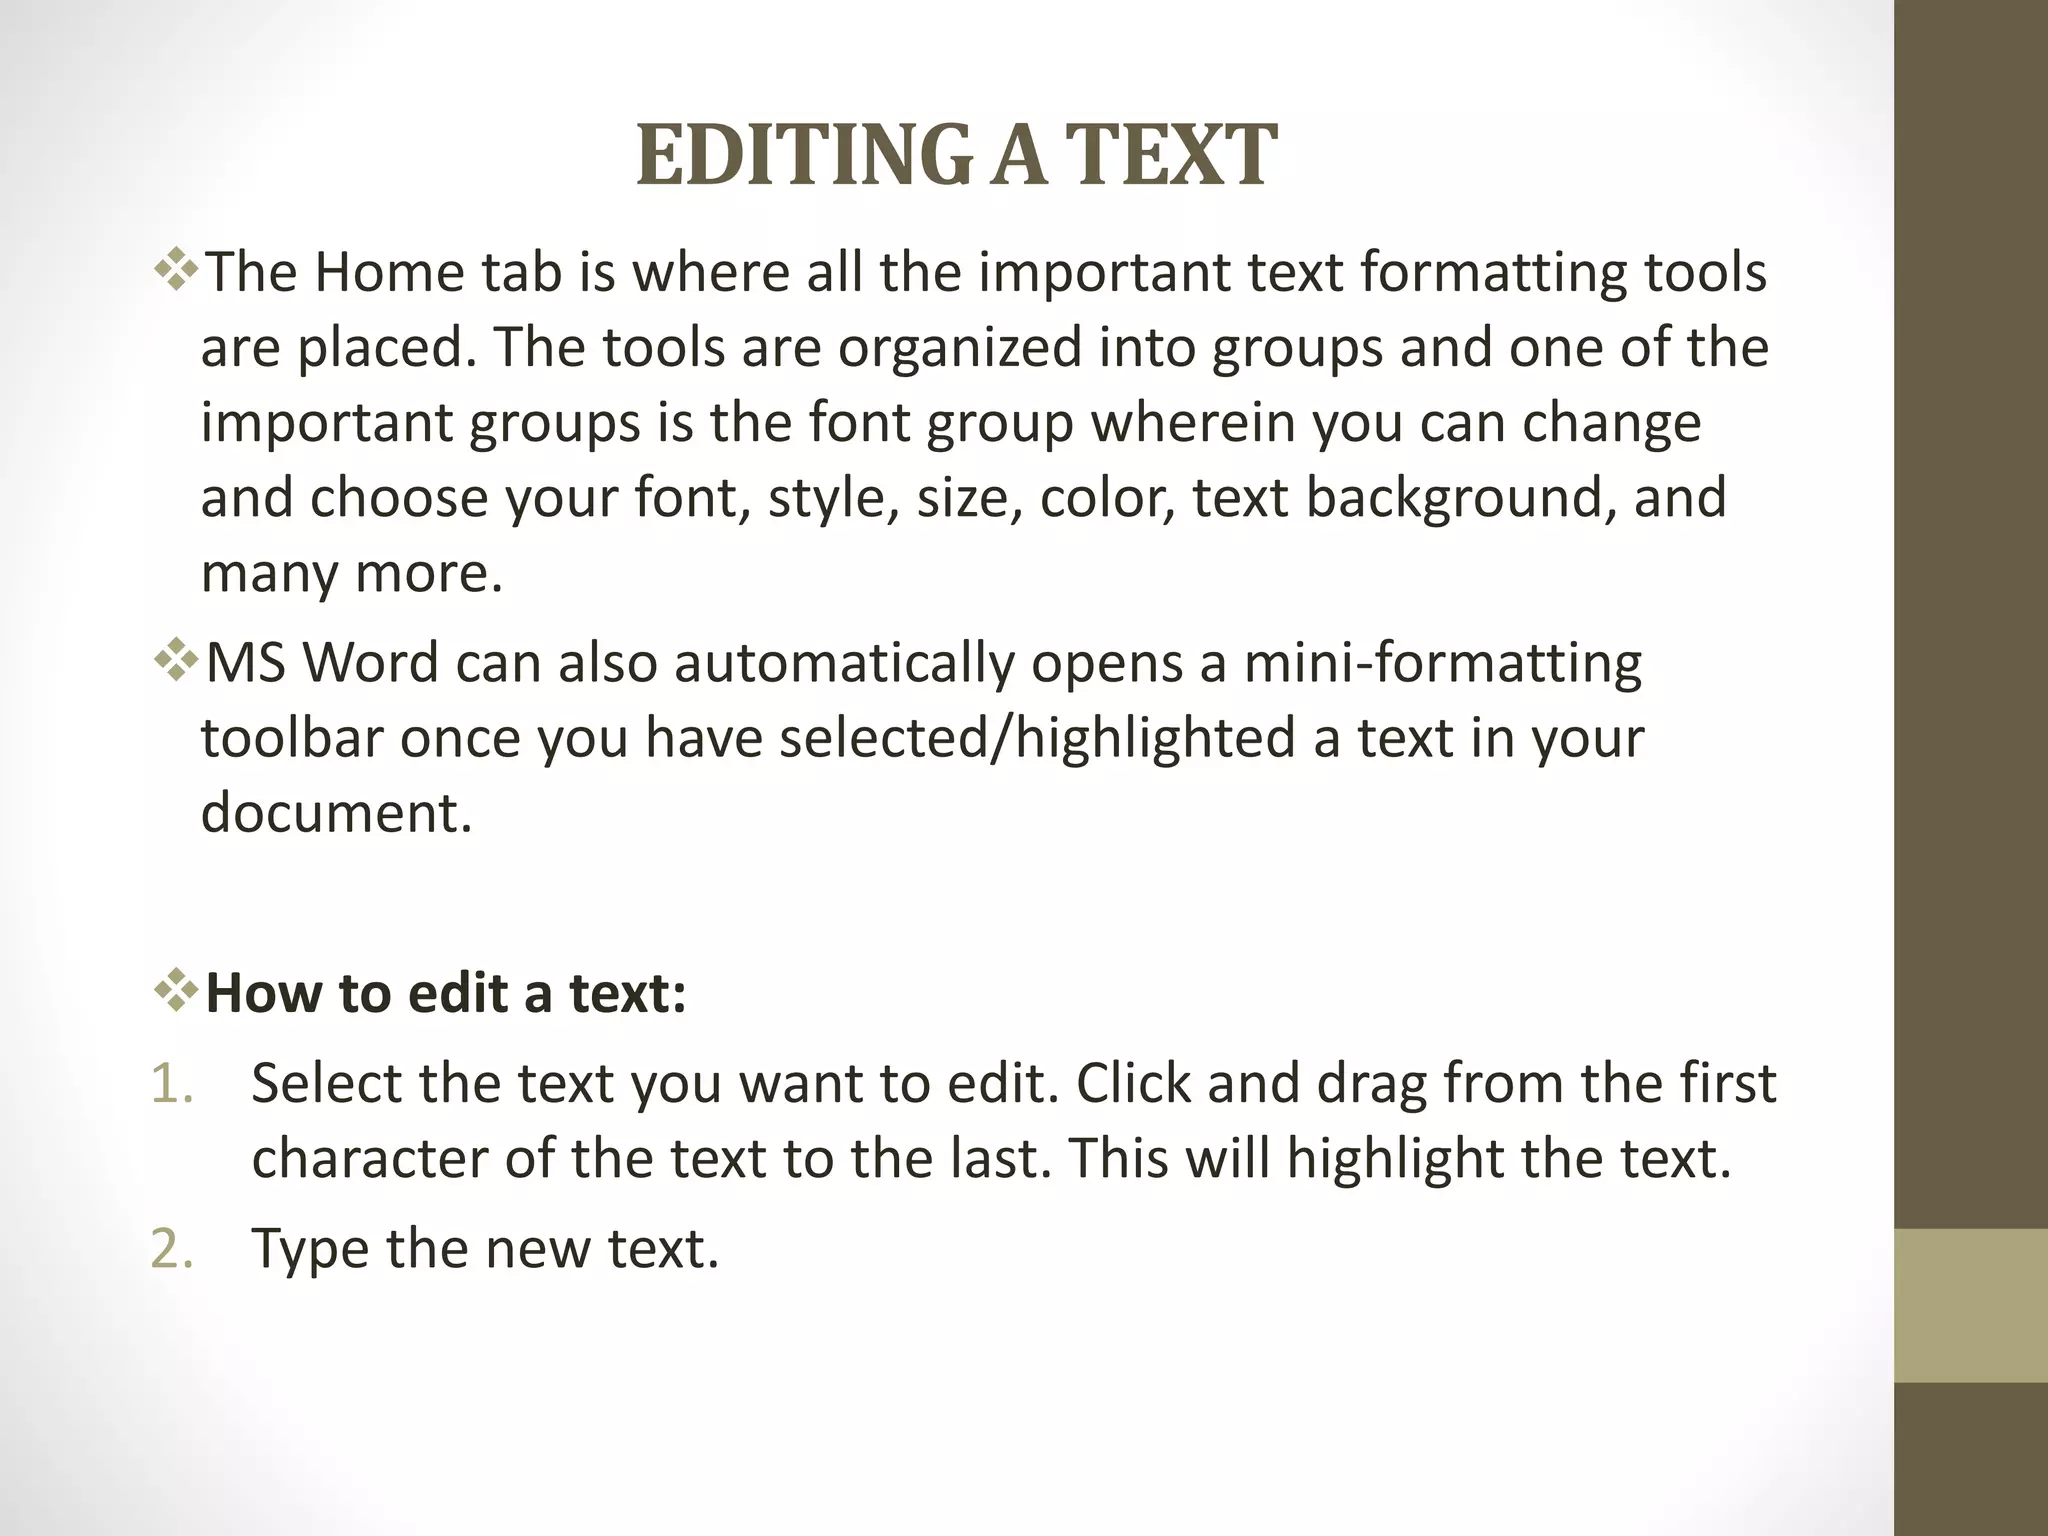
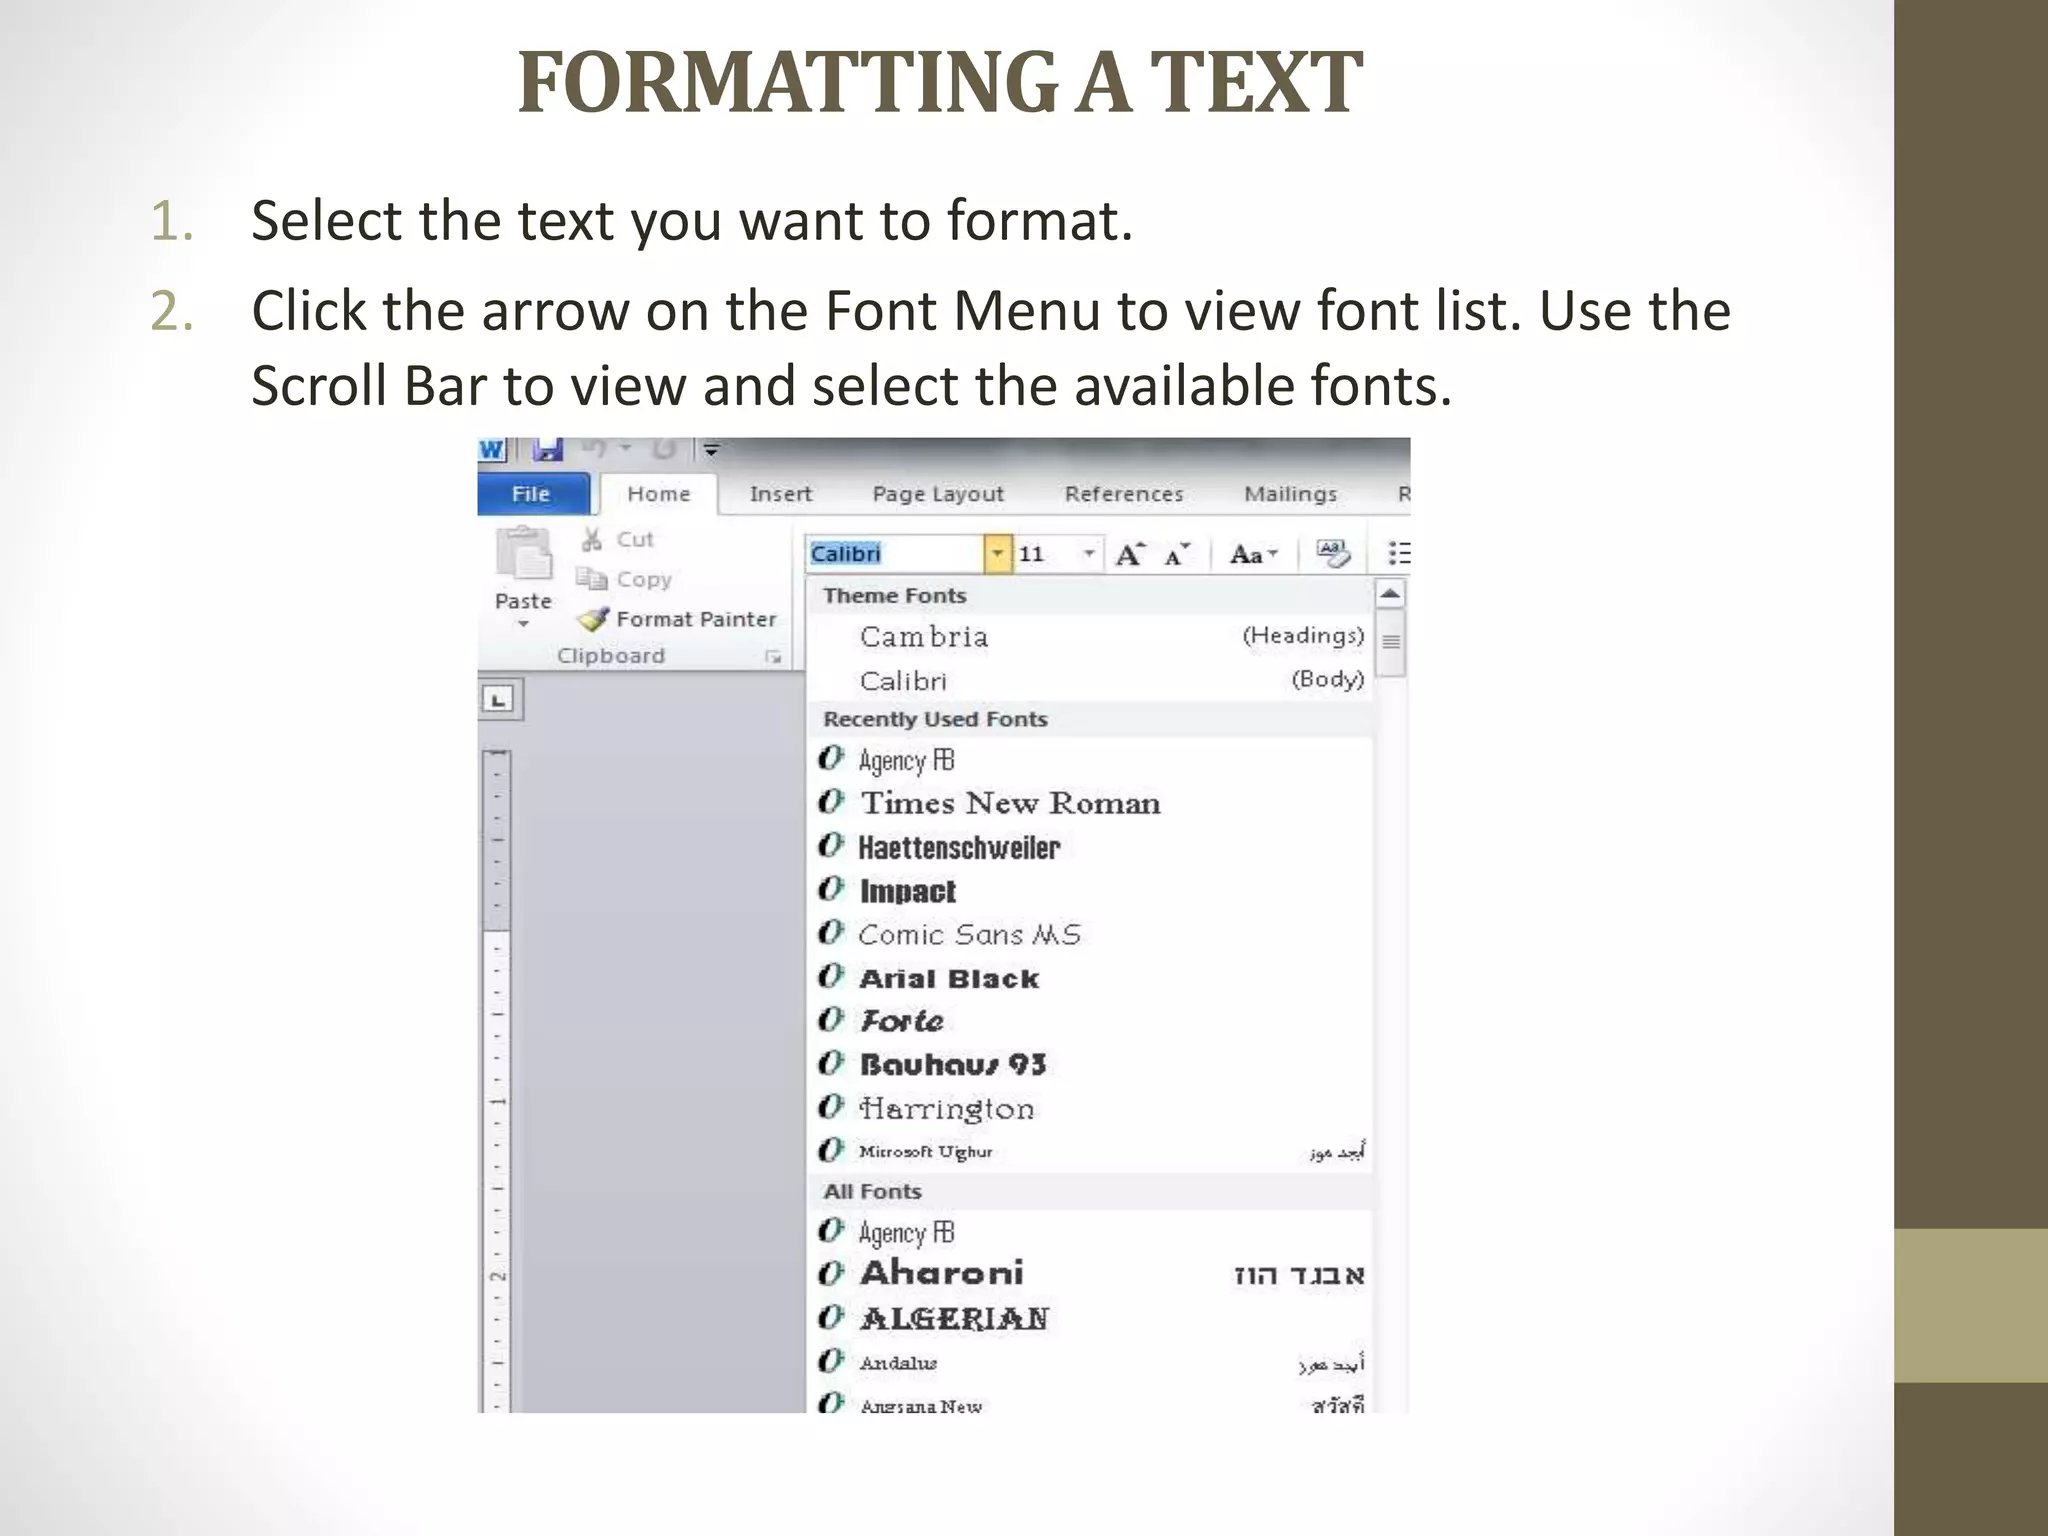
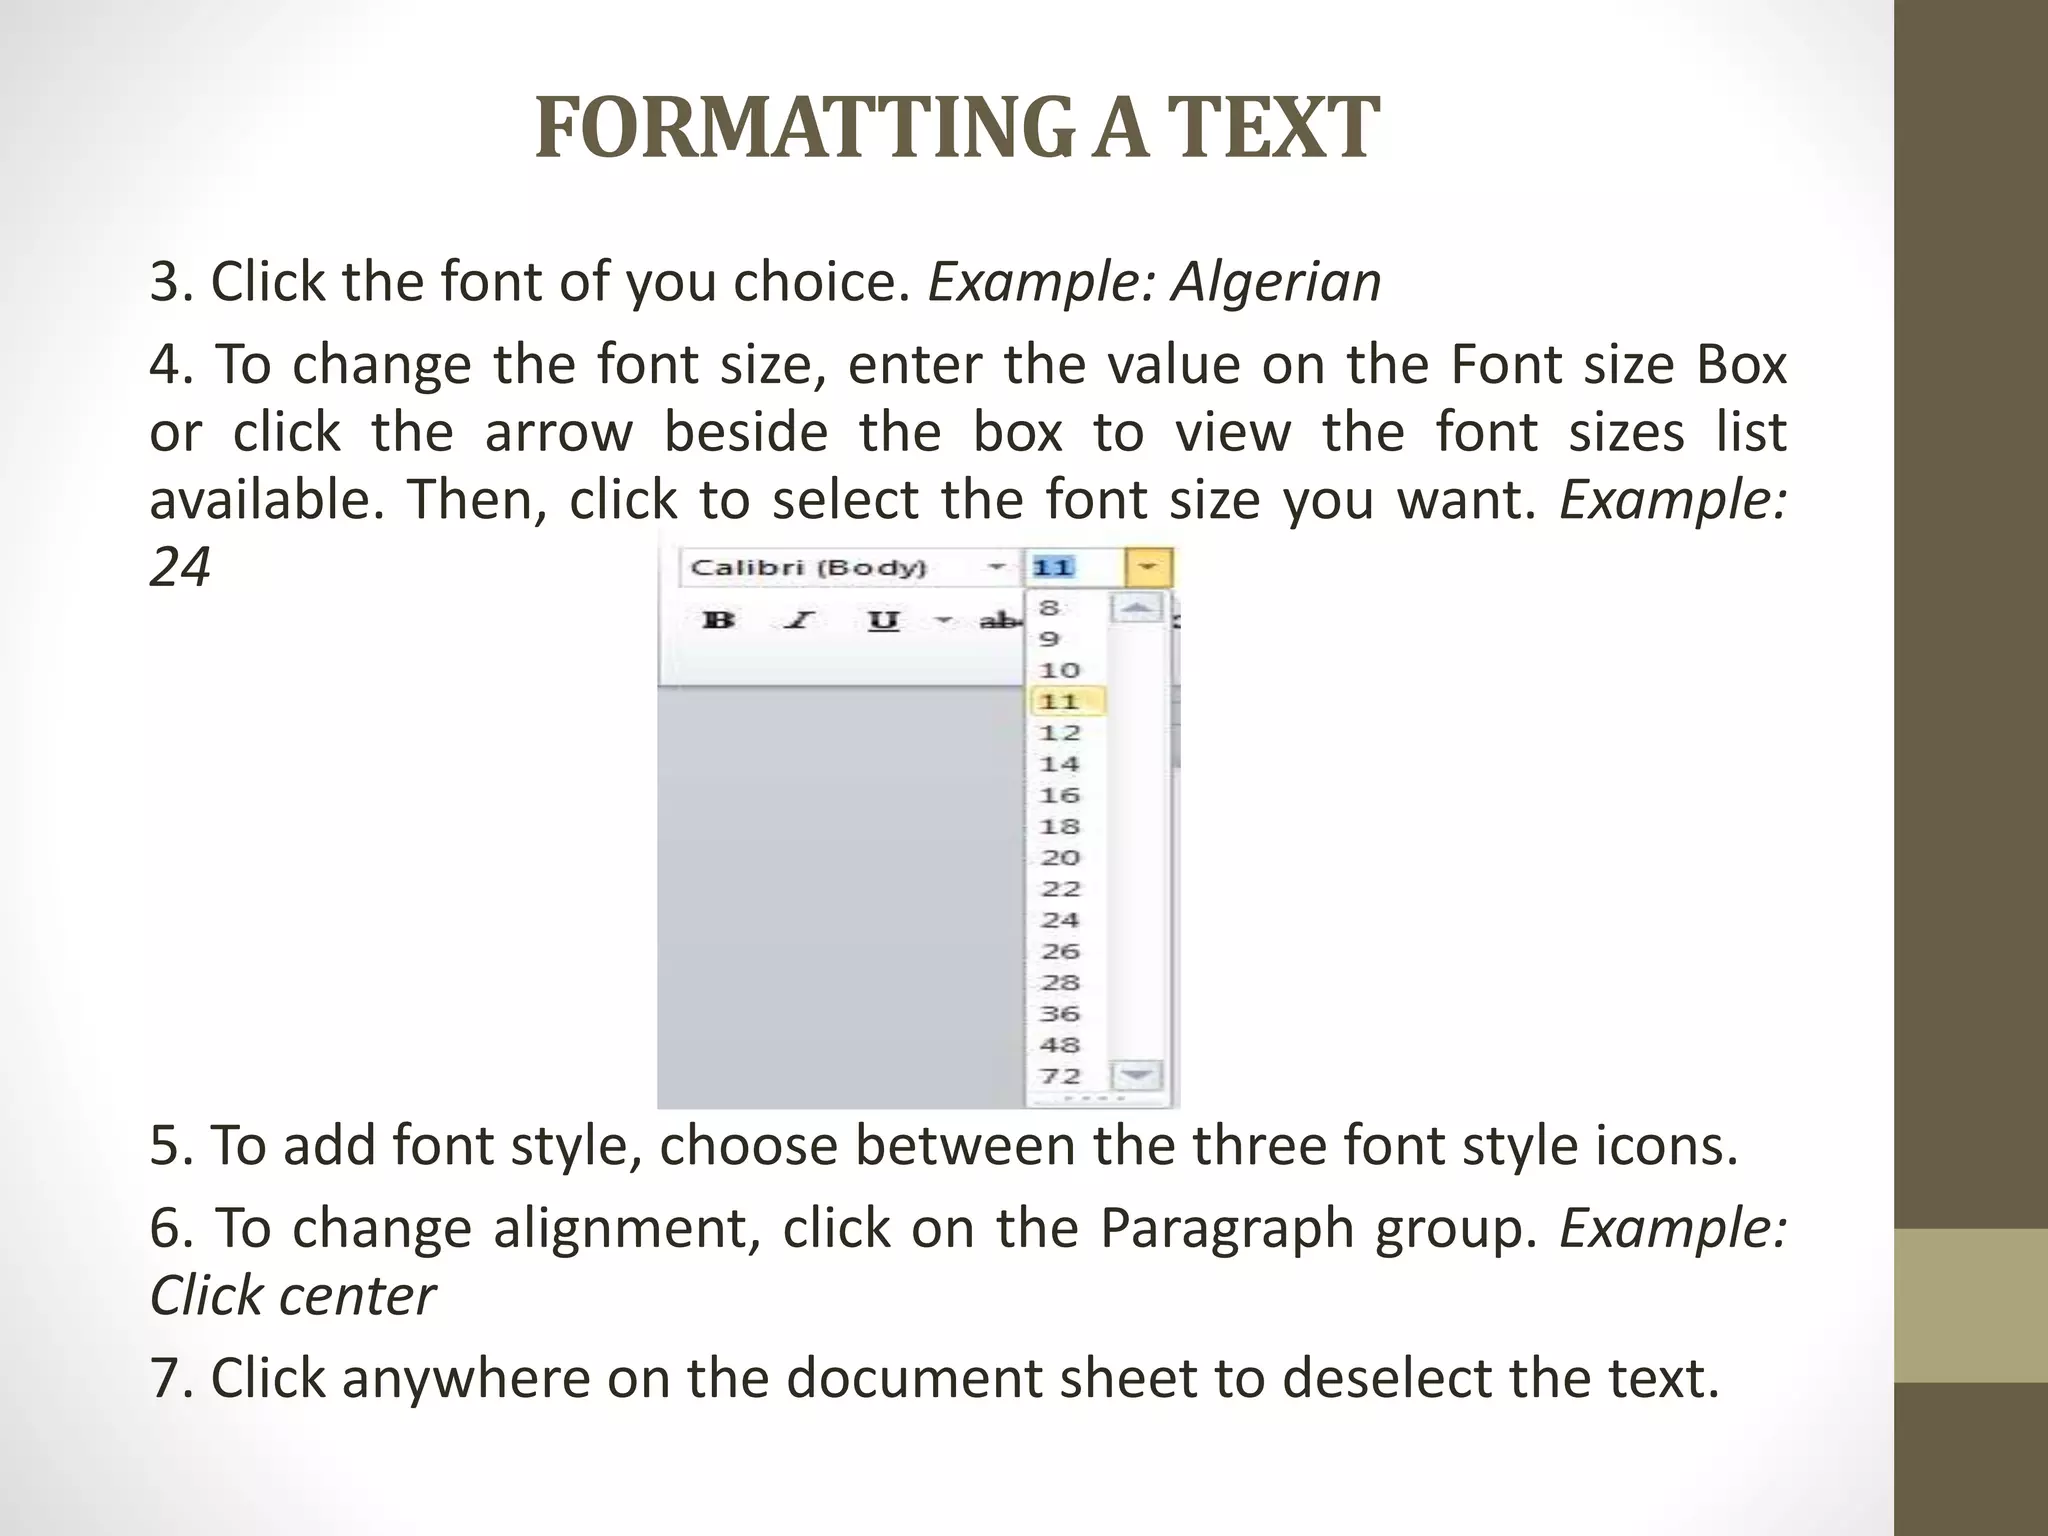
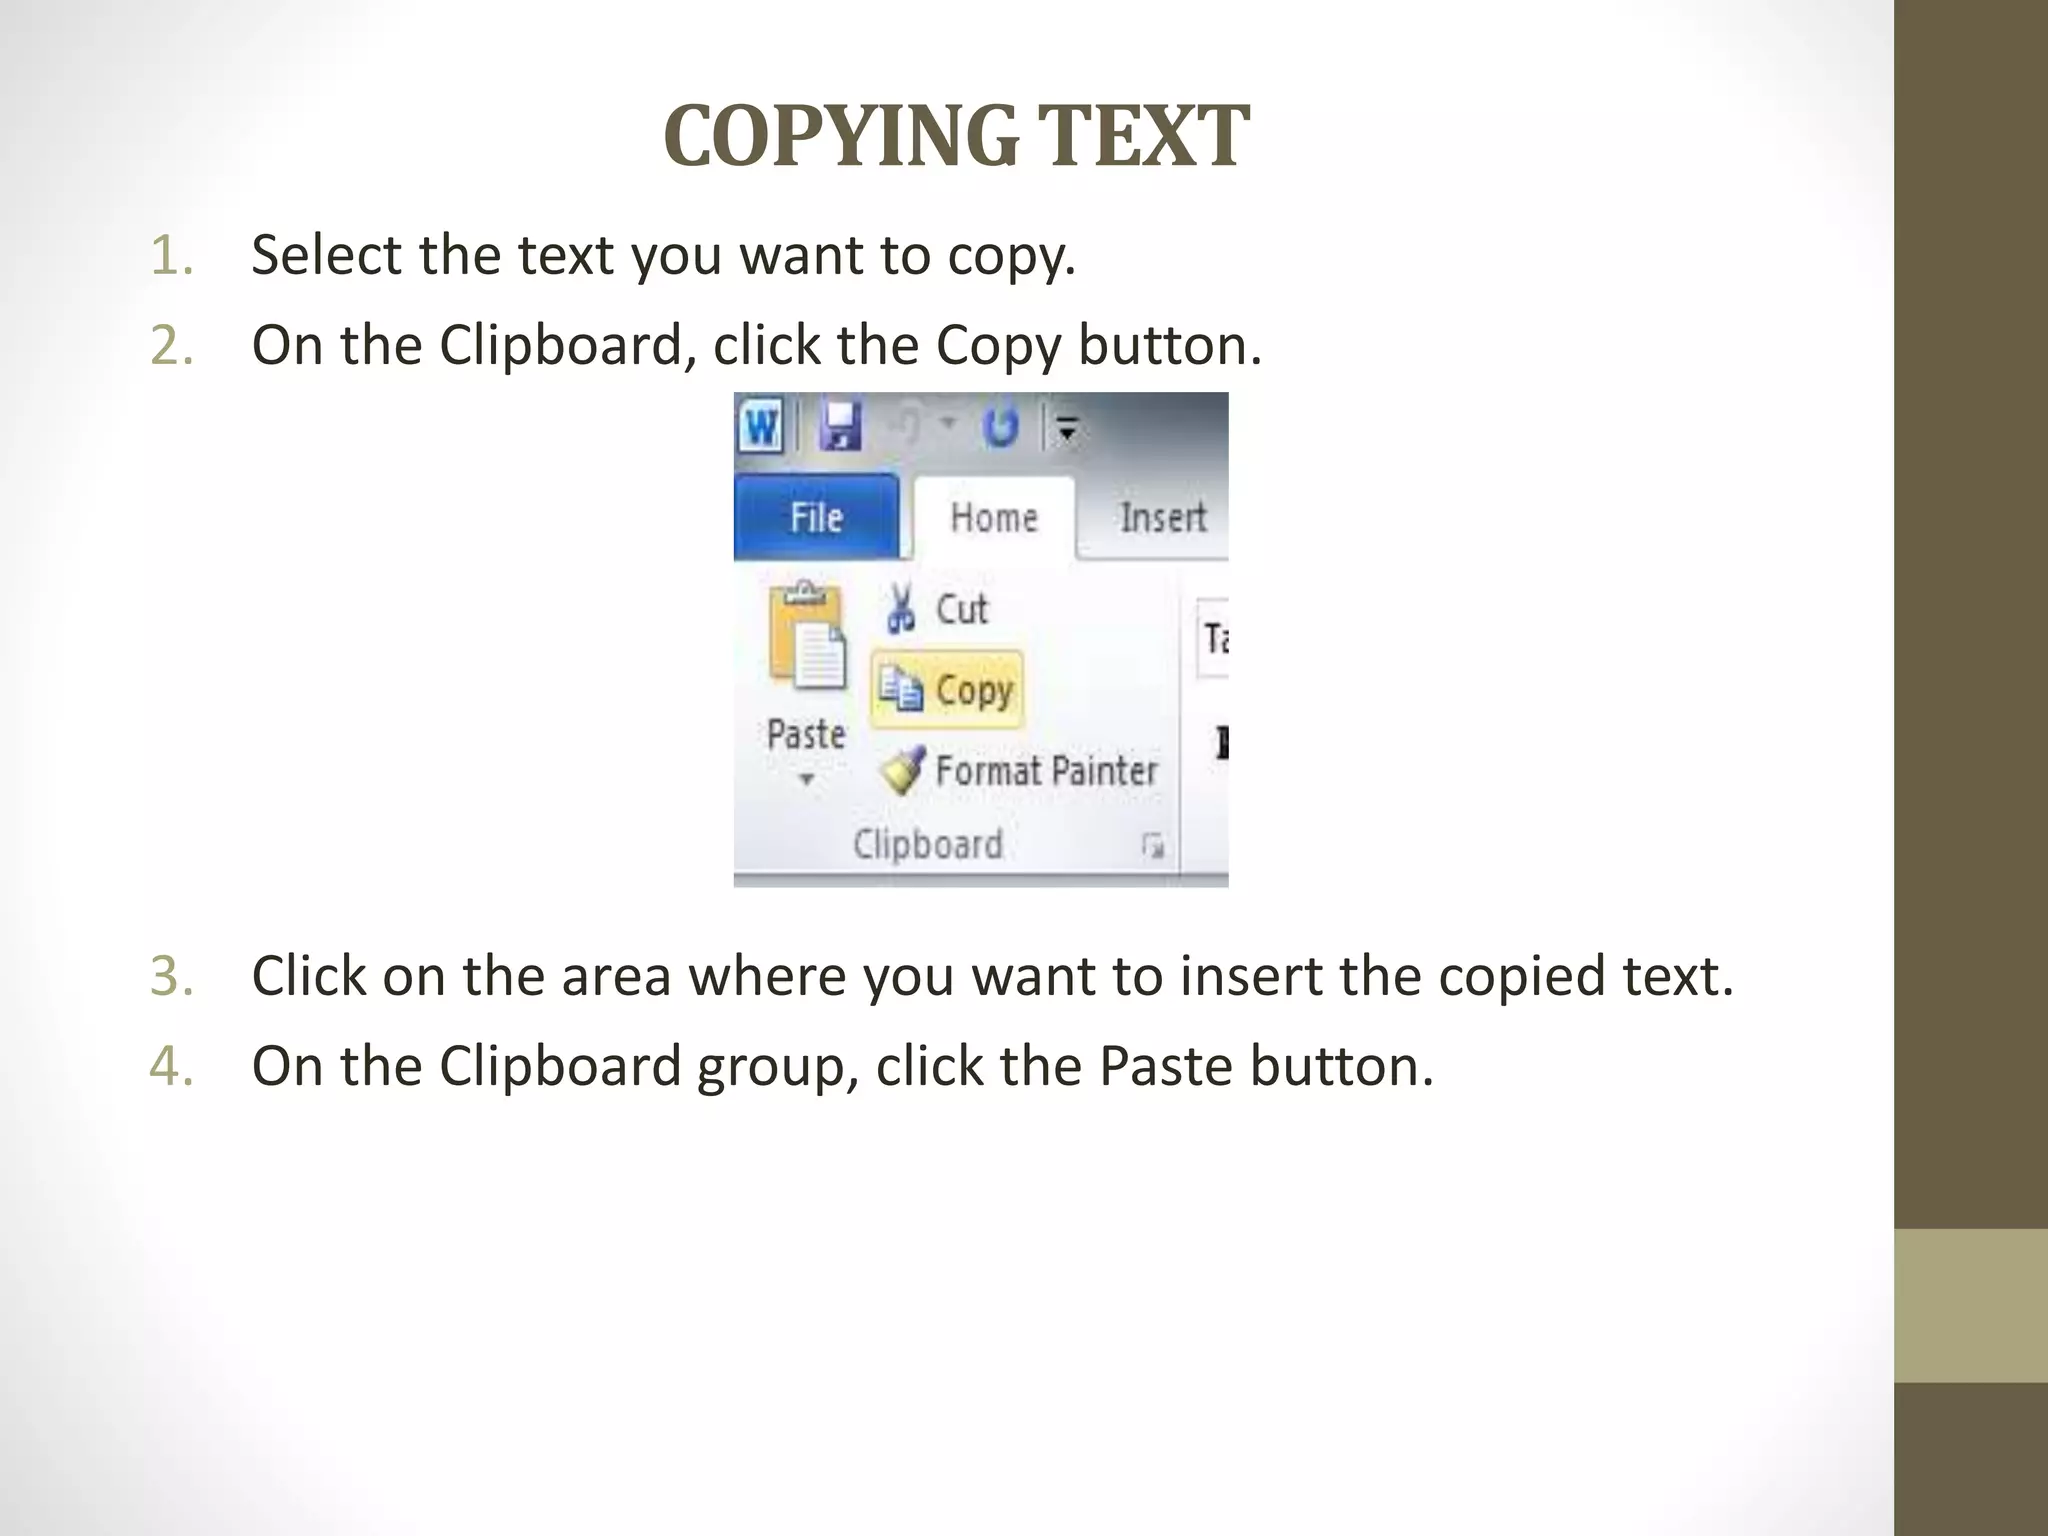
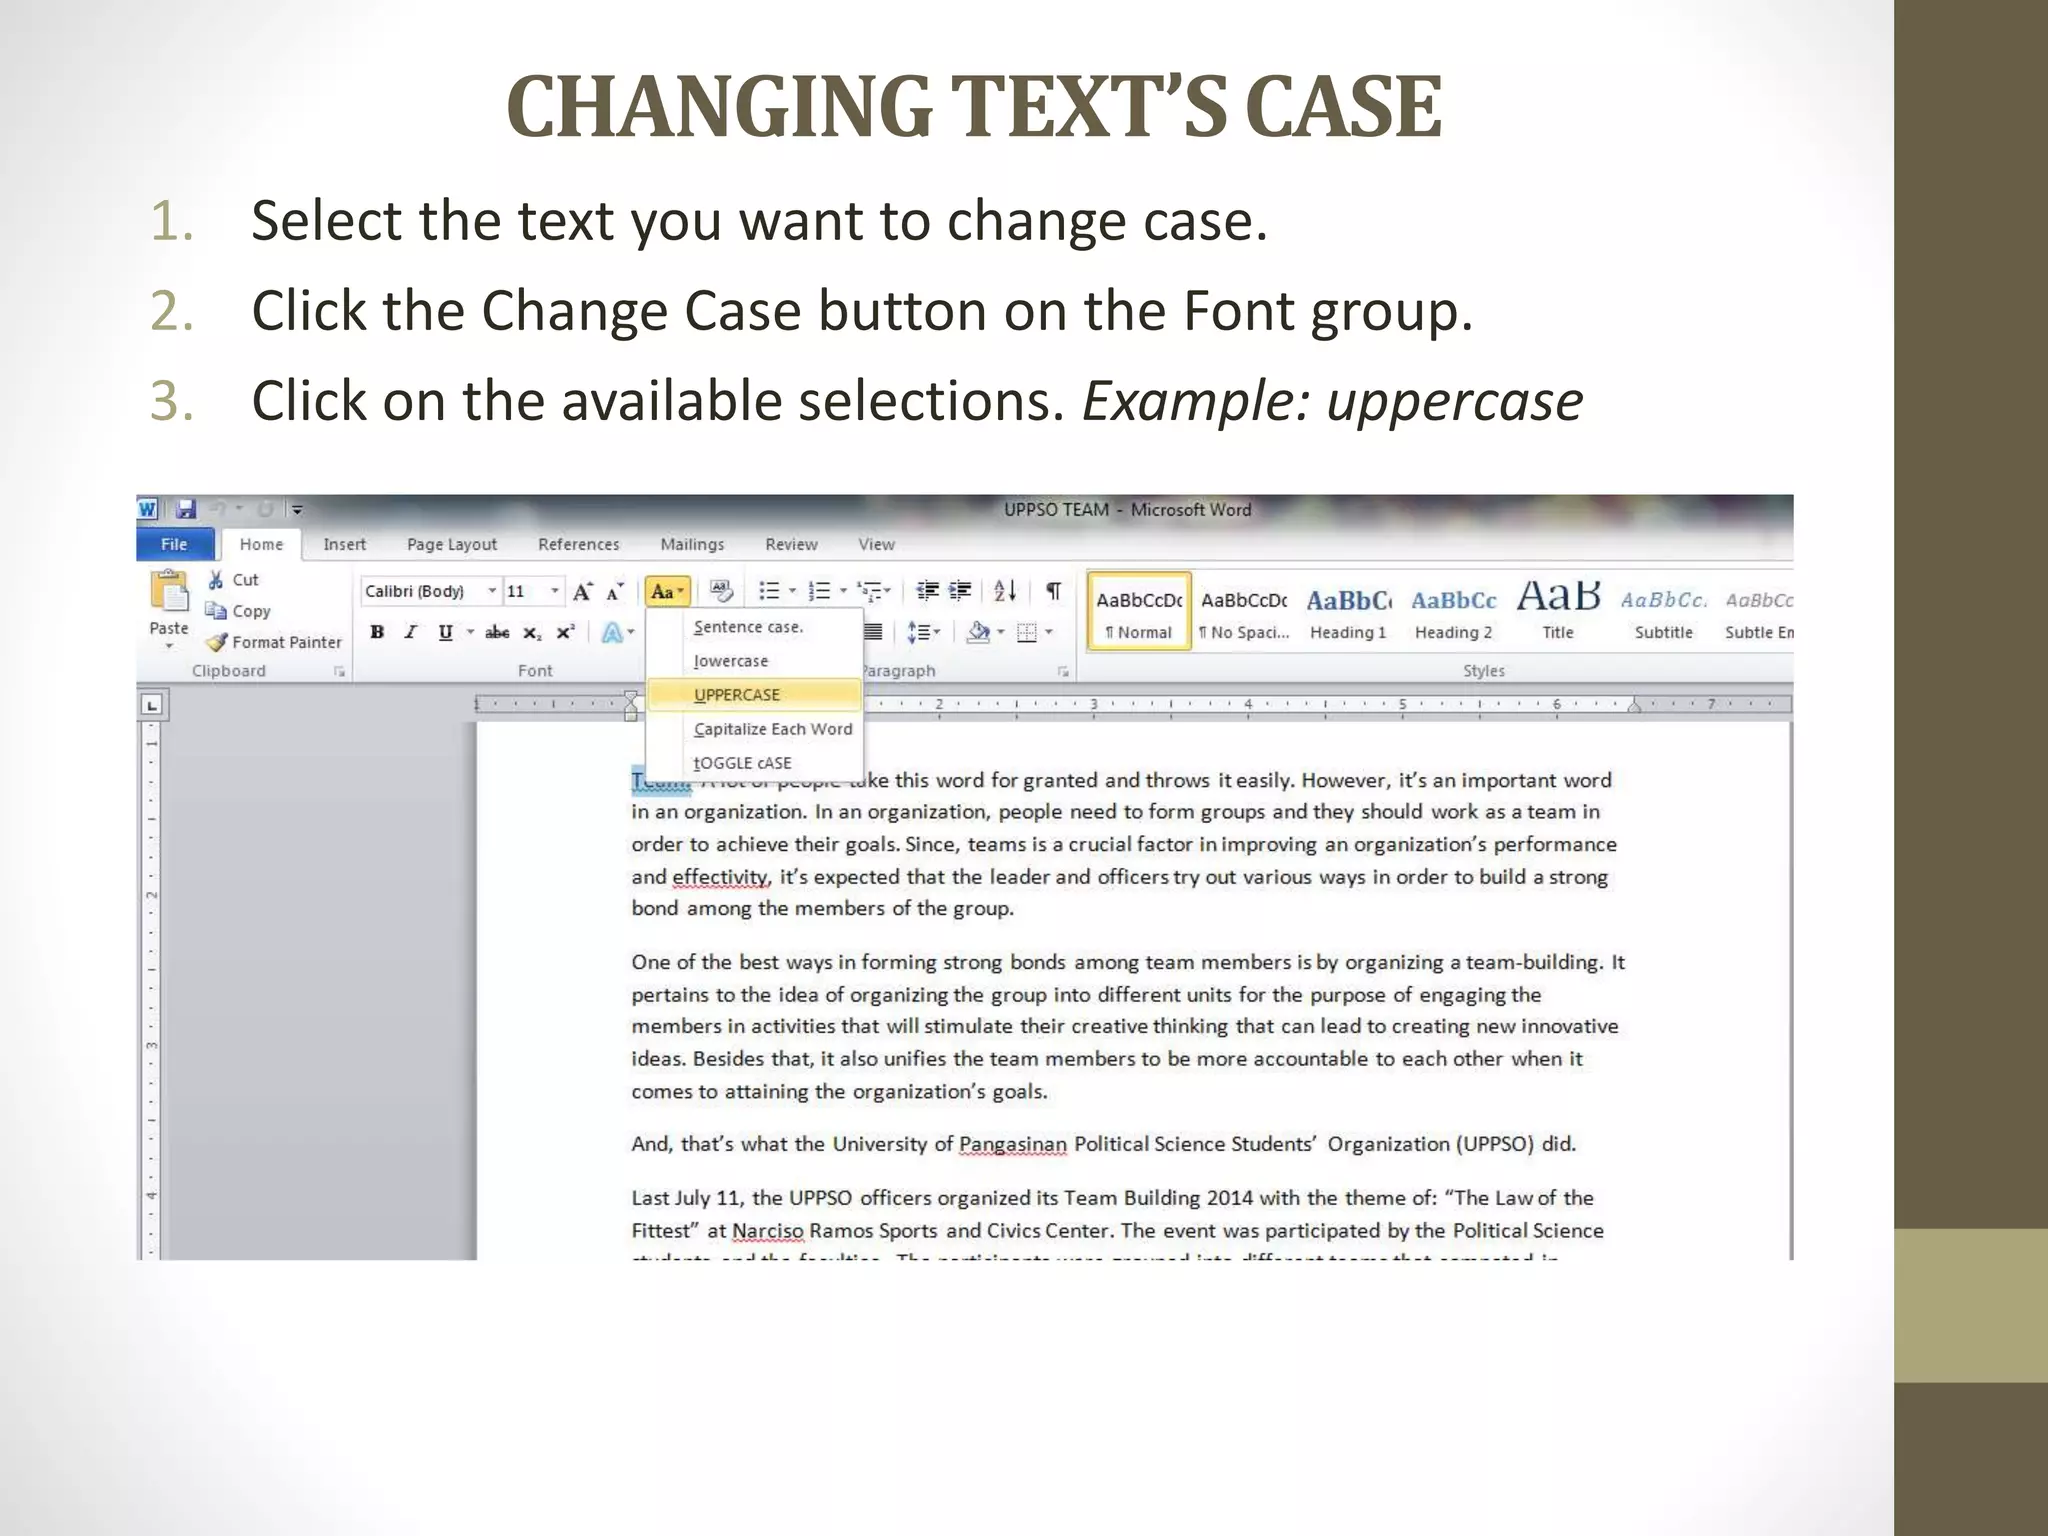
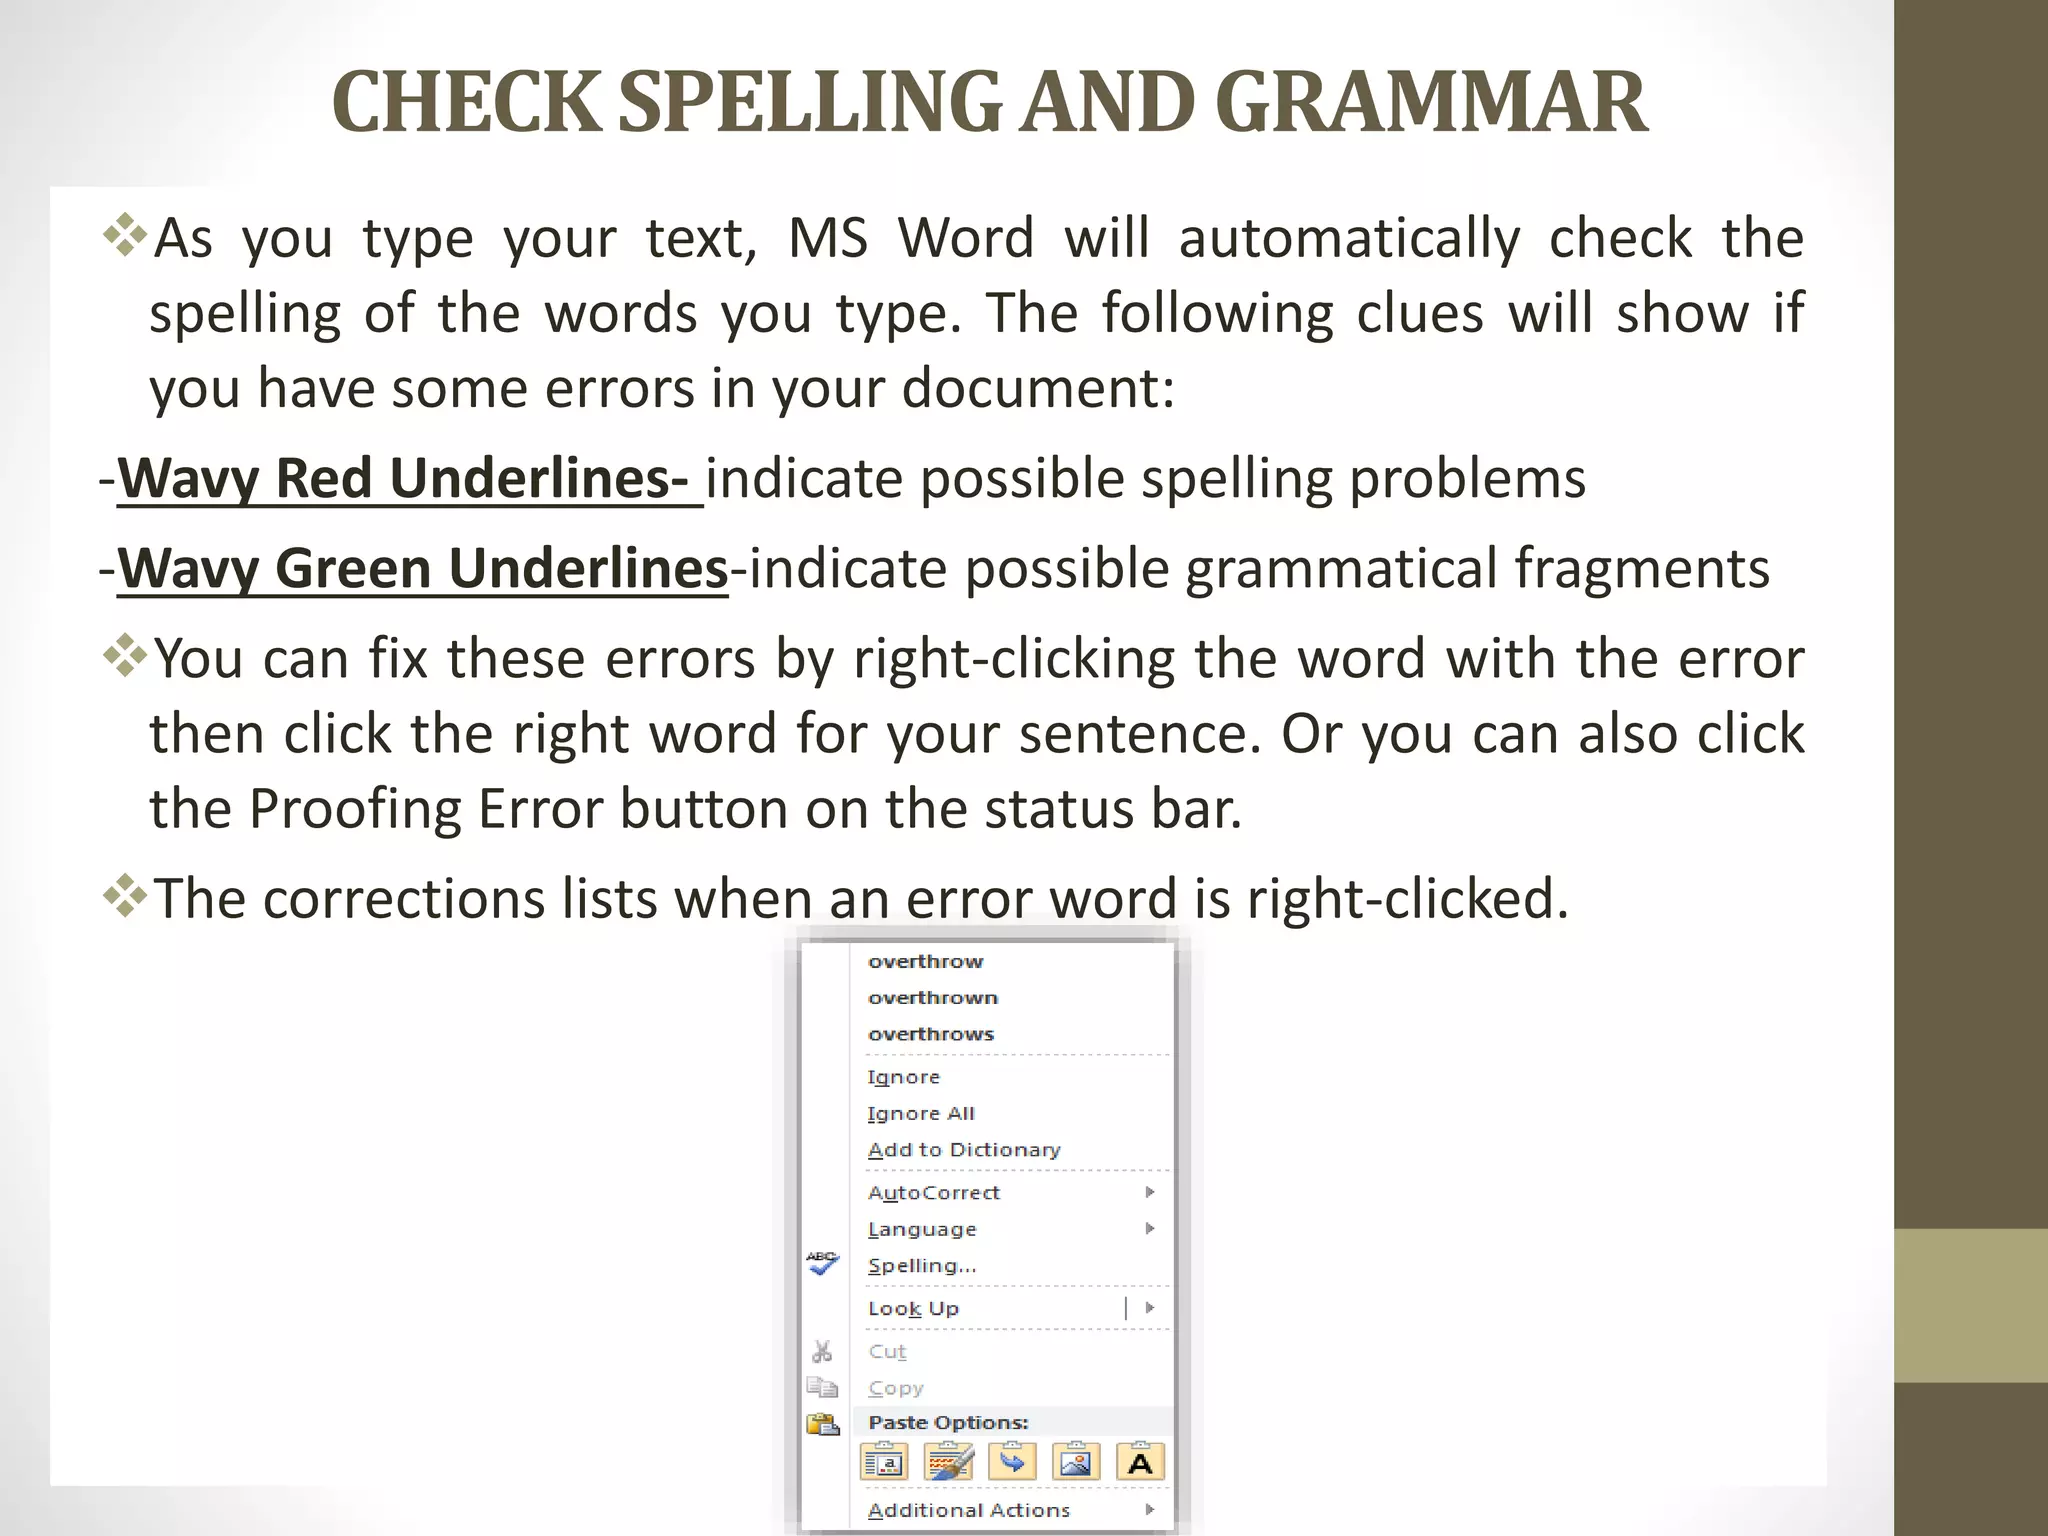
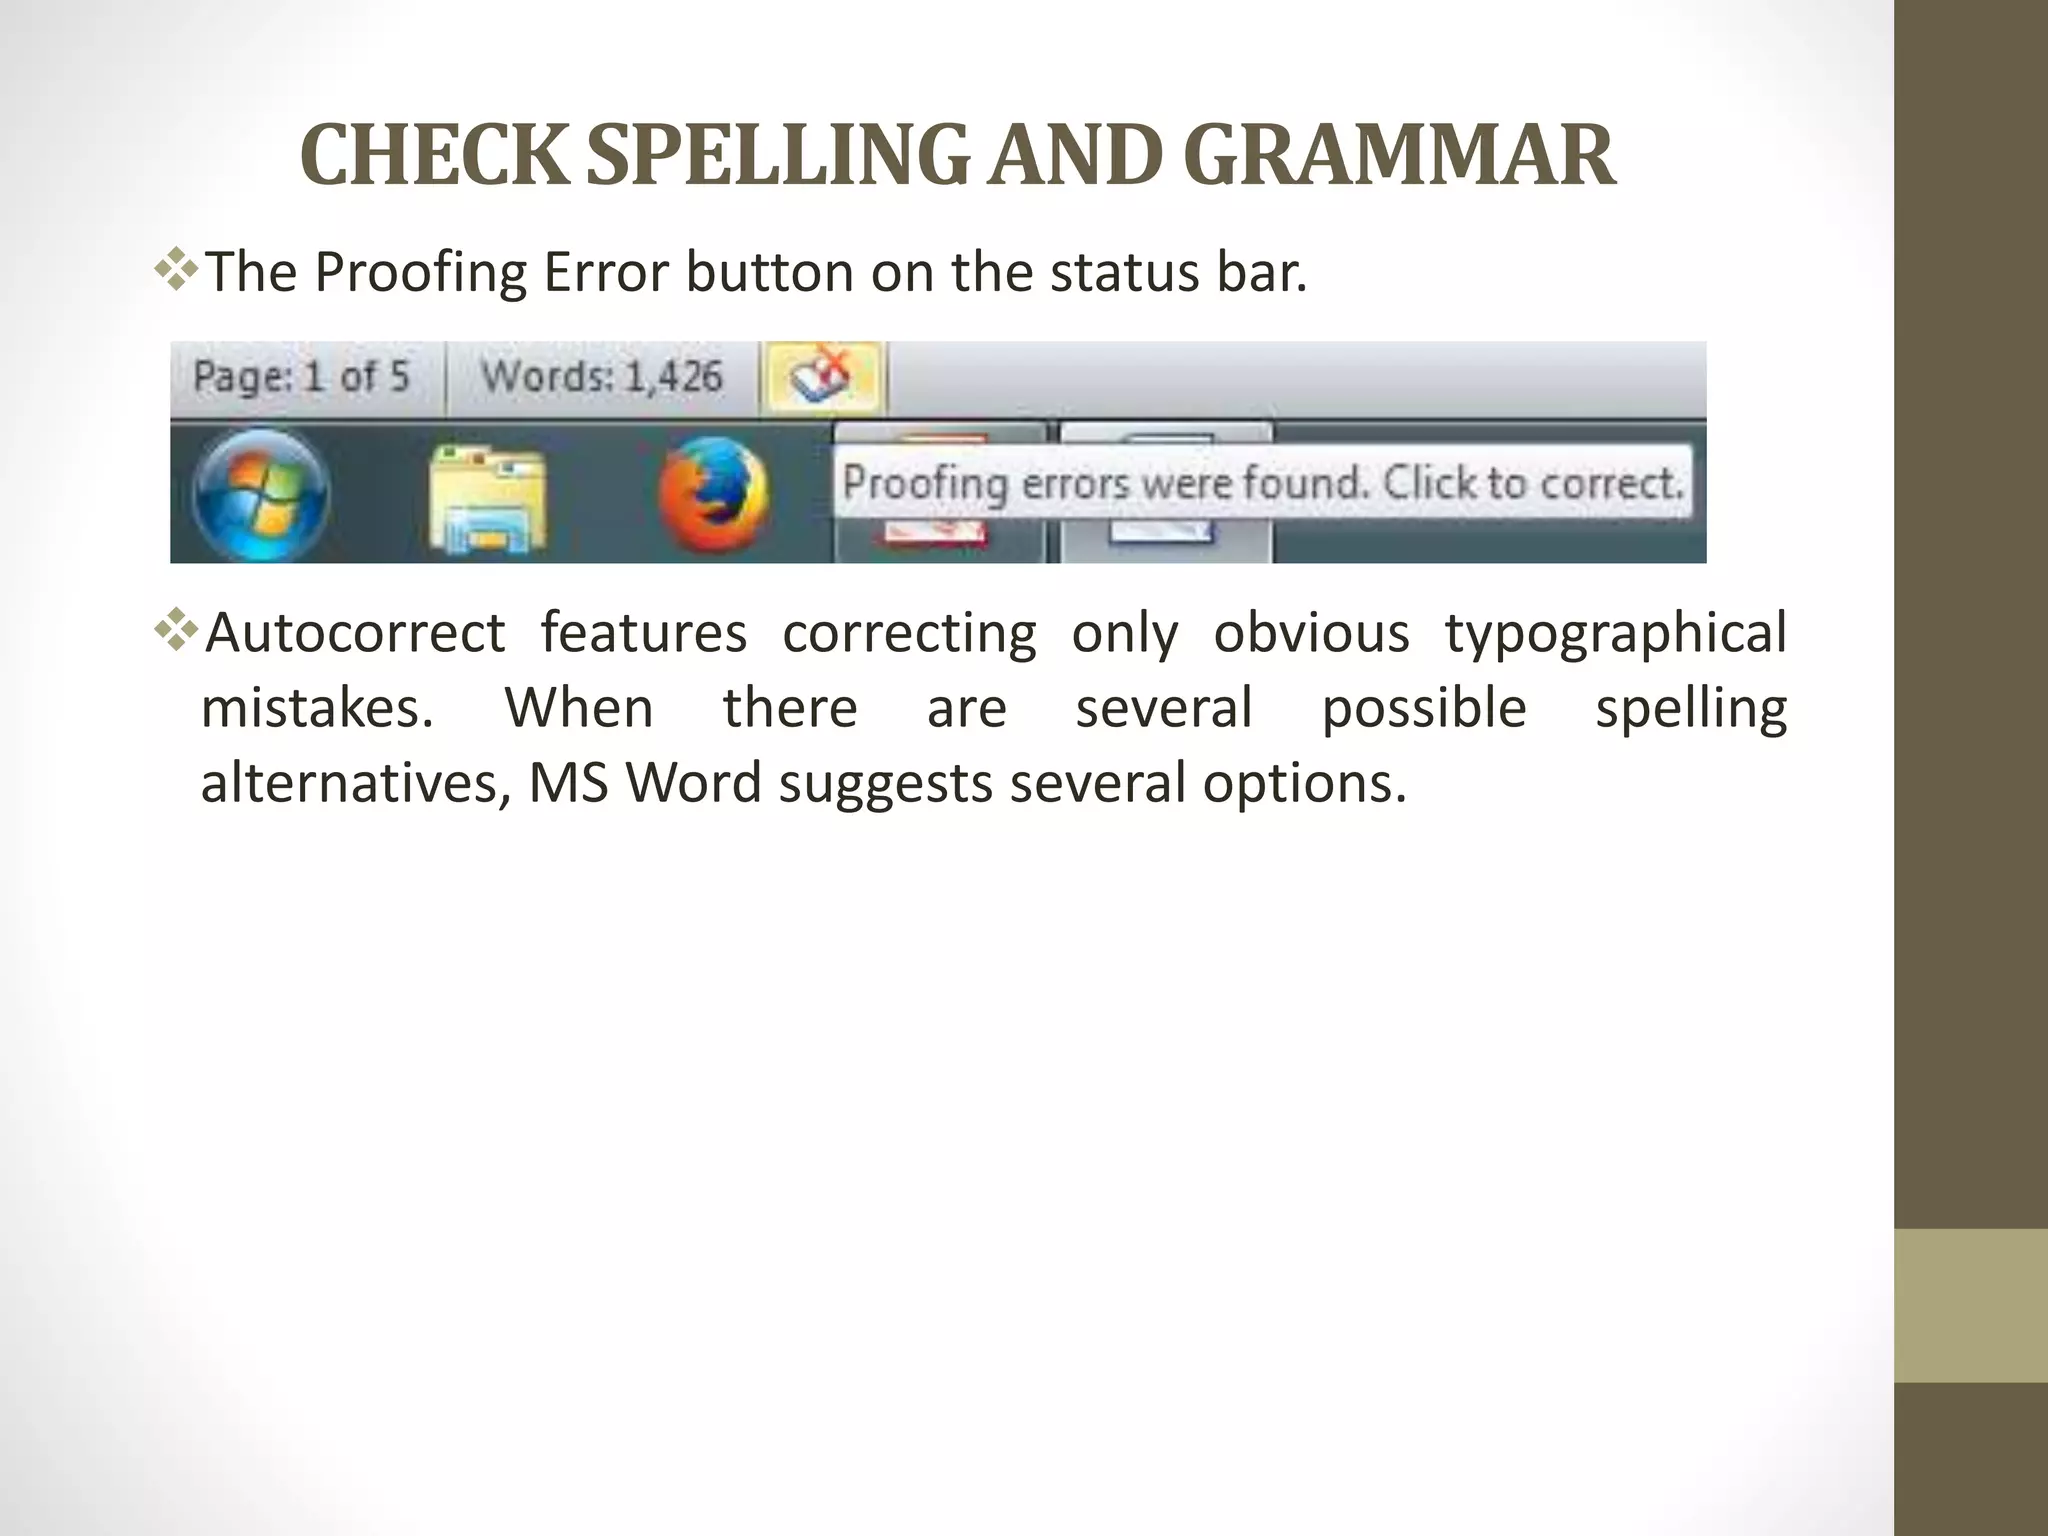
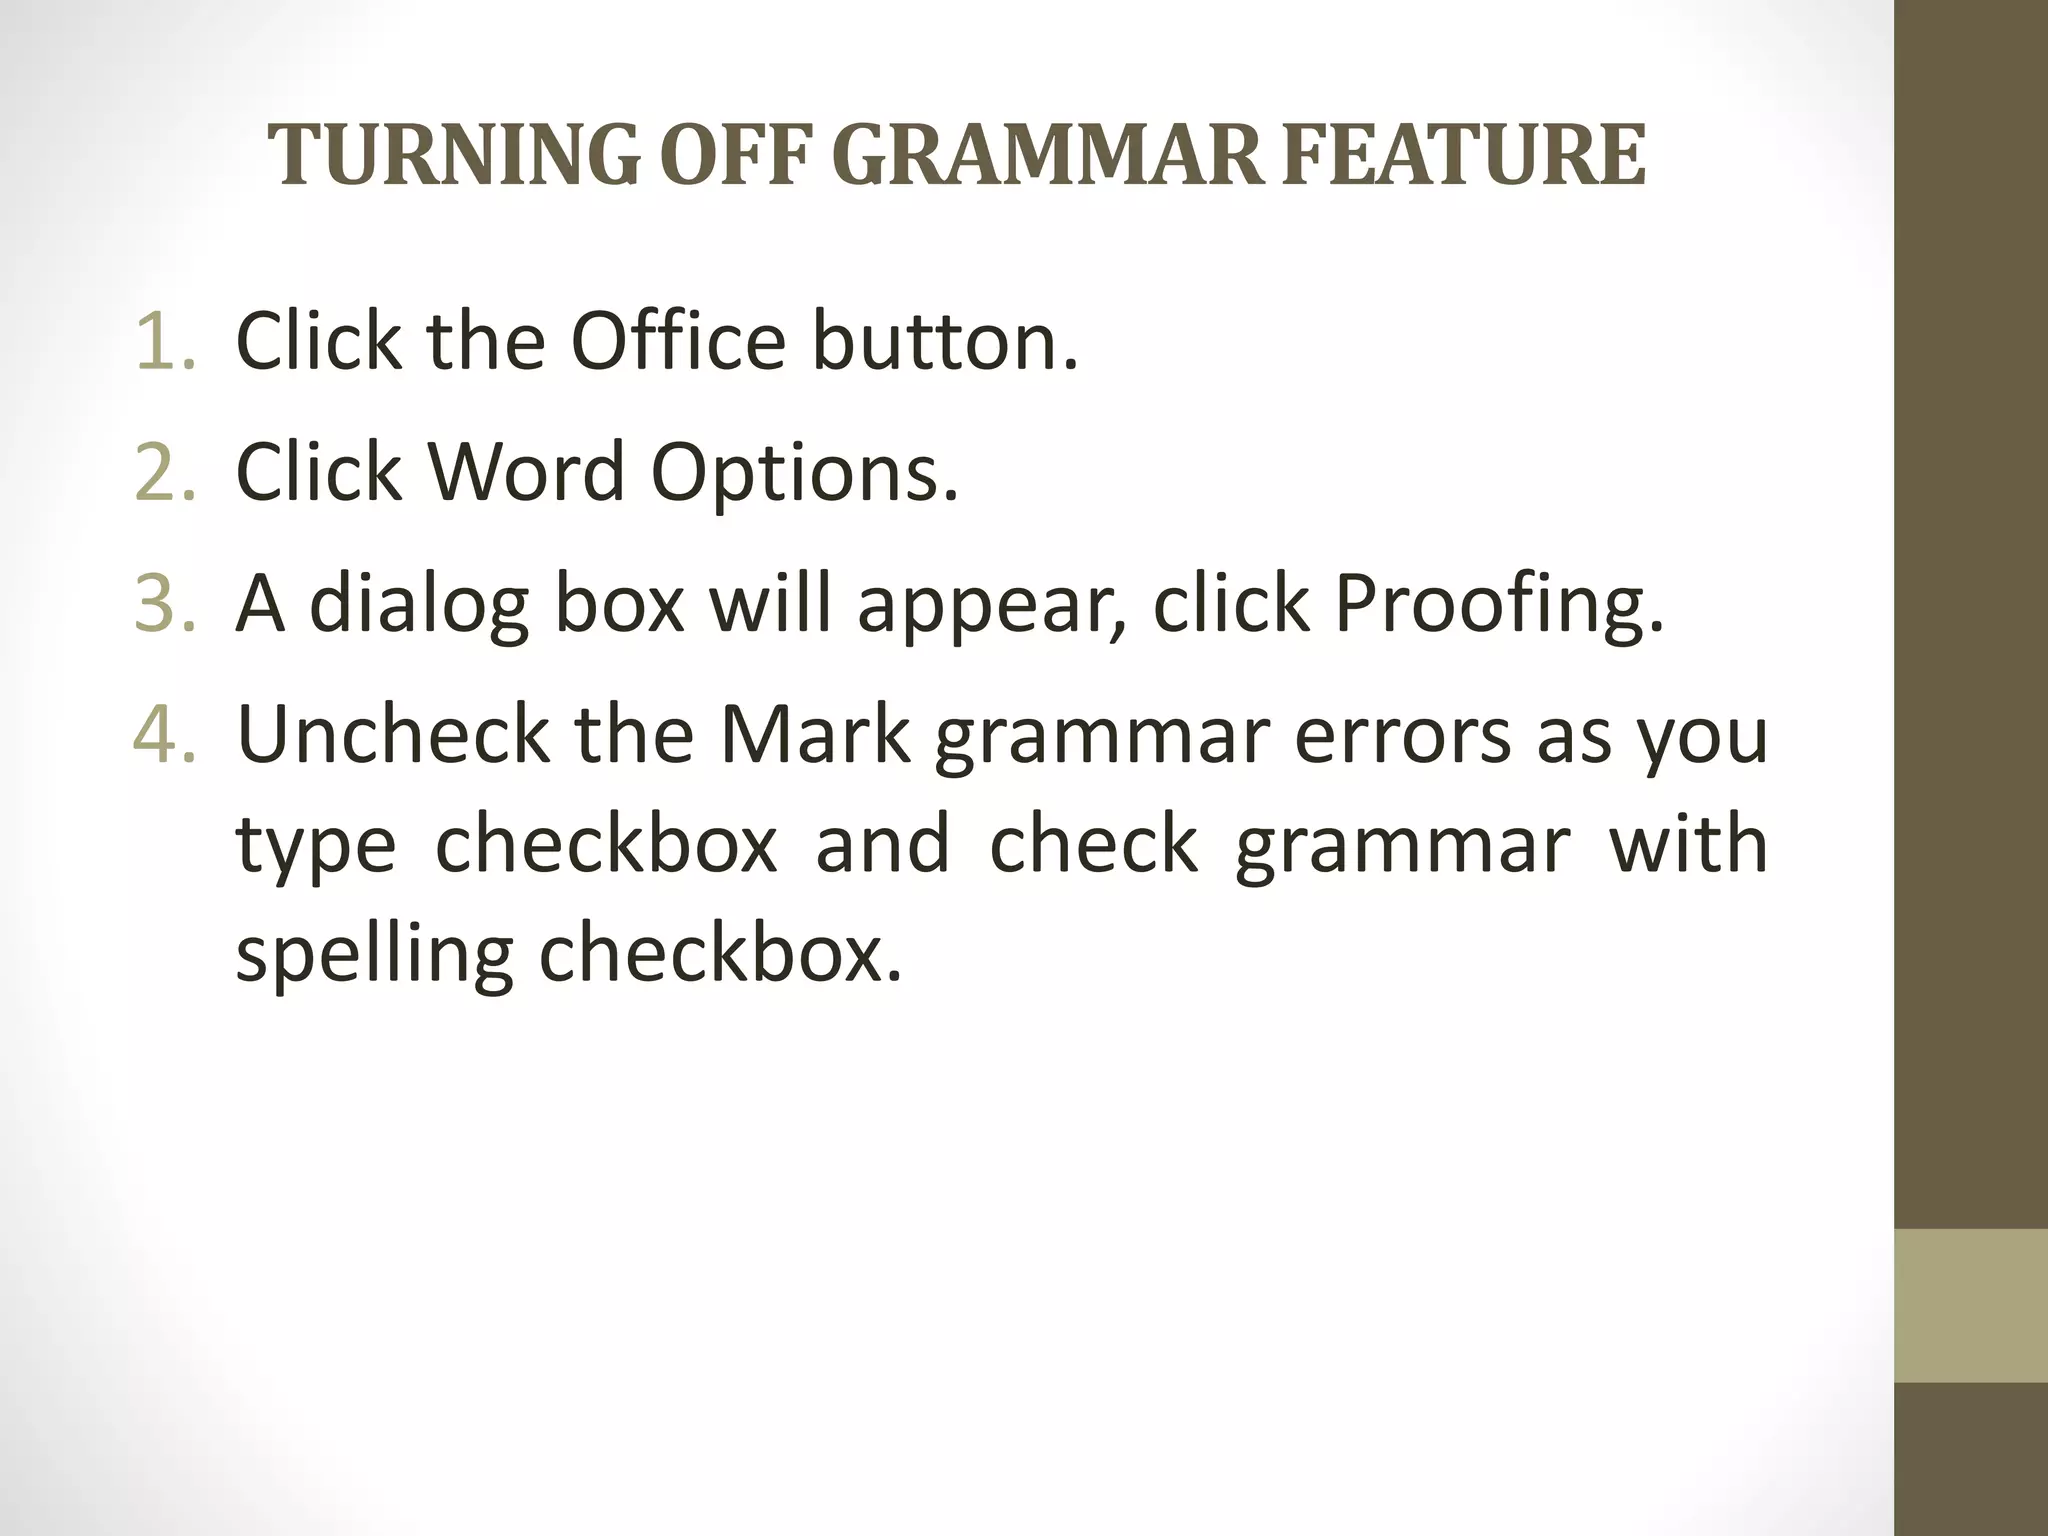
Guidance on text editing and formatting including font selection, copying text, and checking spelling and grammar.
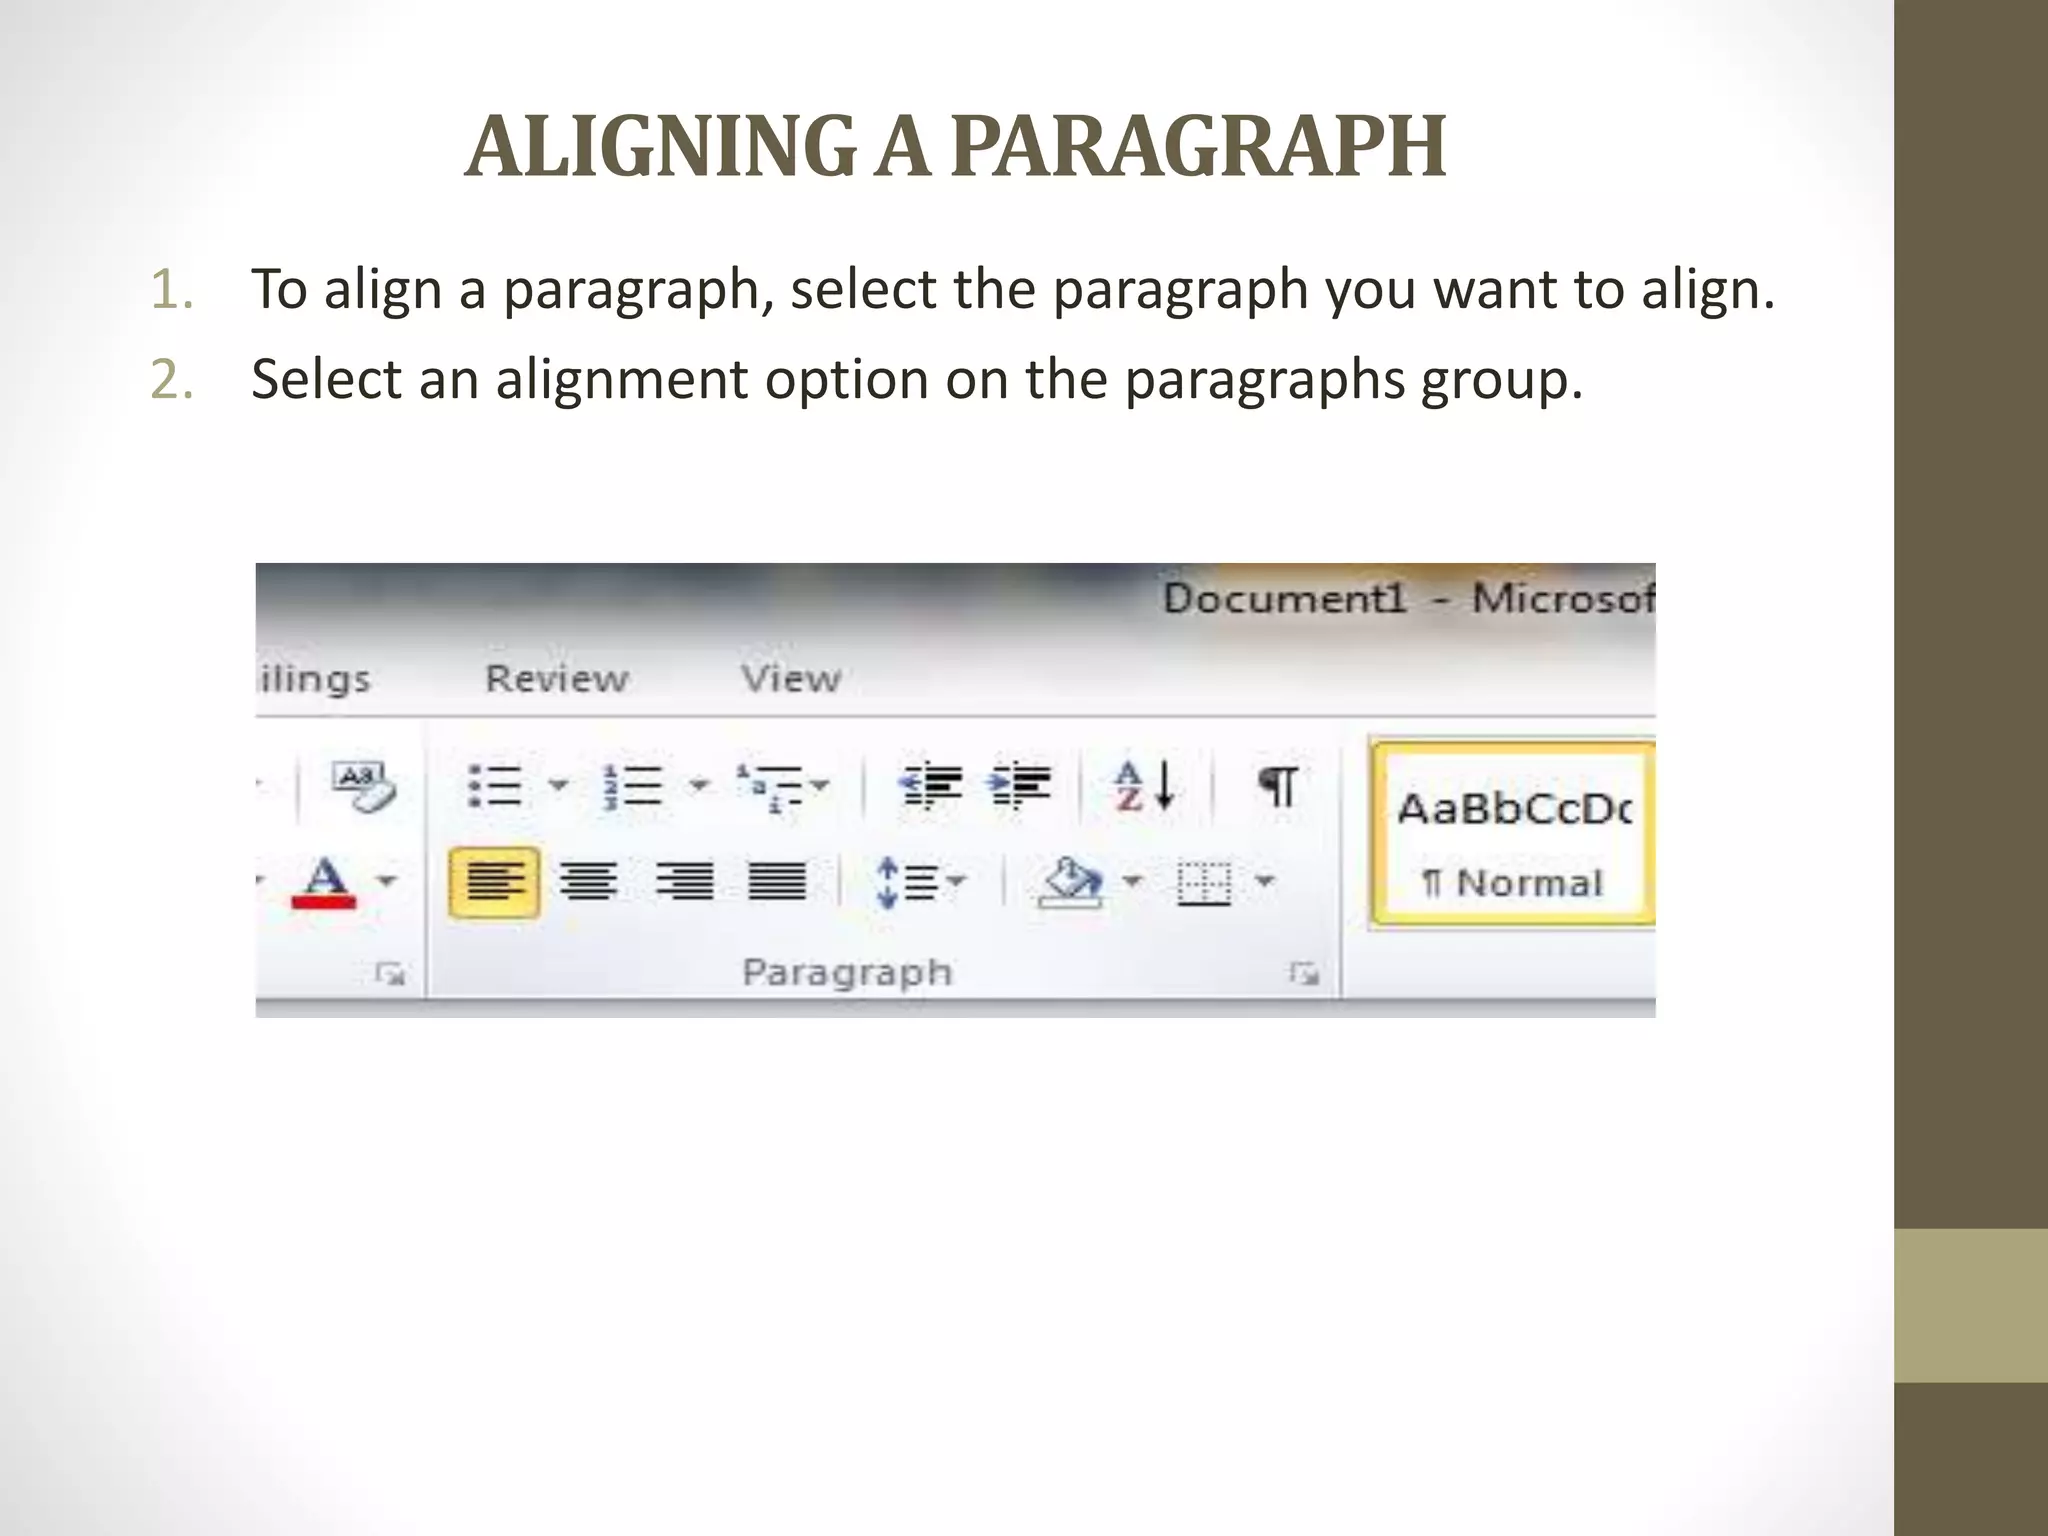
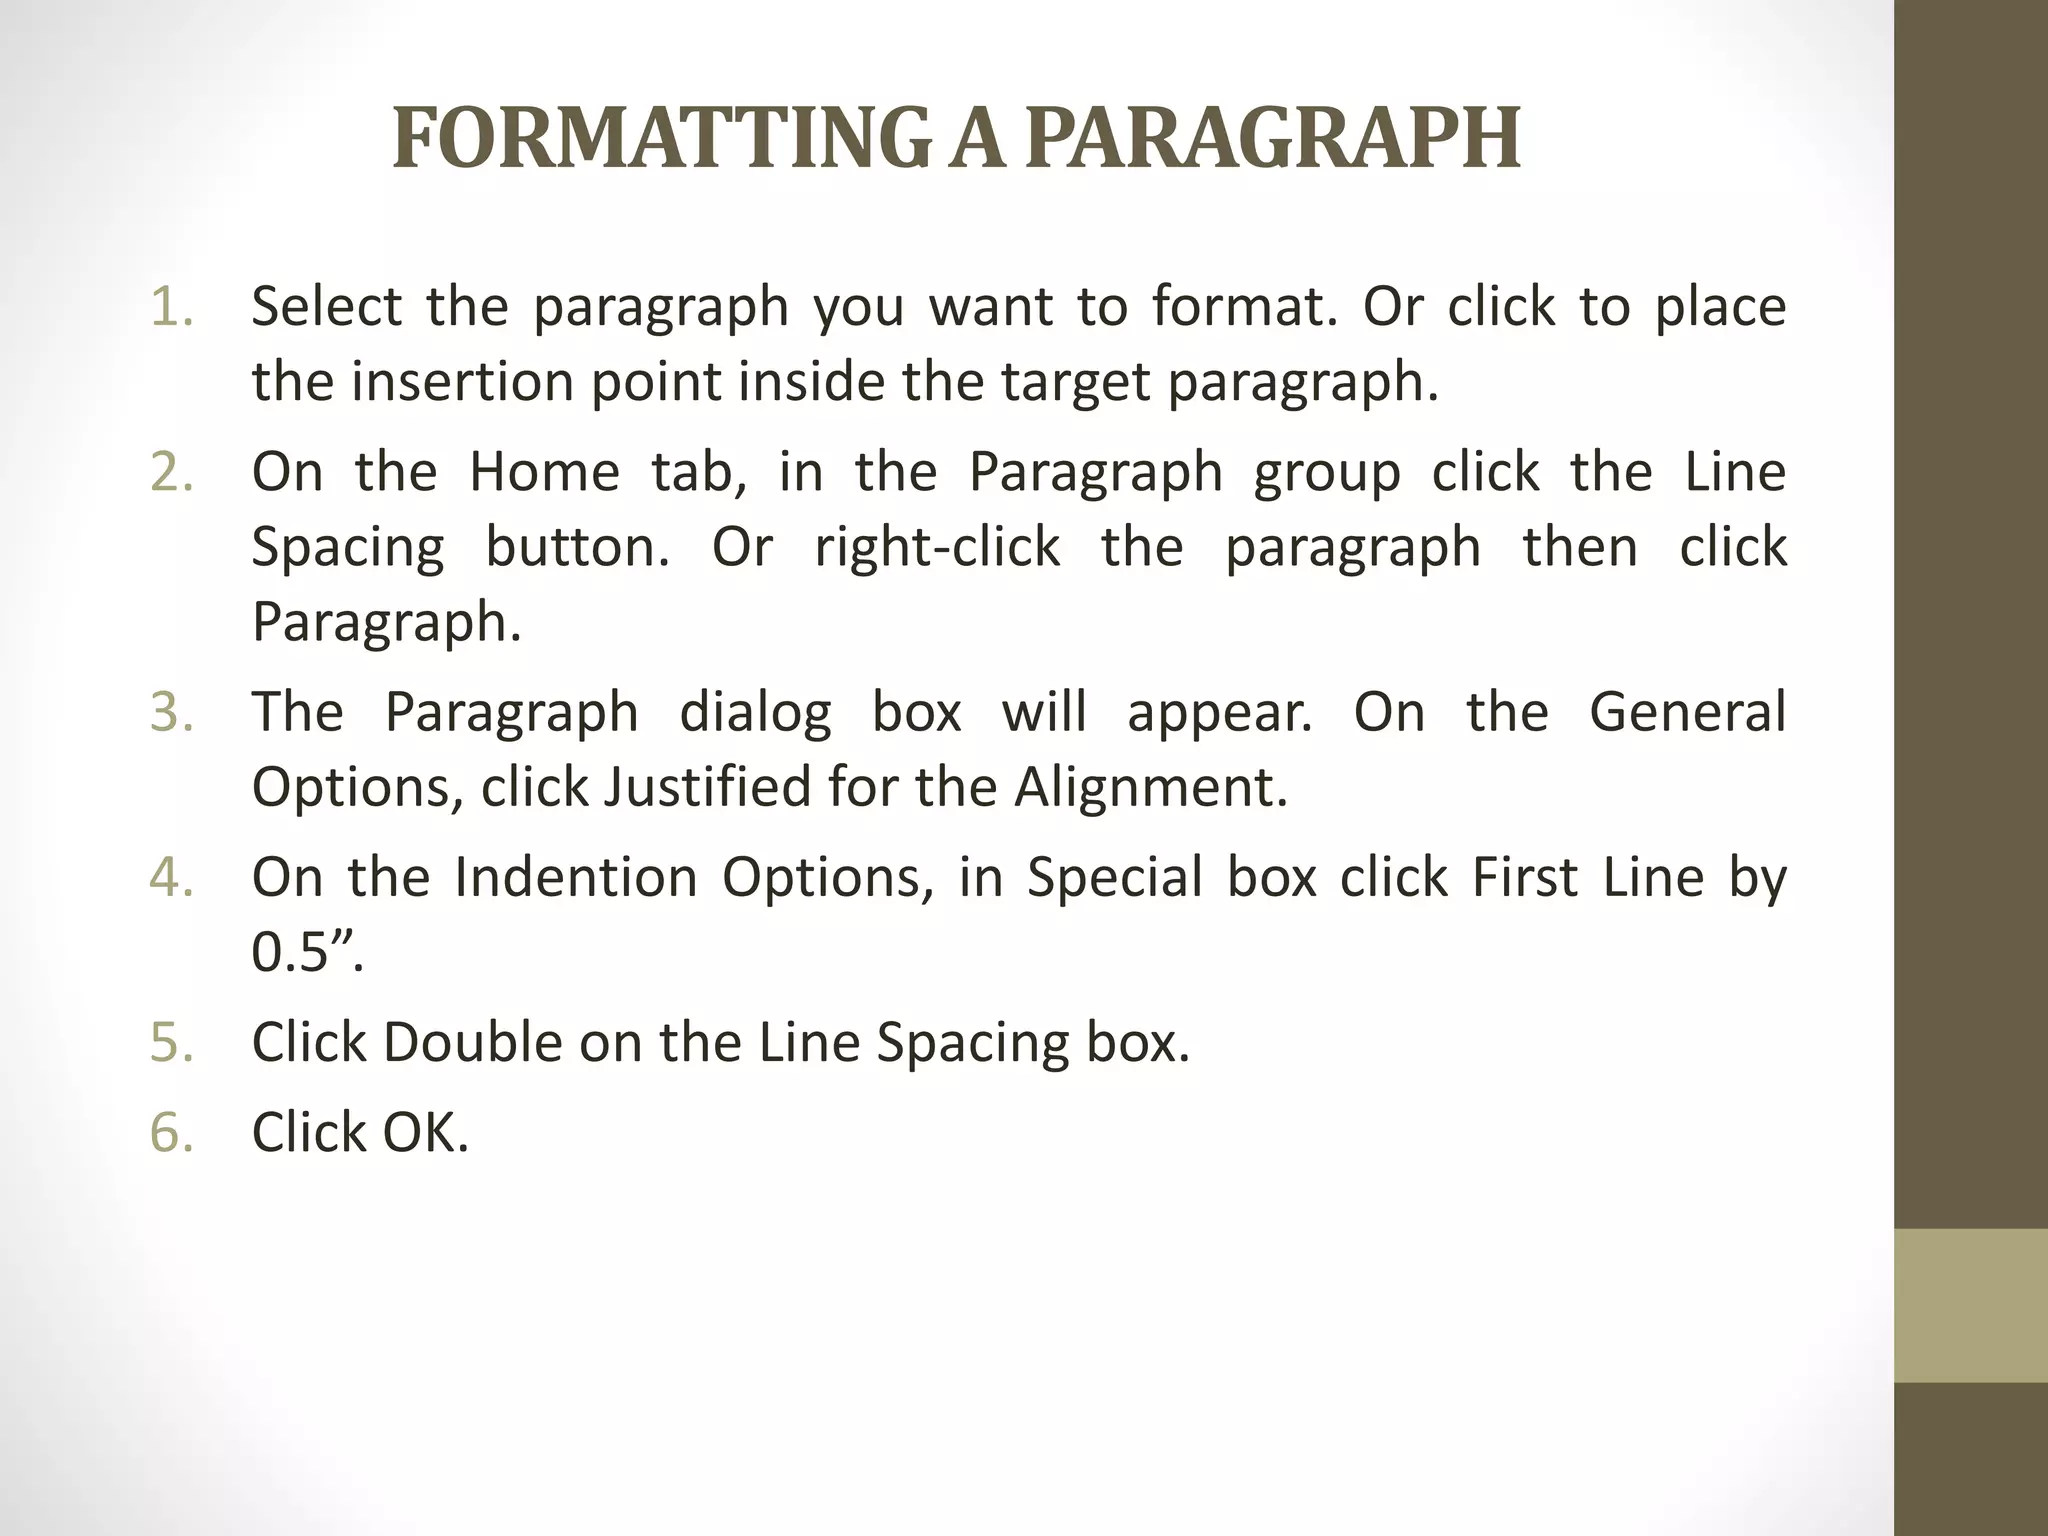
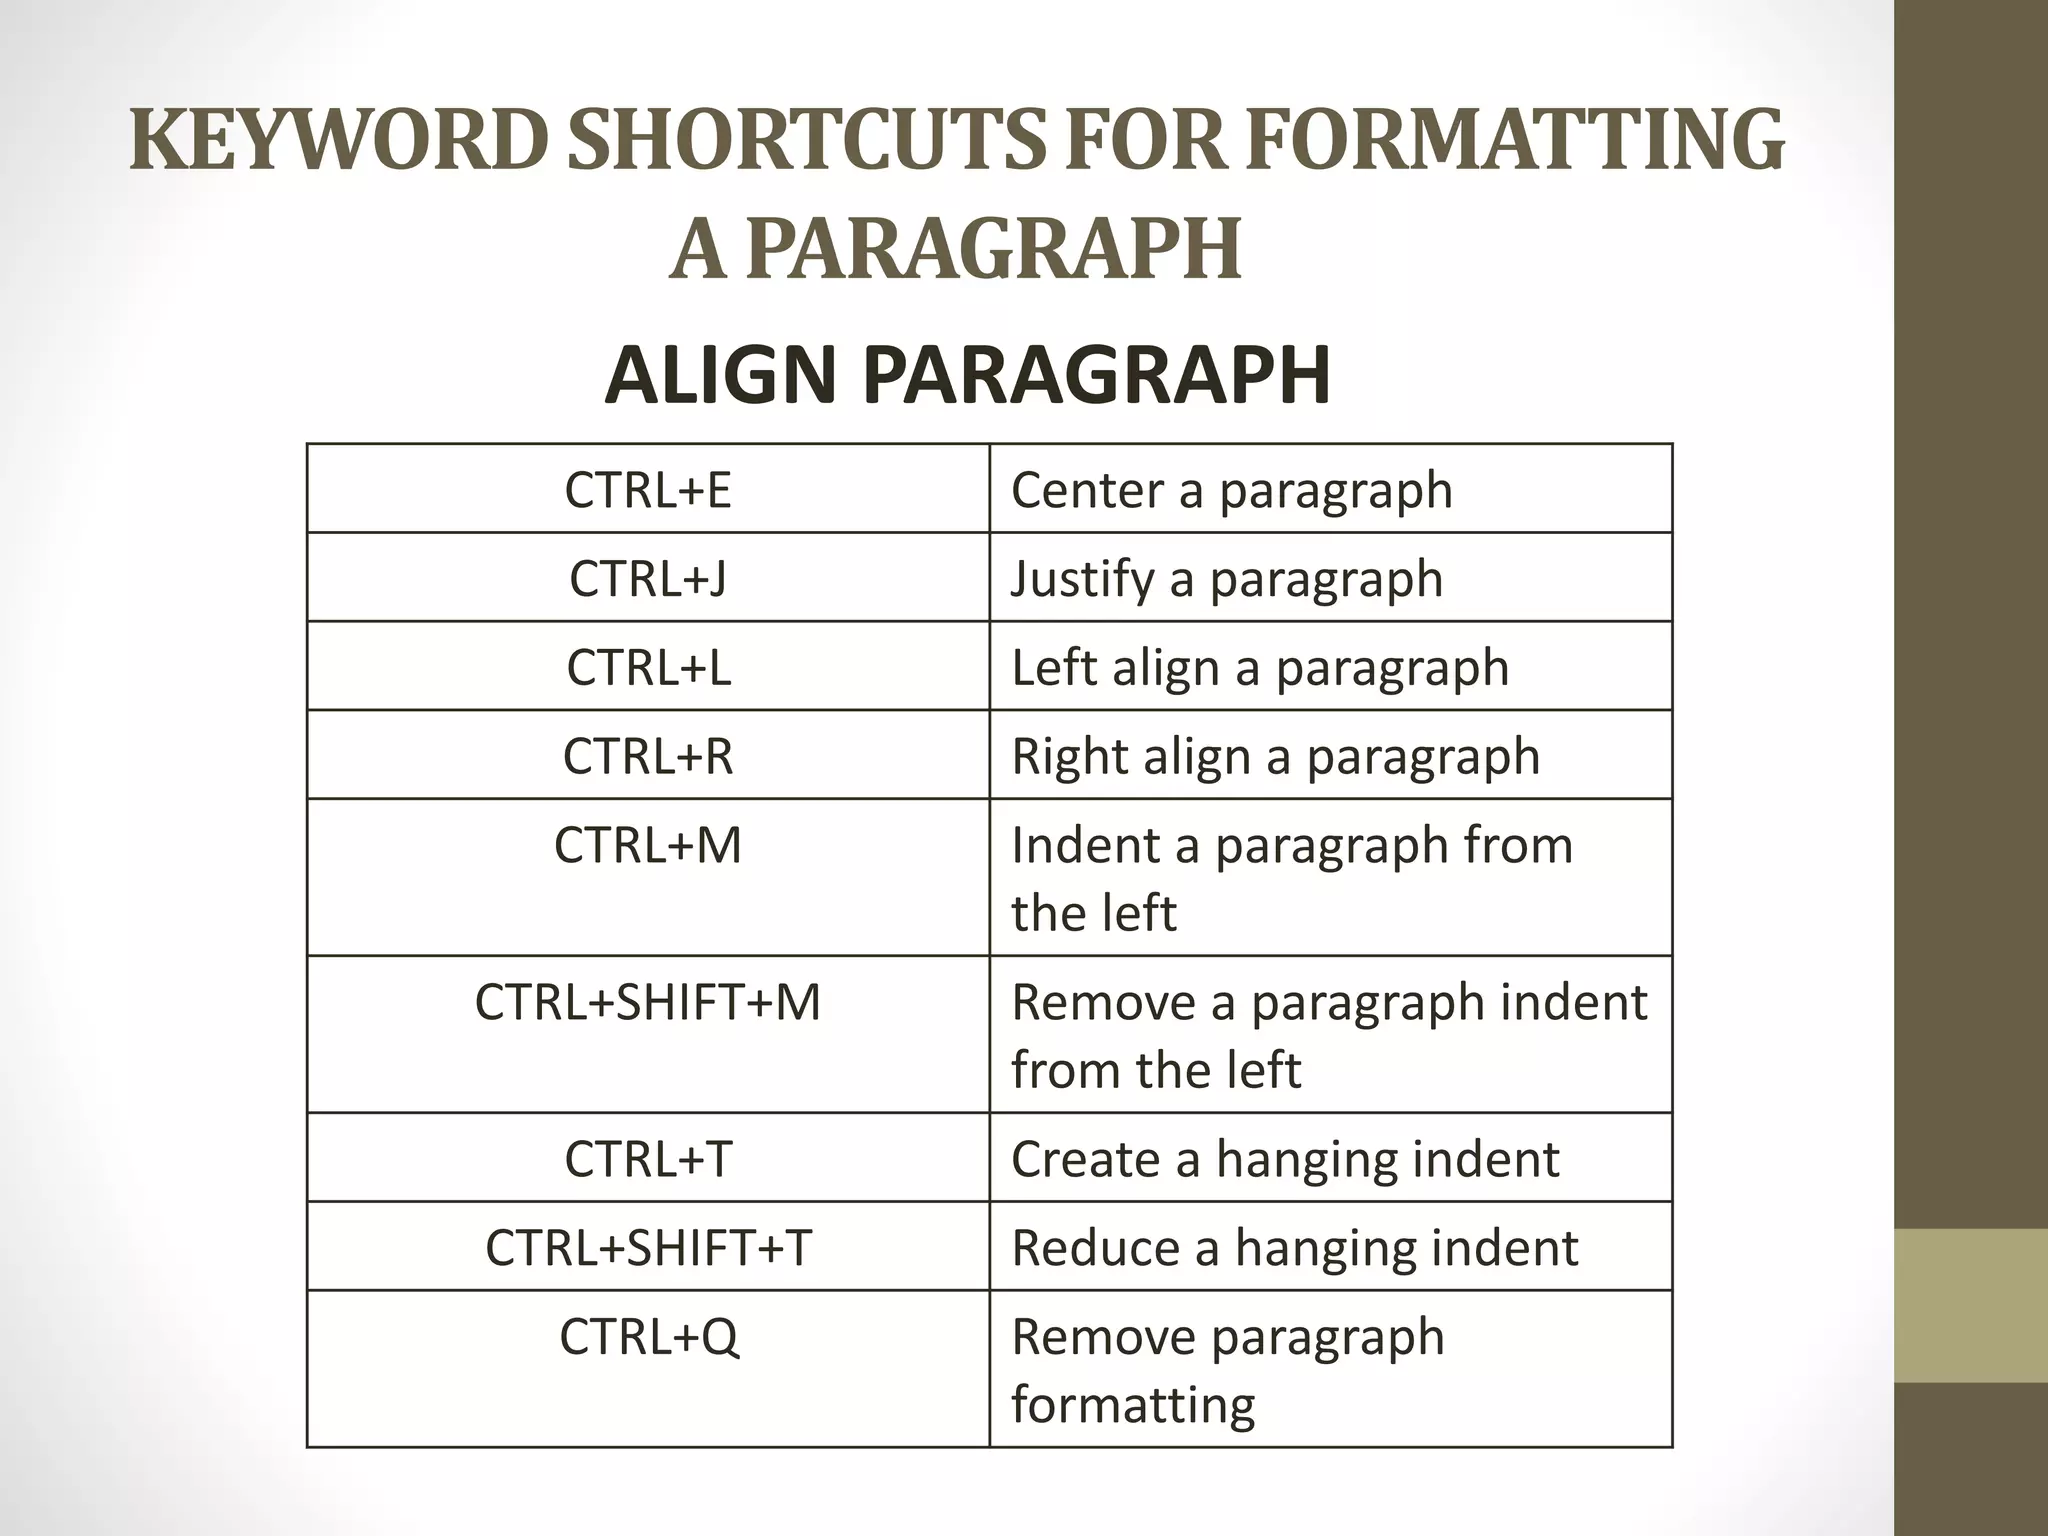
How to format paragraphs and keyboard shortcuts for line spacing and paragraph alignment.
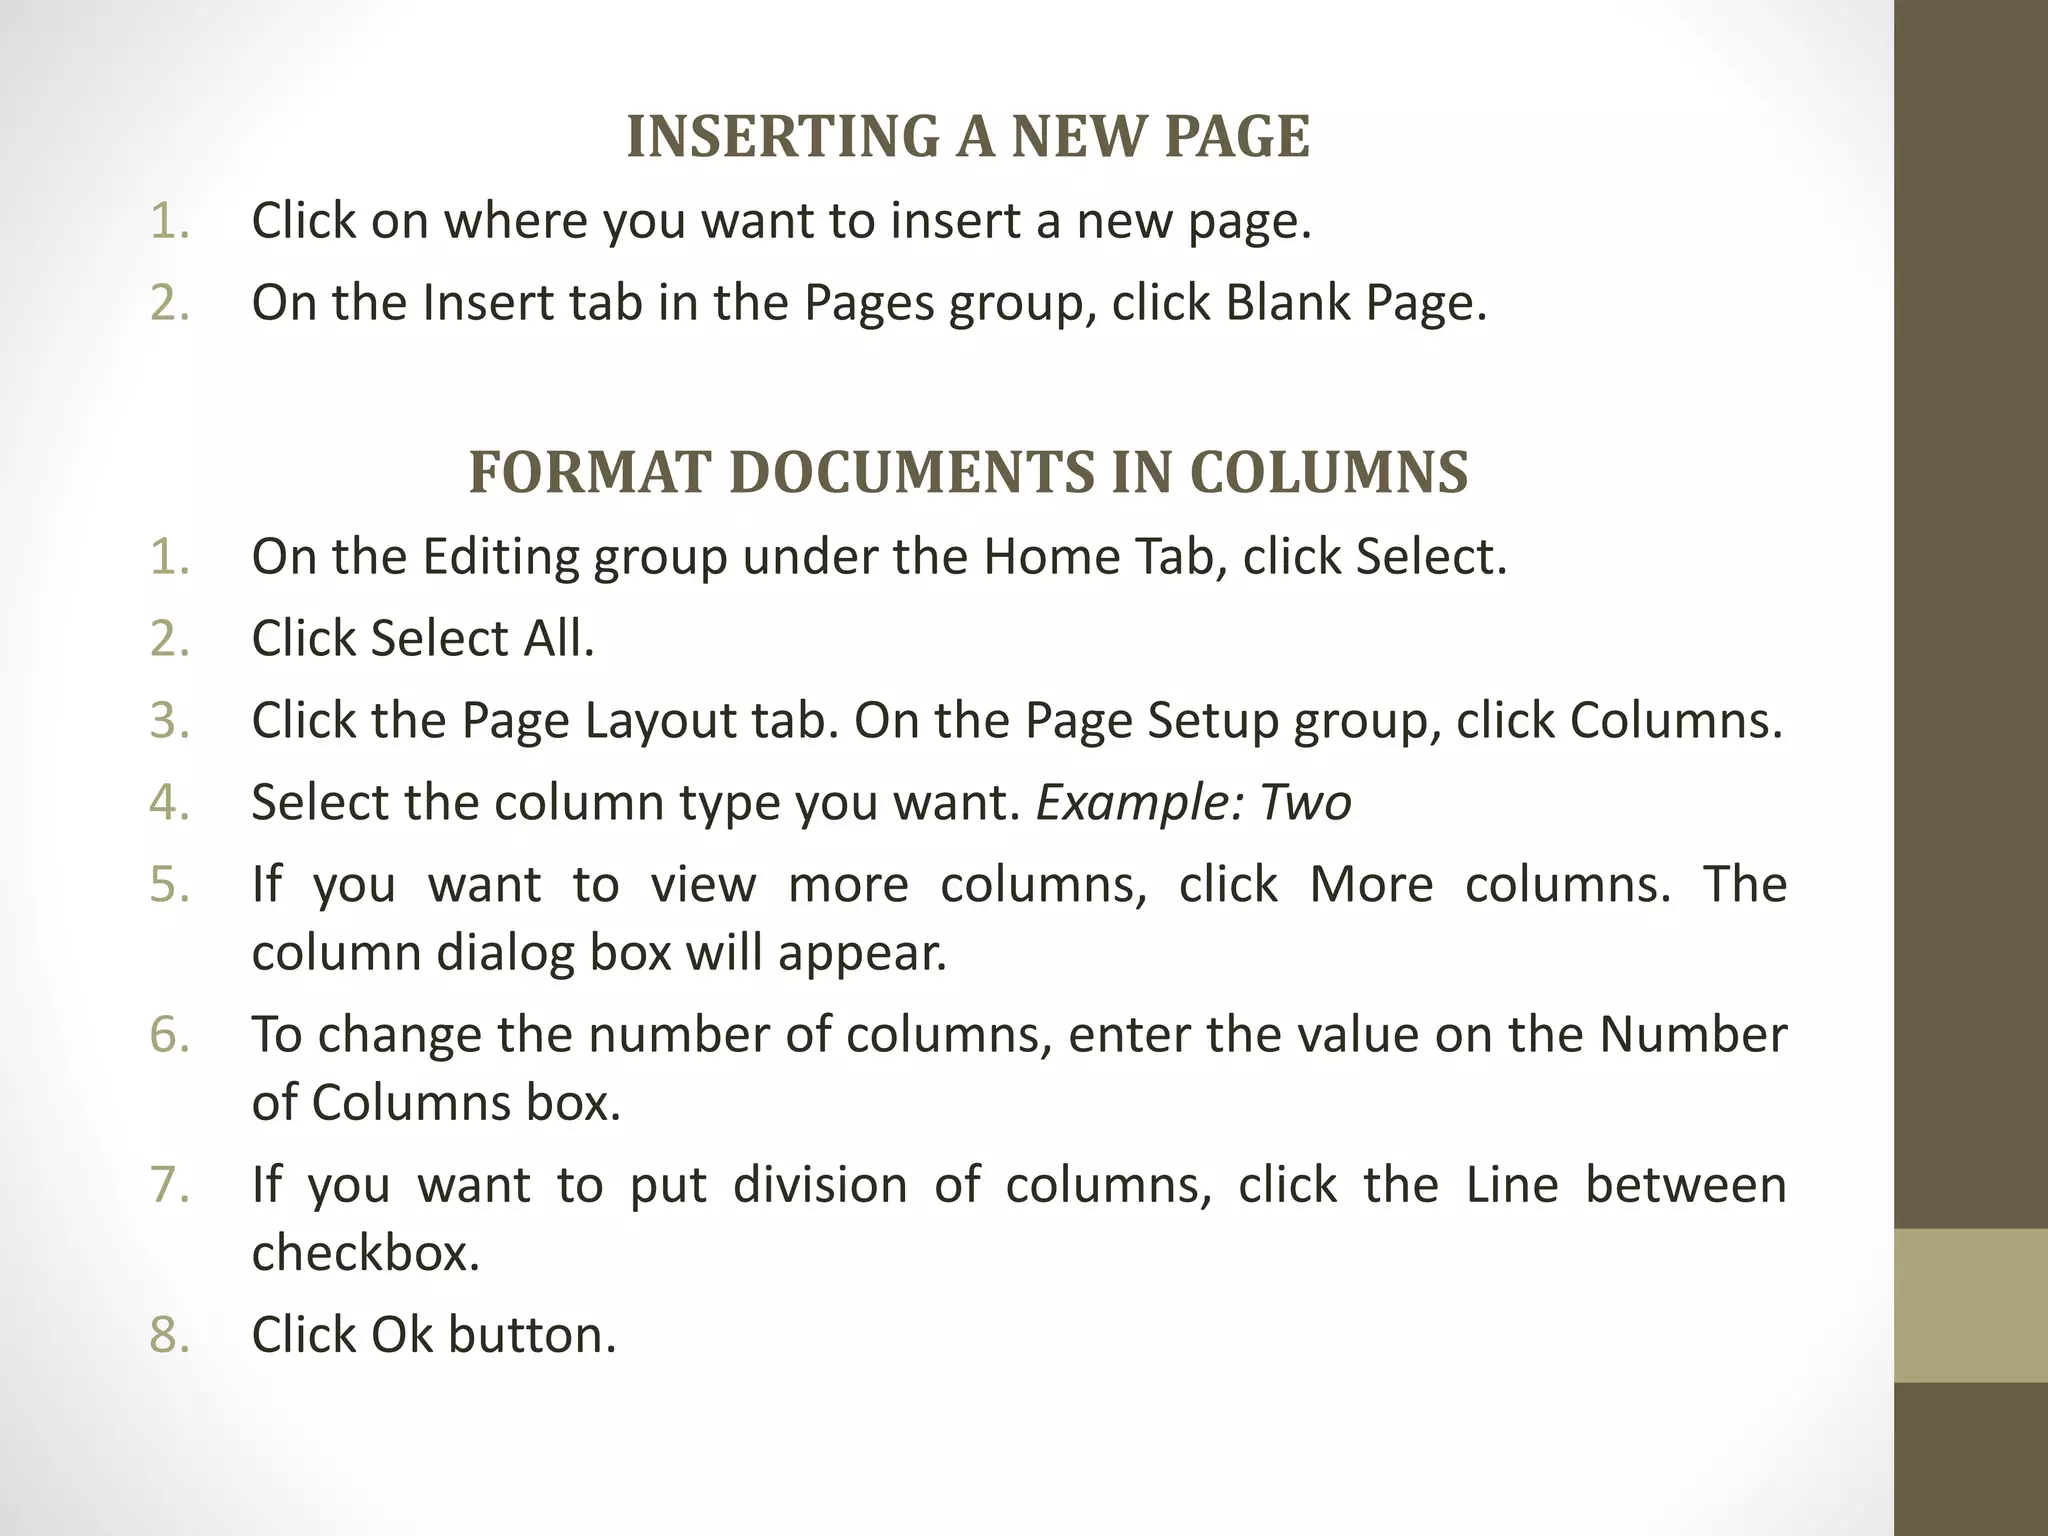
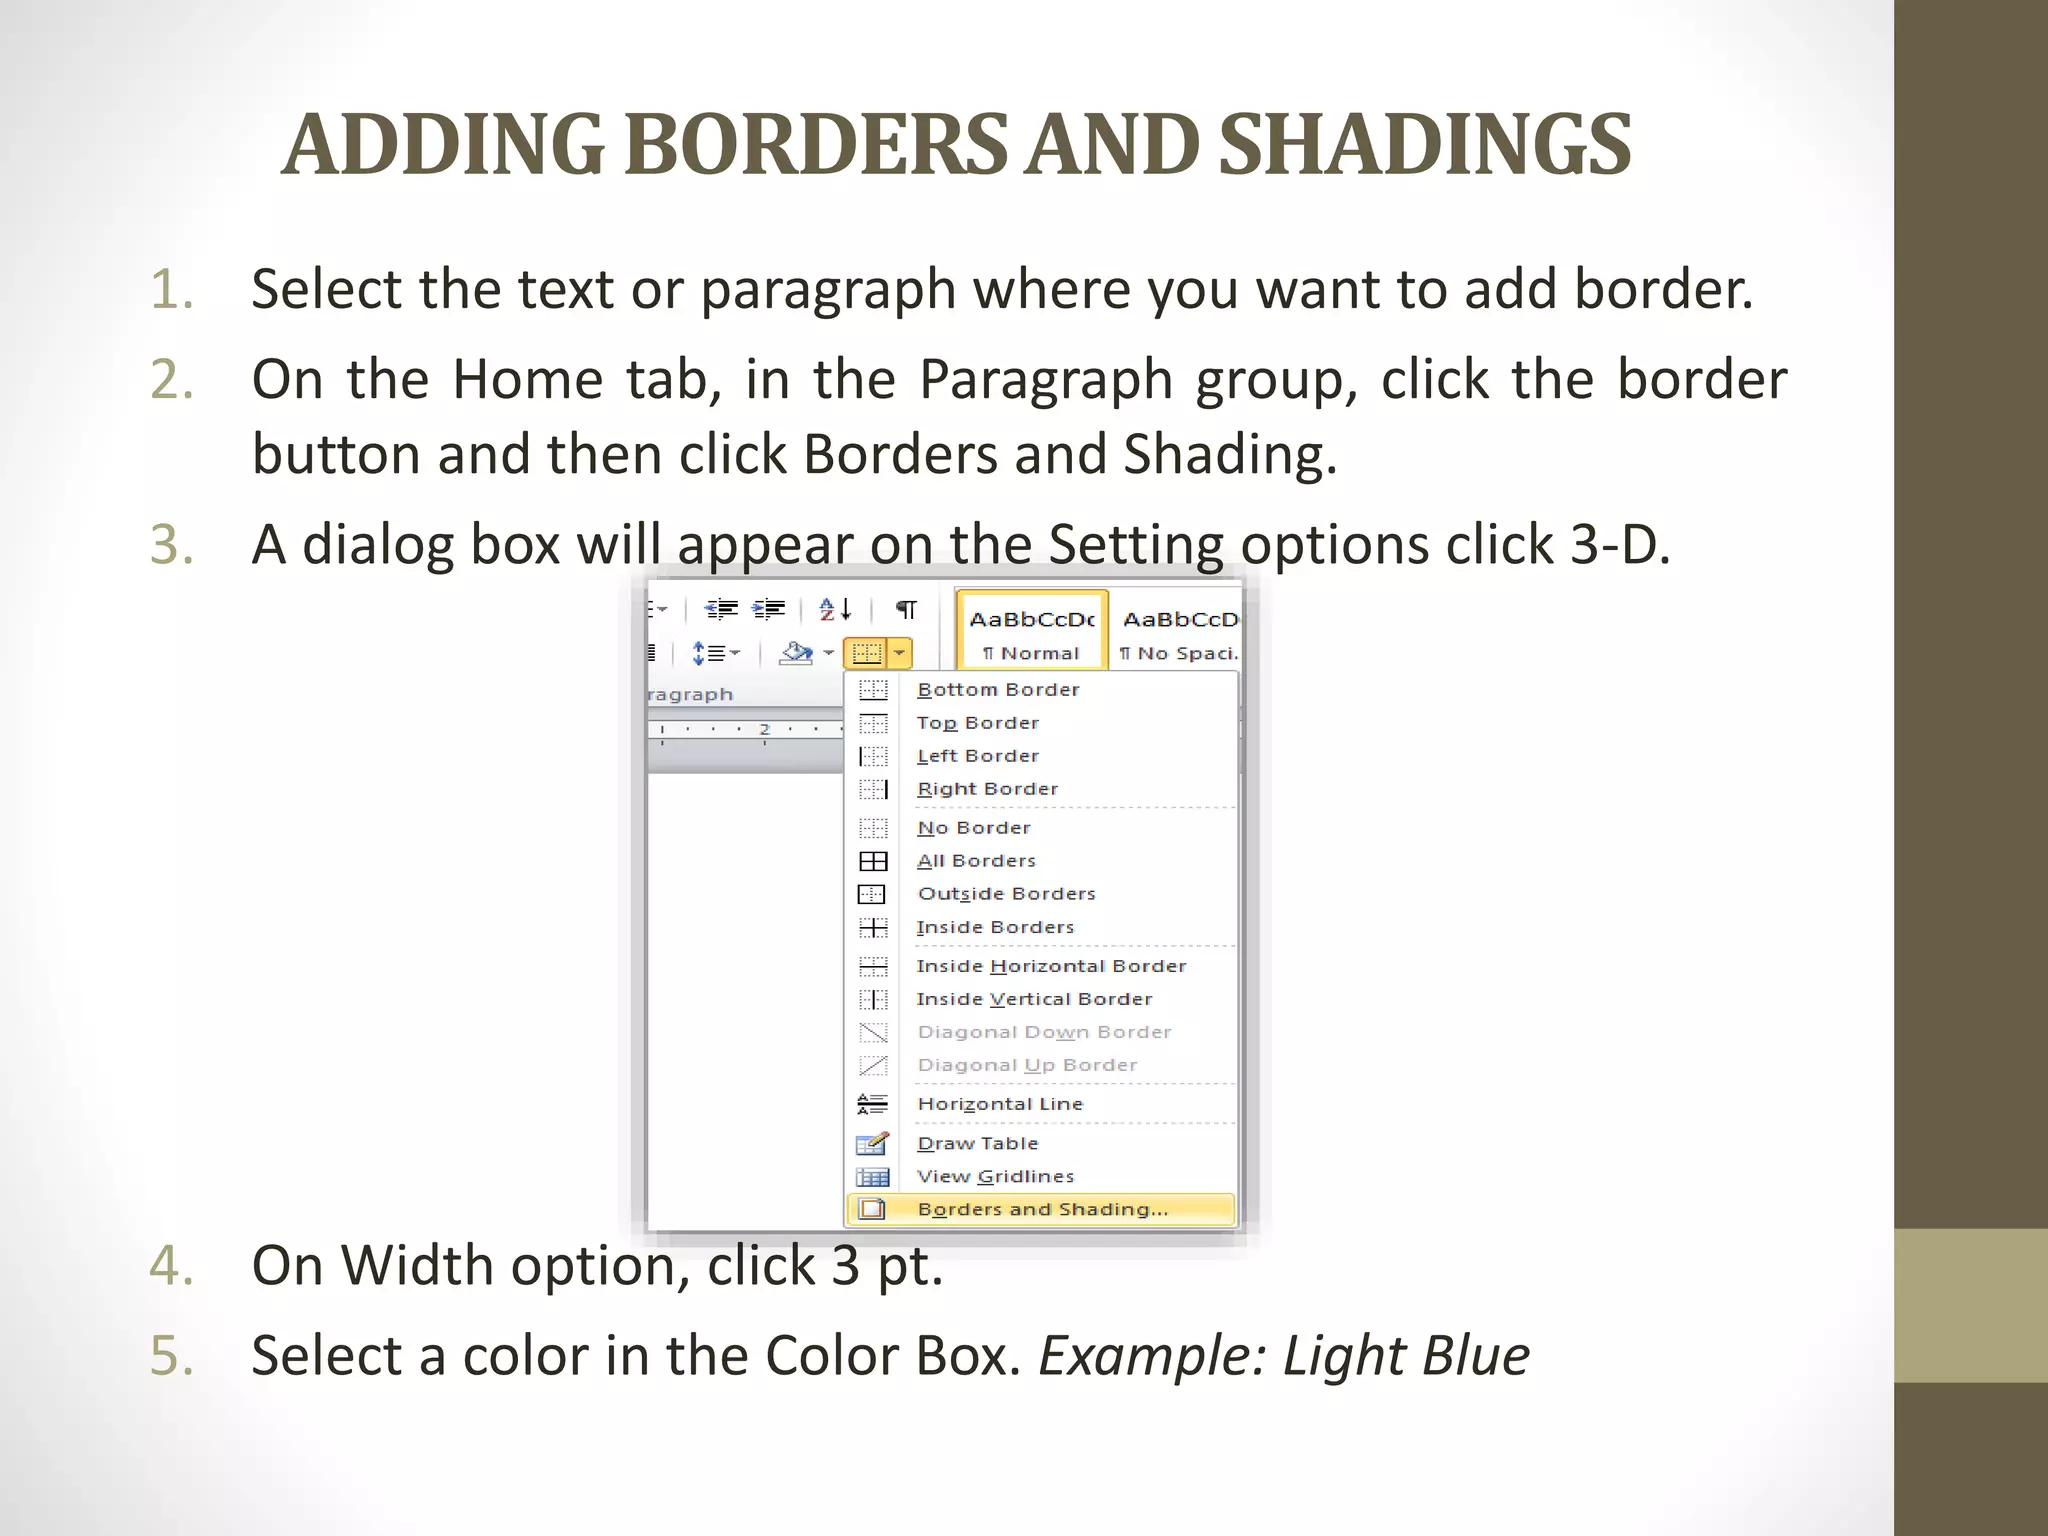
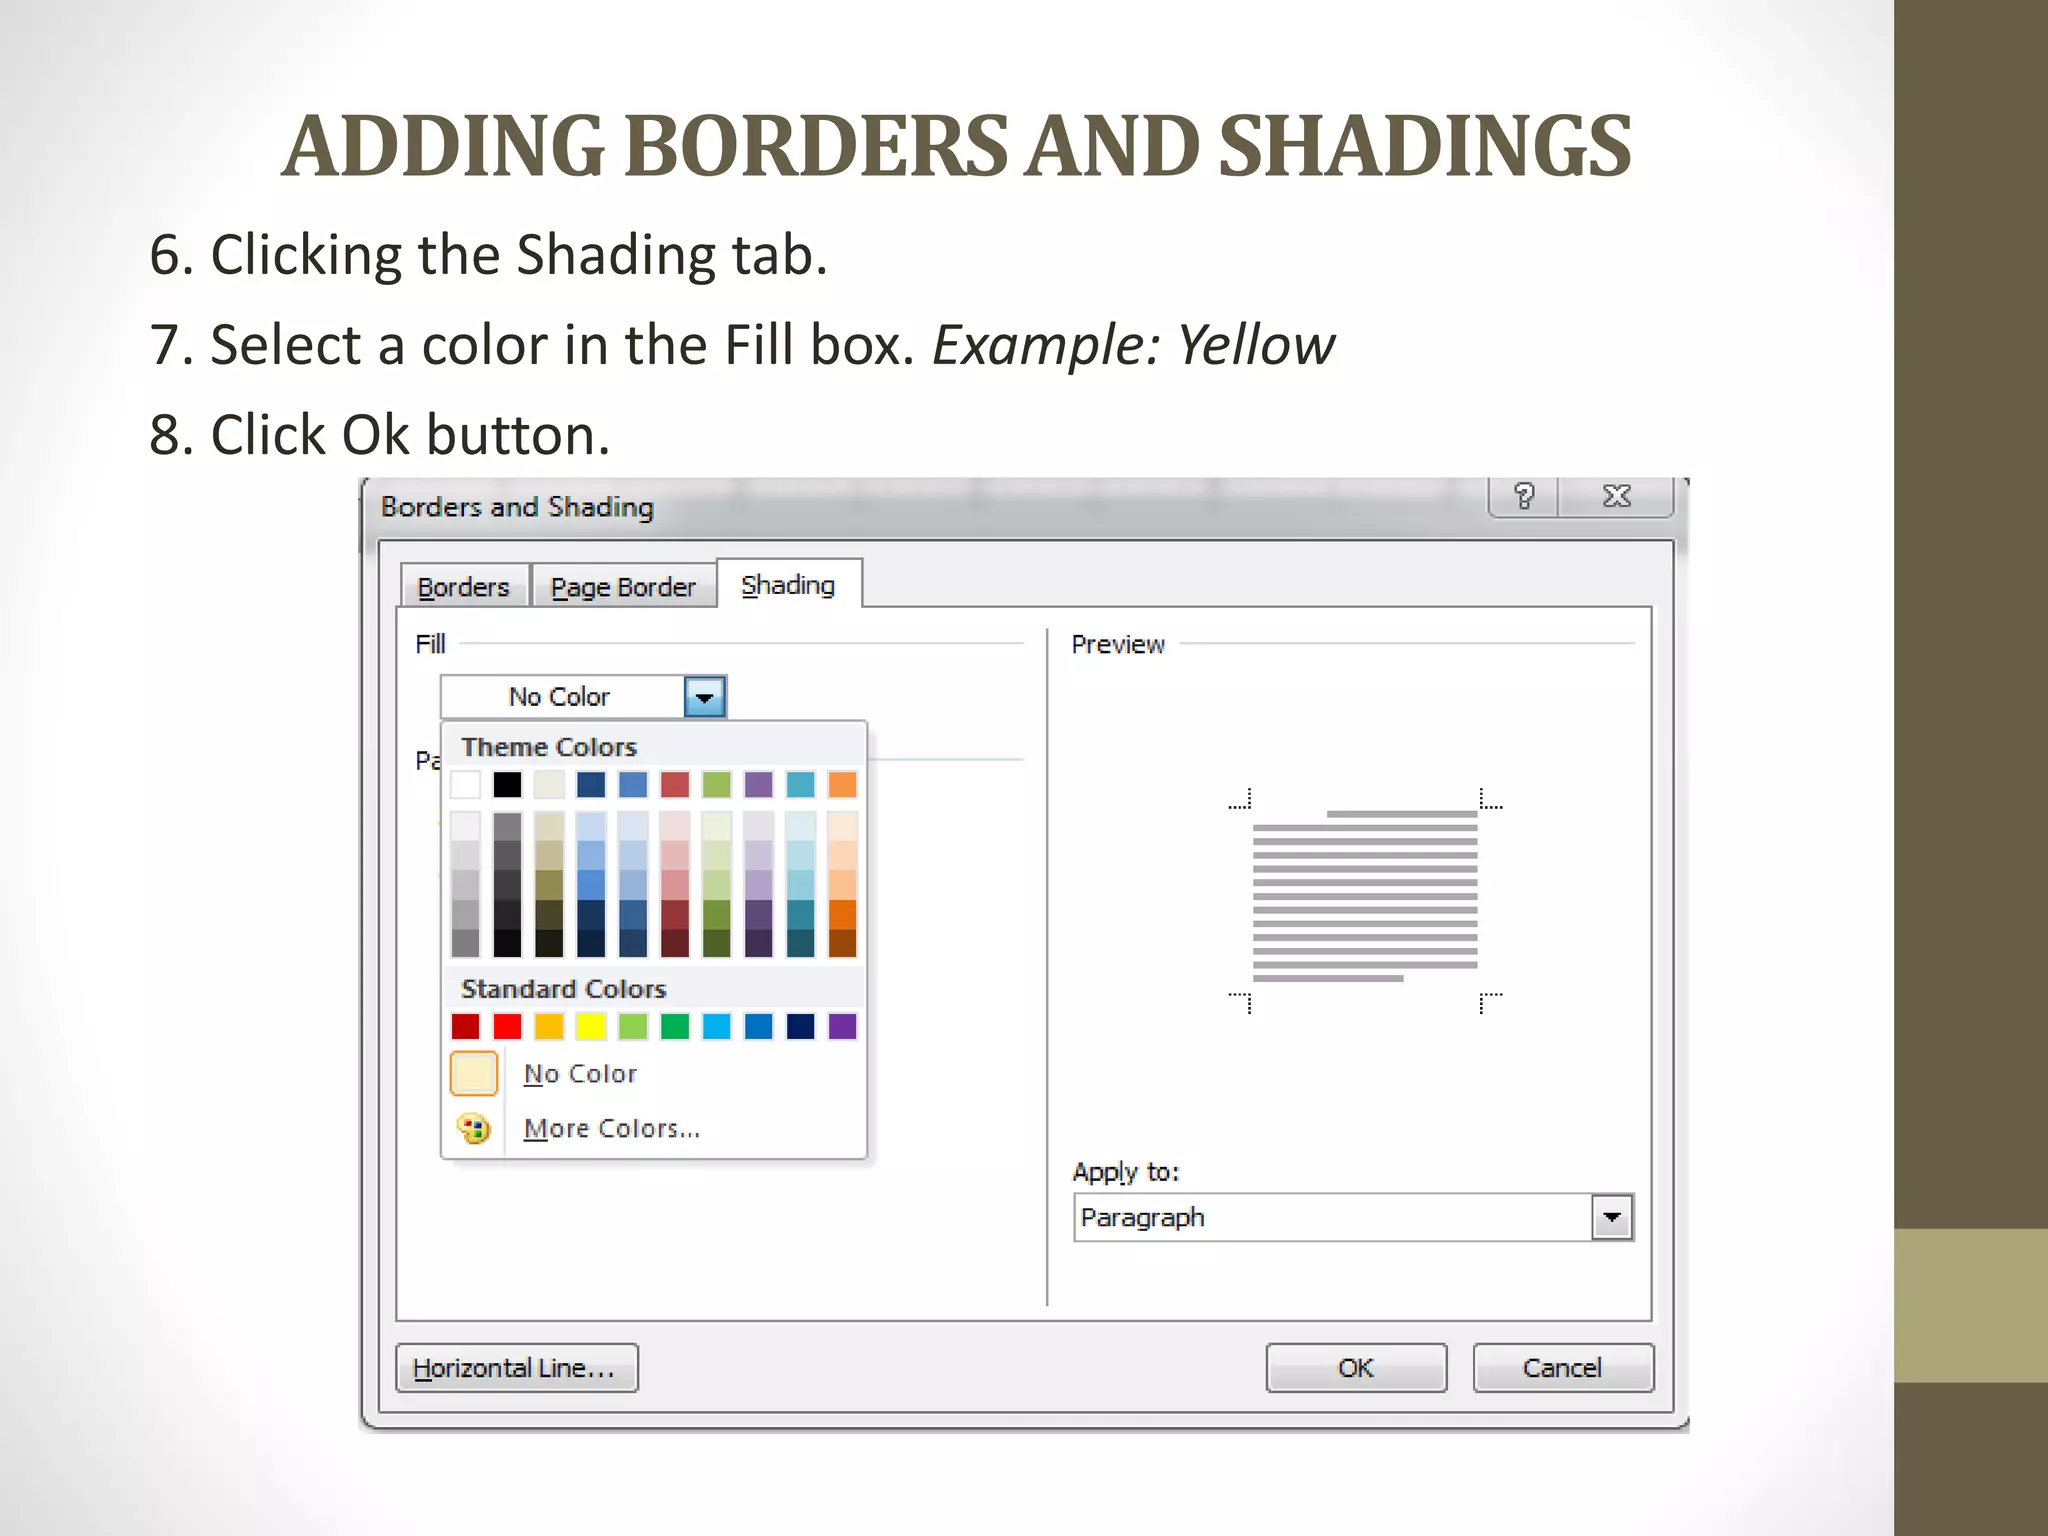
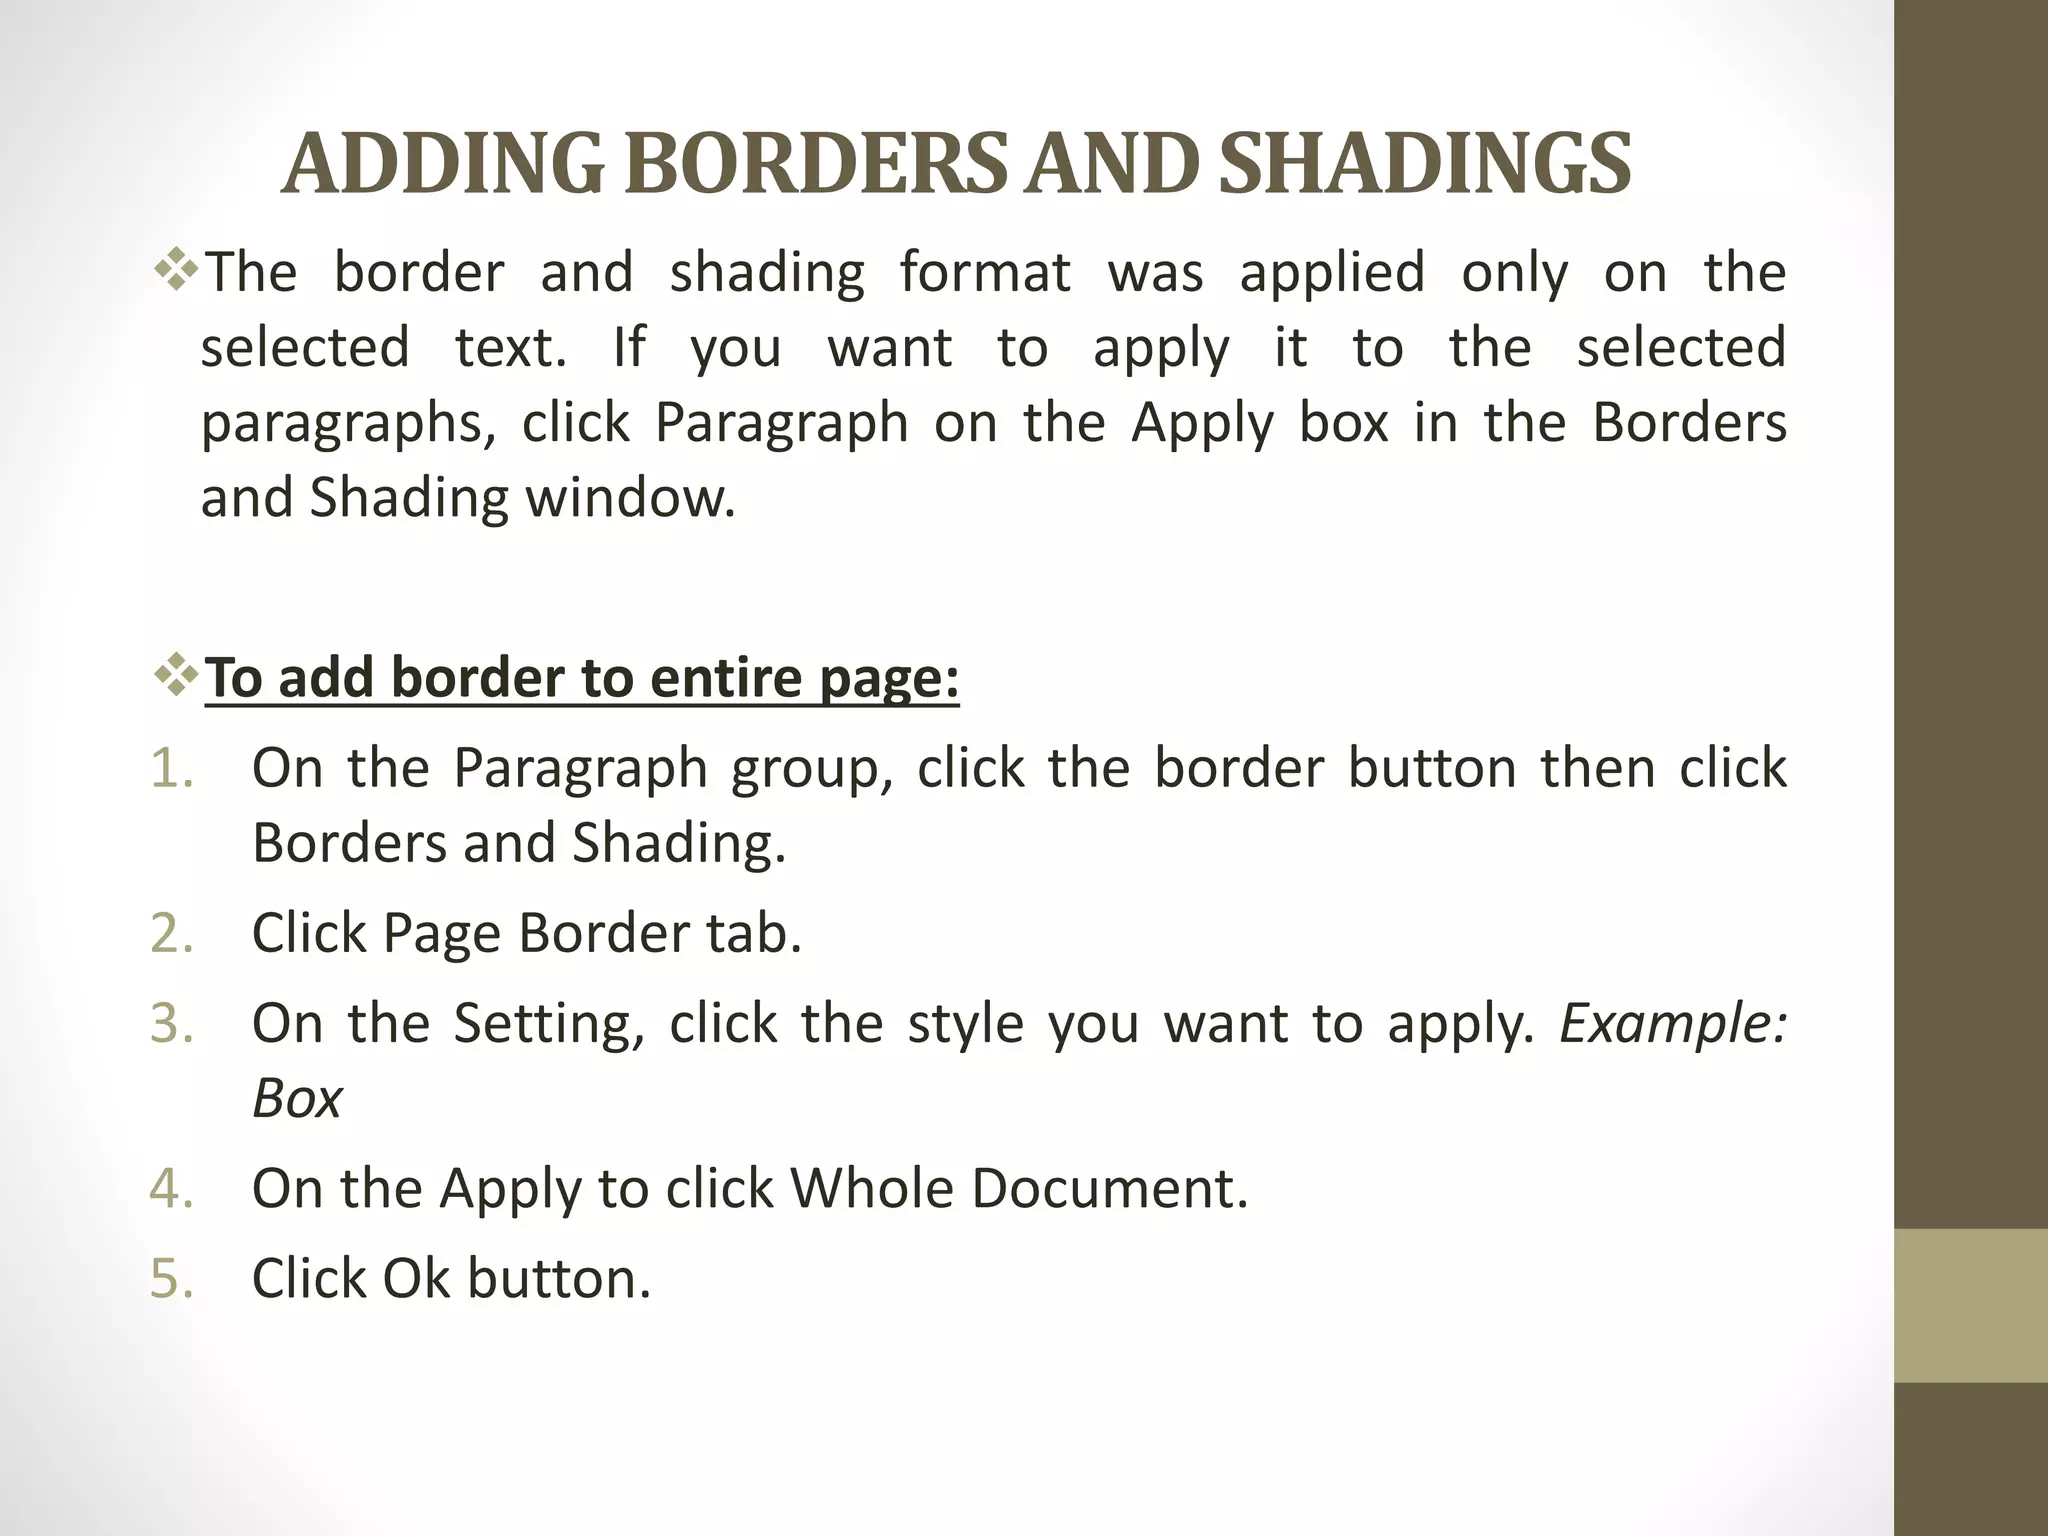
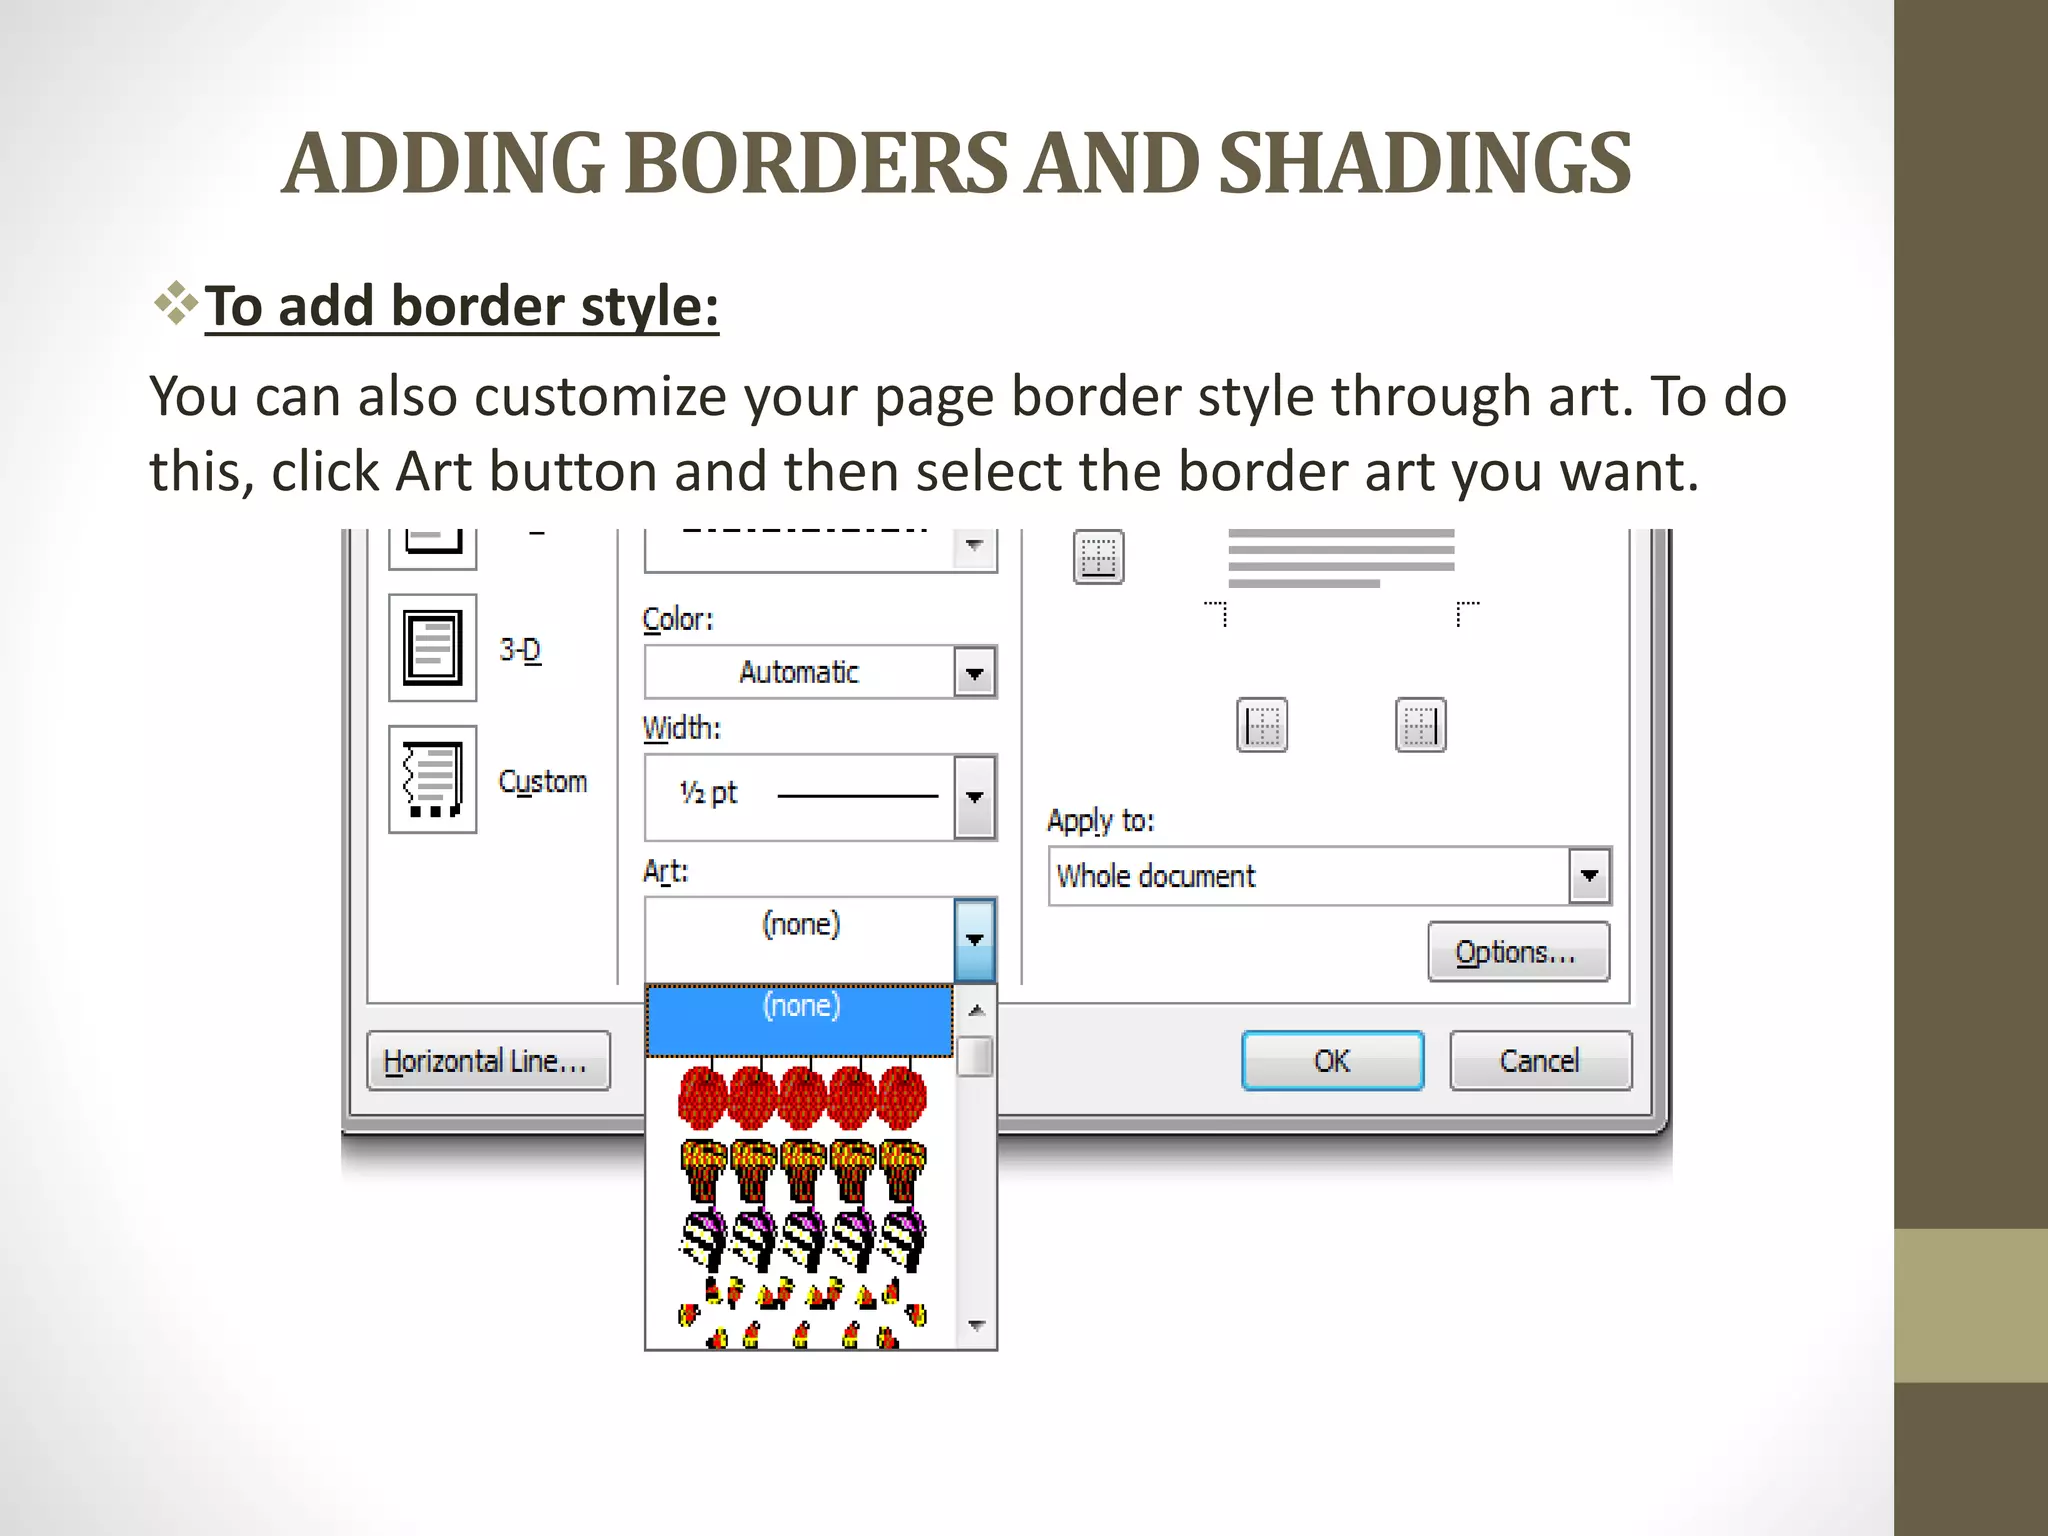
Instructions on inserting pages, formatting in columns, adding borders, and shading to text and paragraphs.
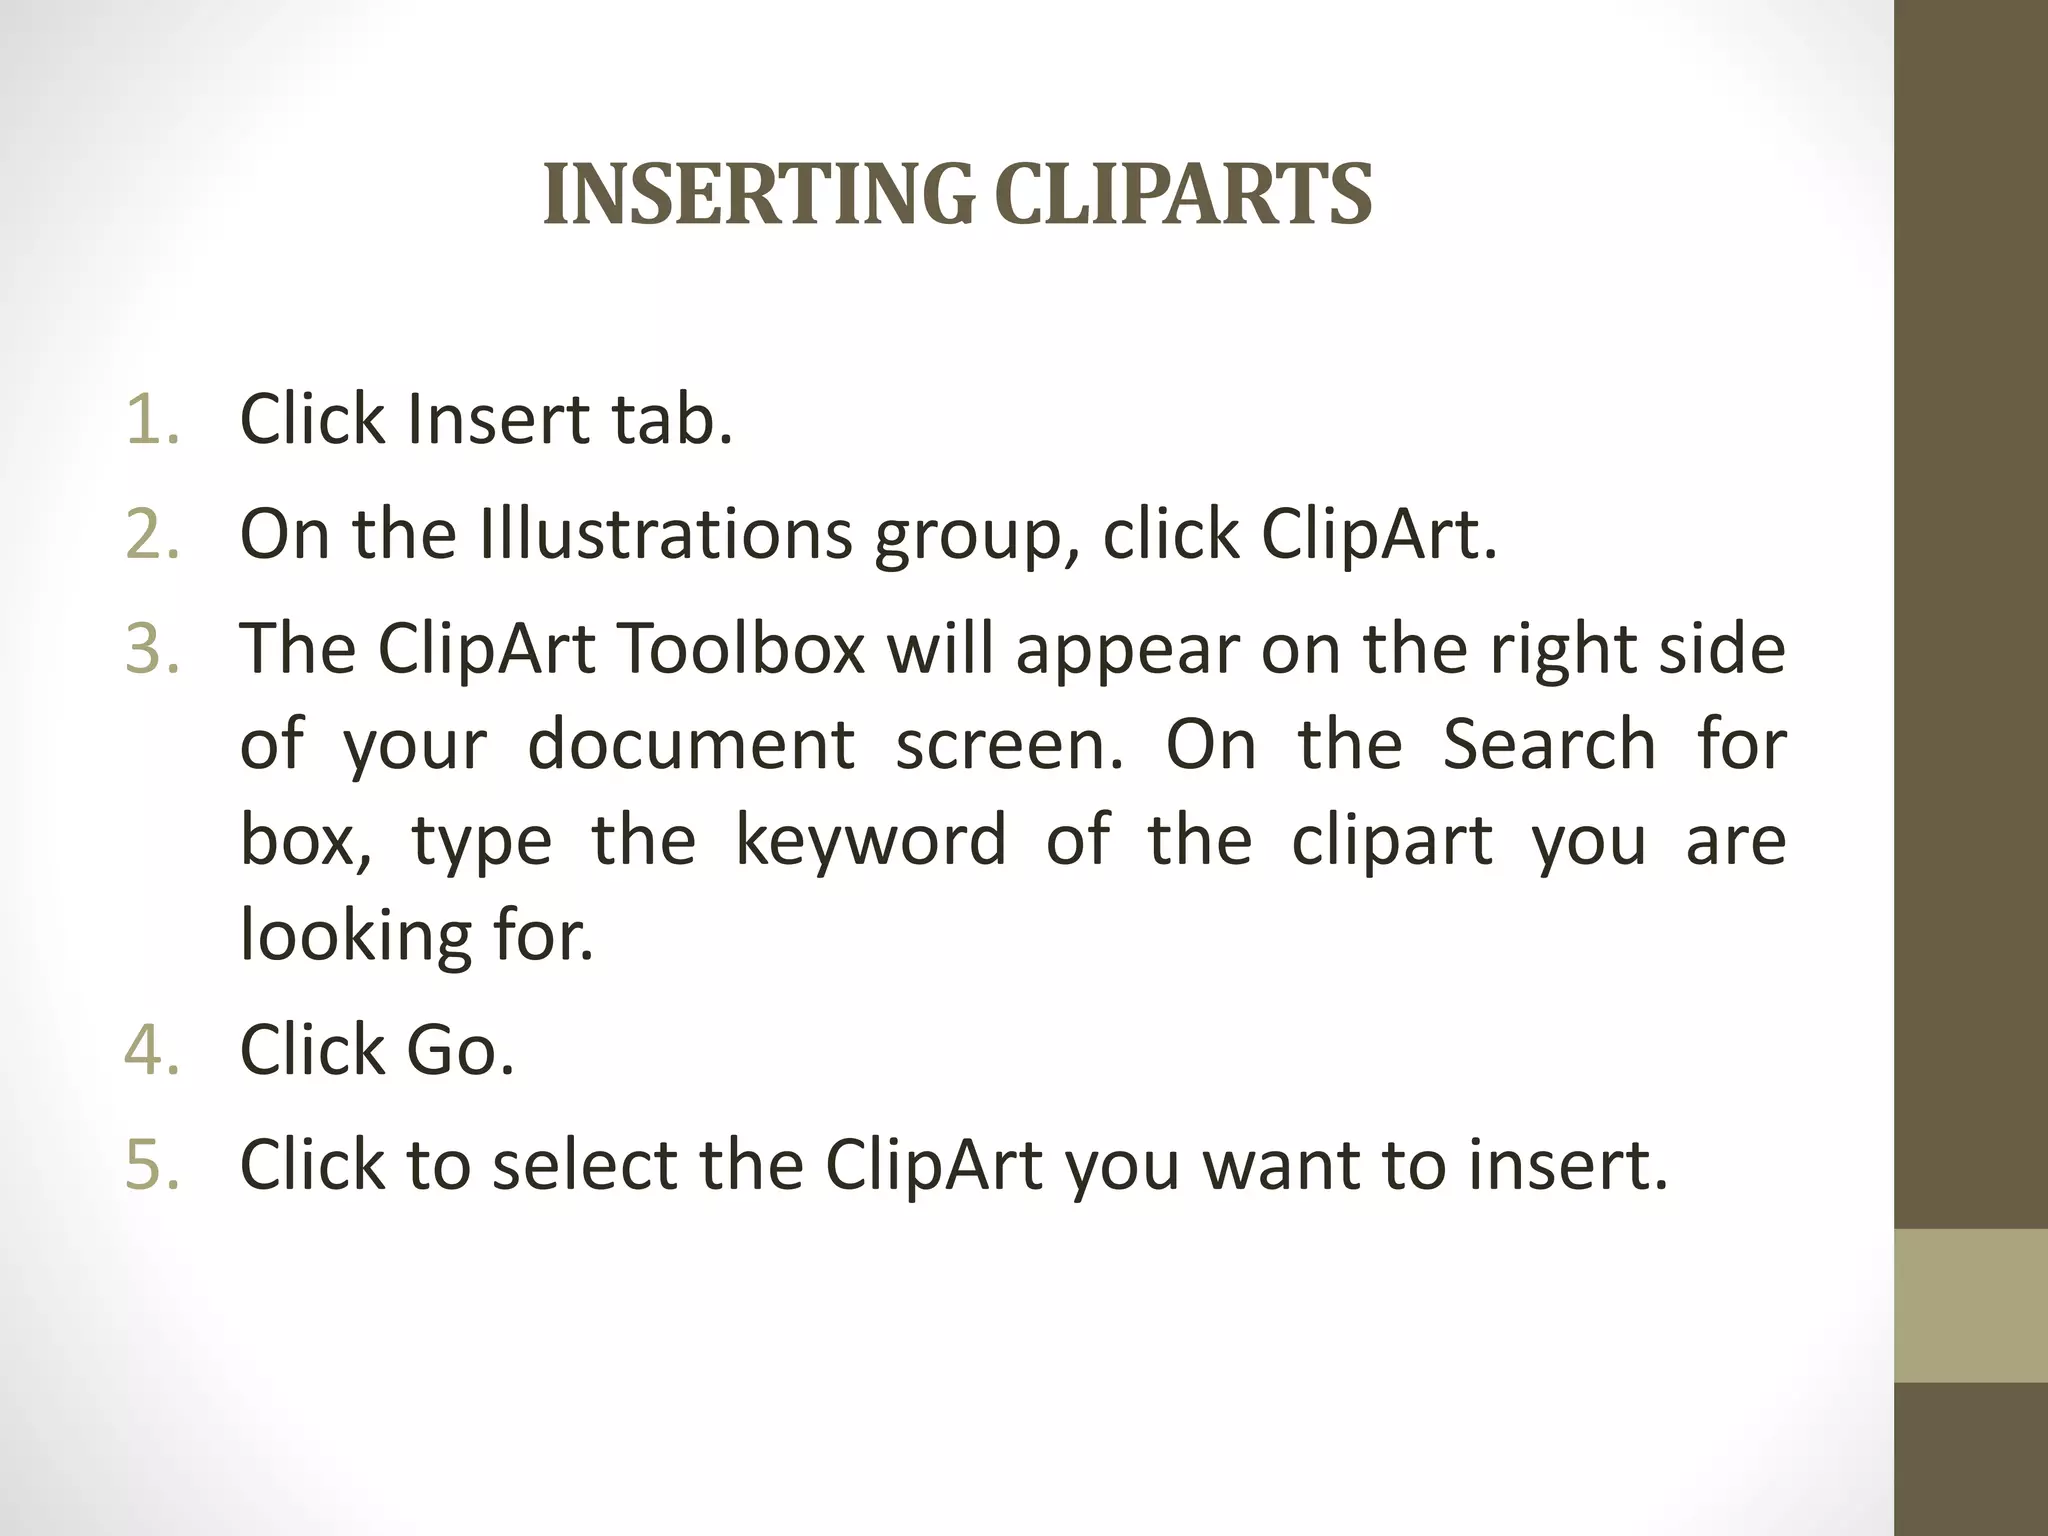
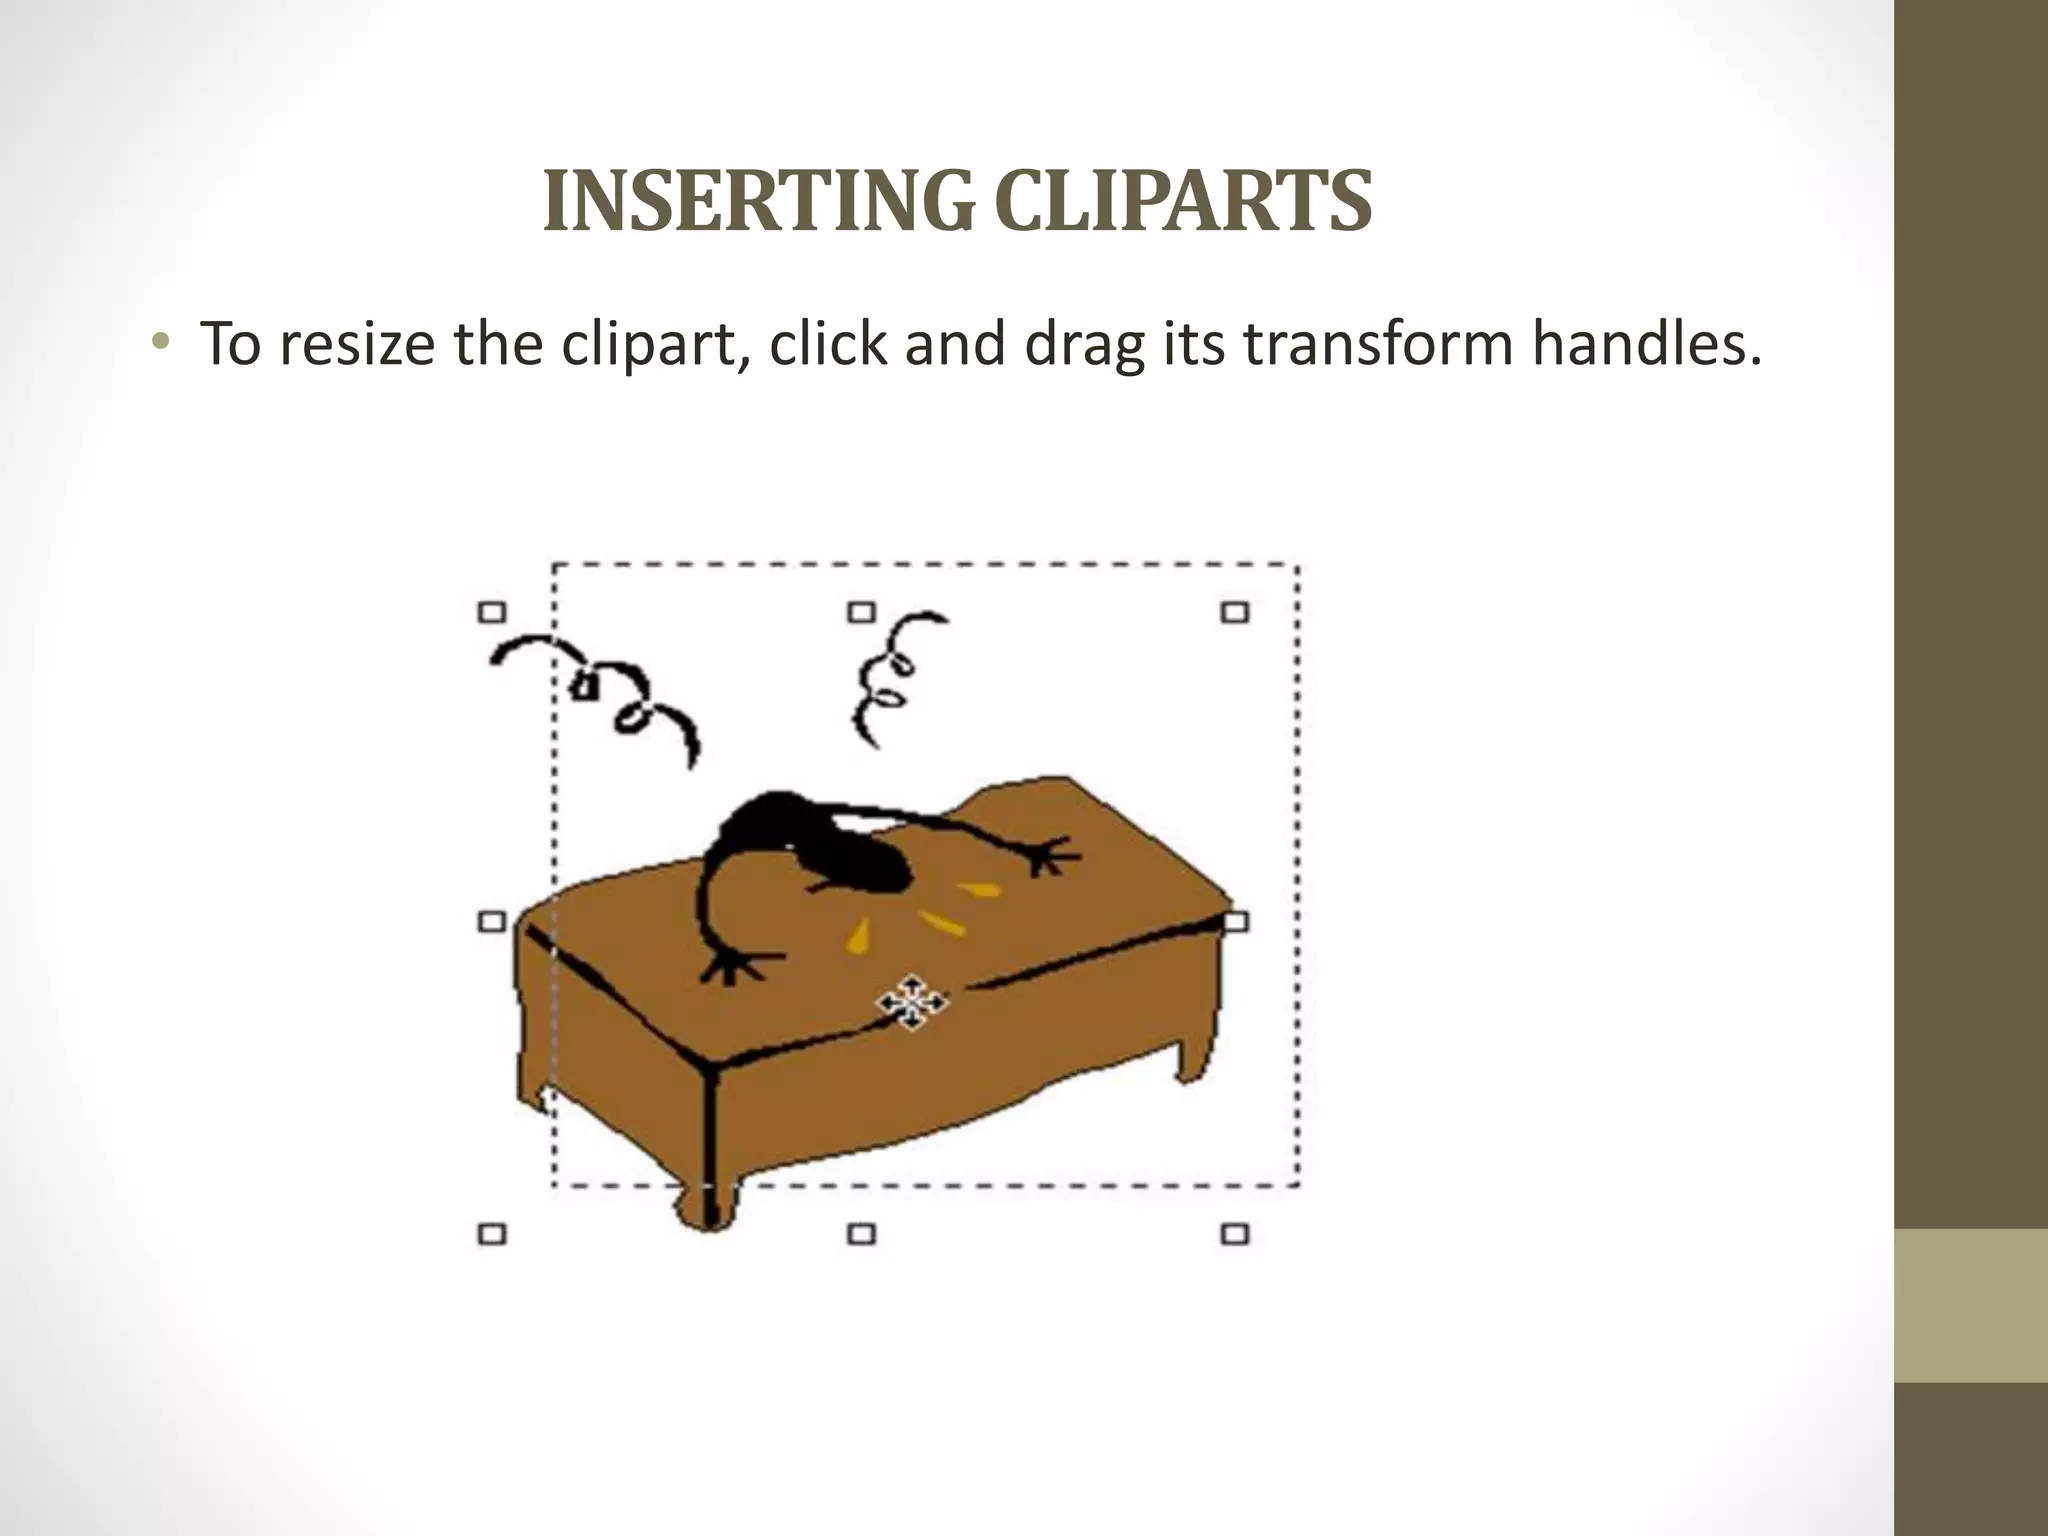
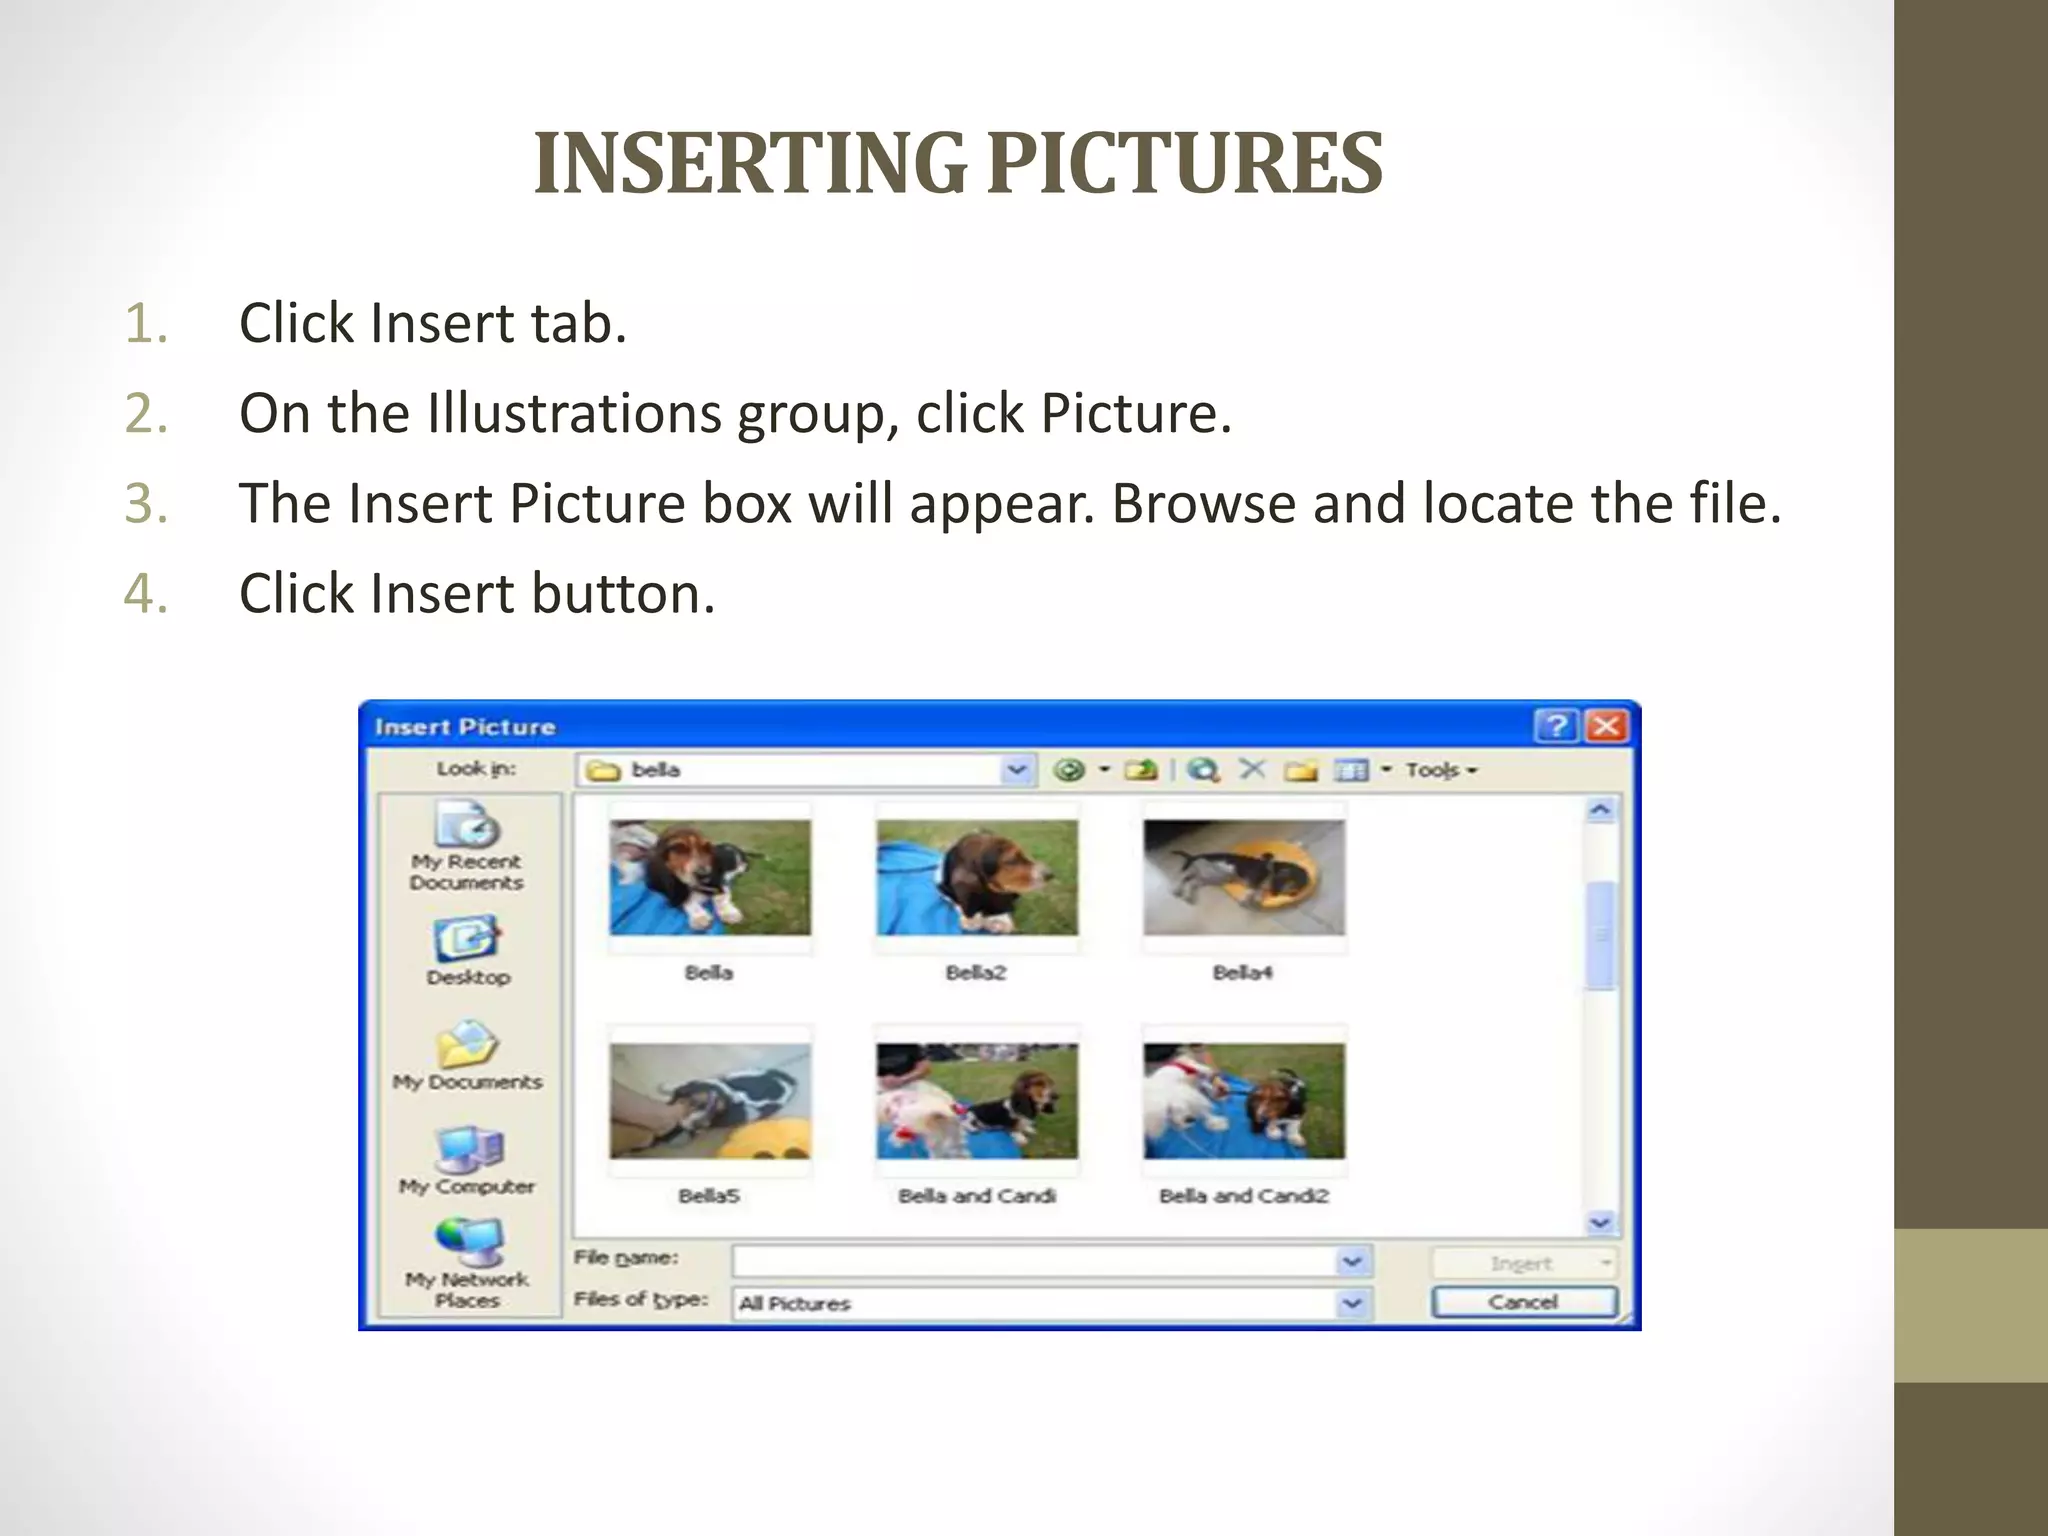
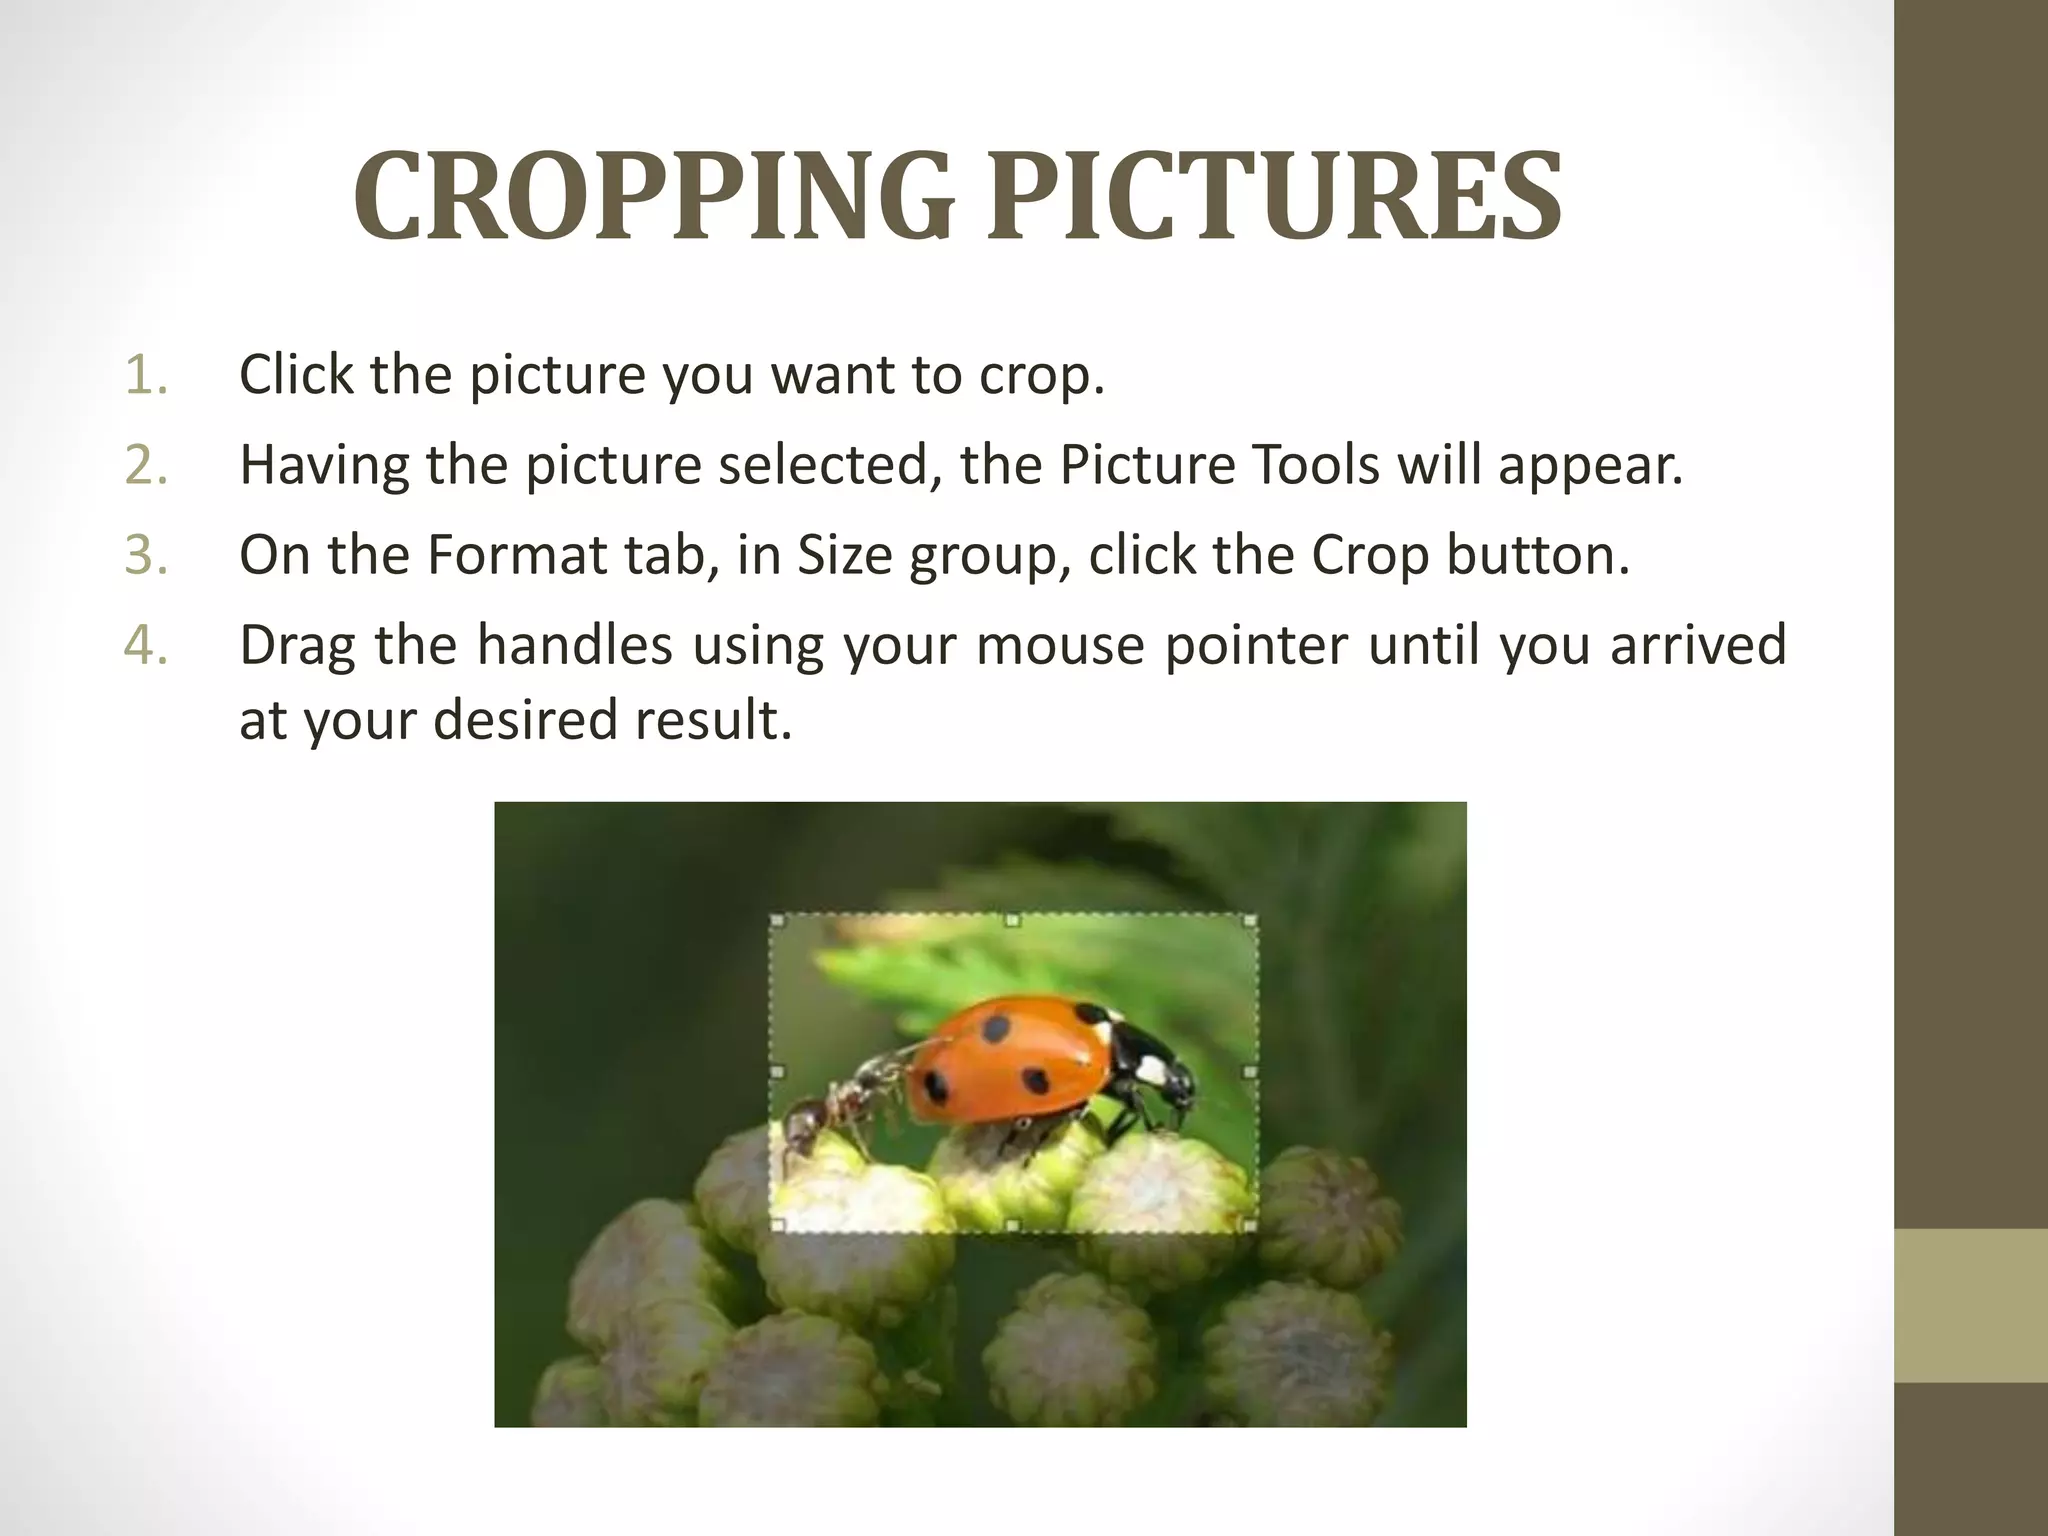
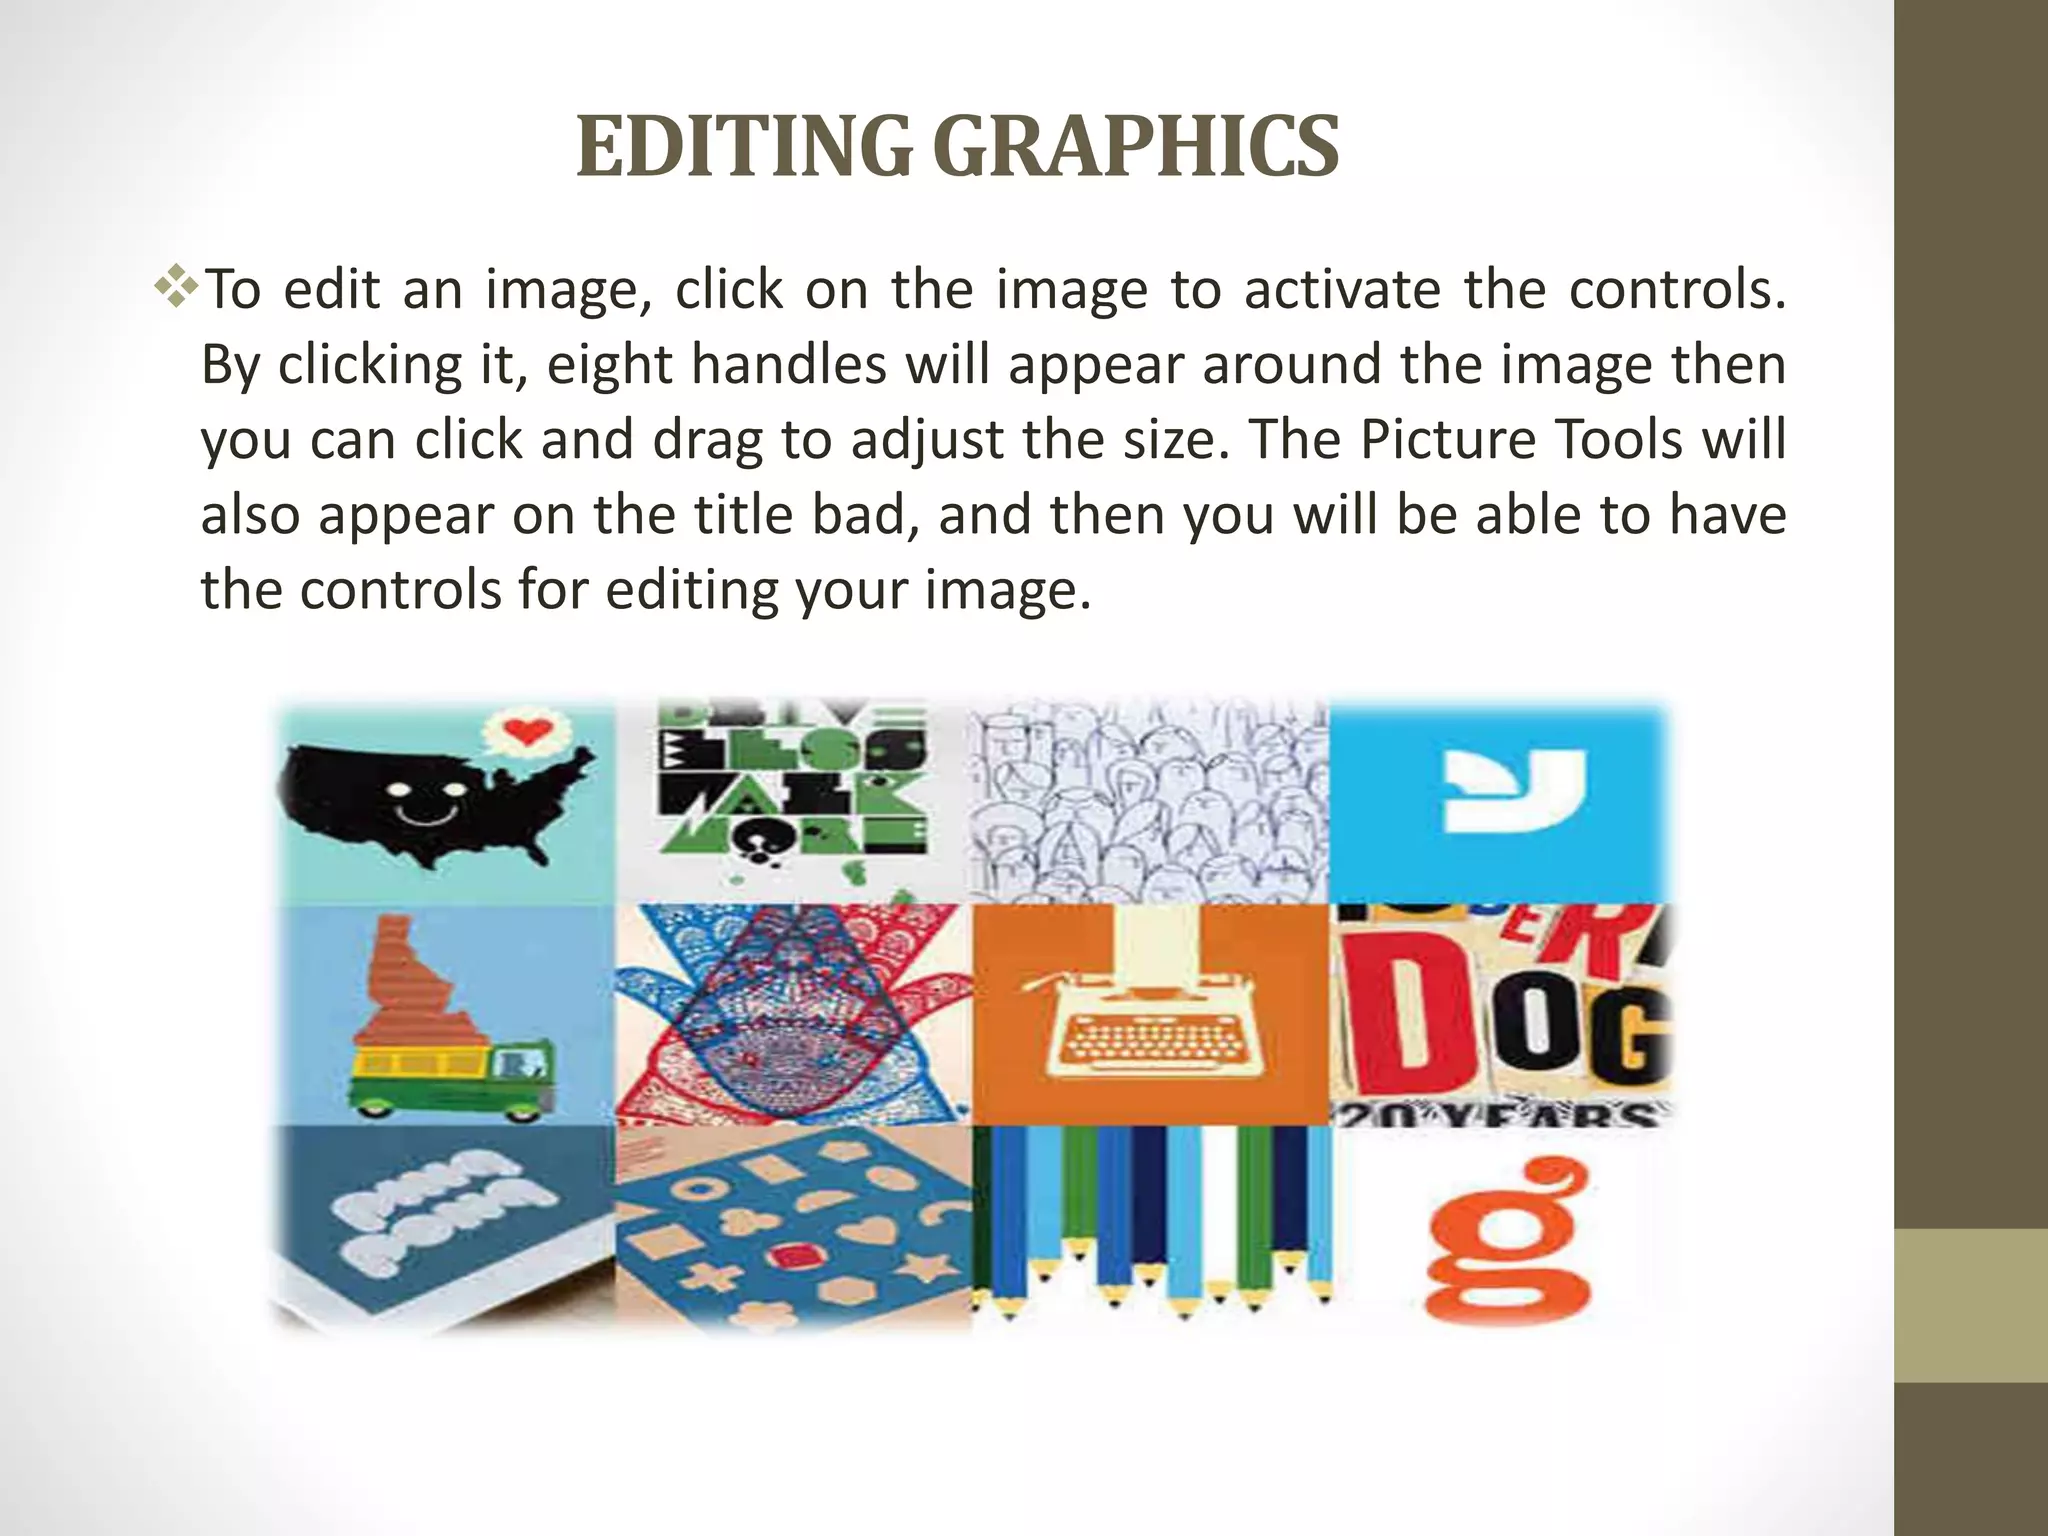
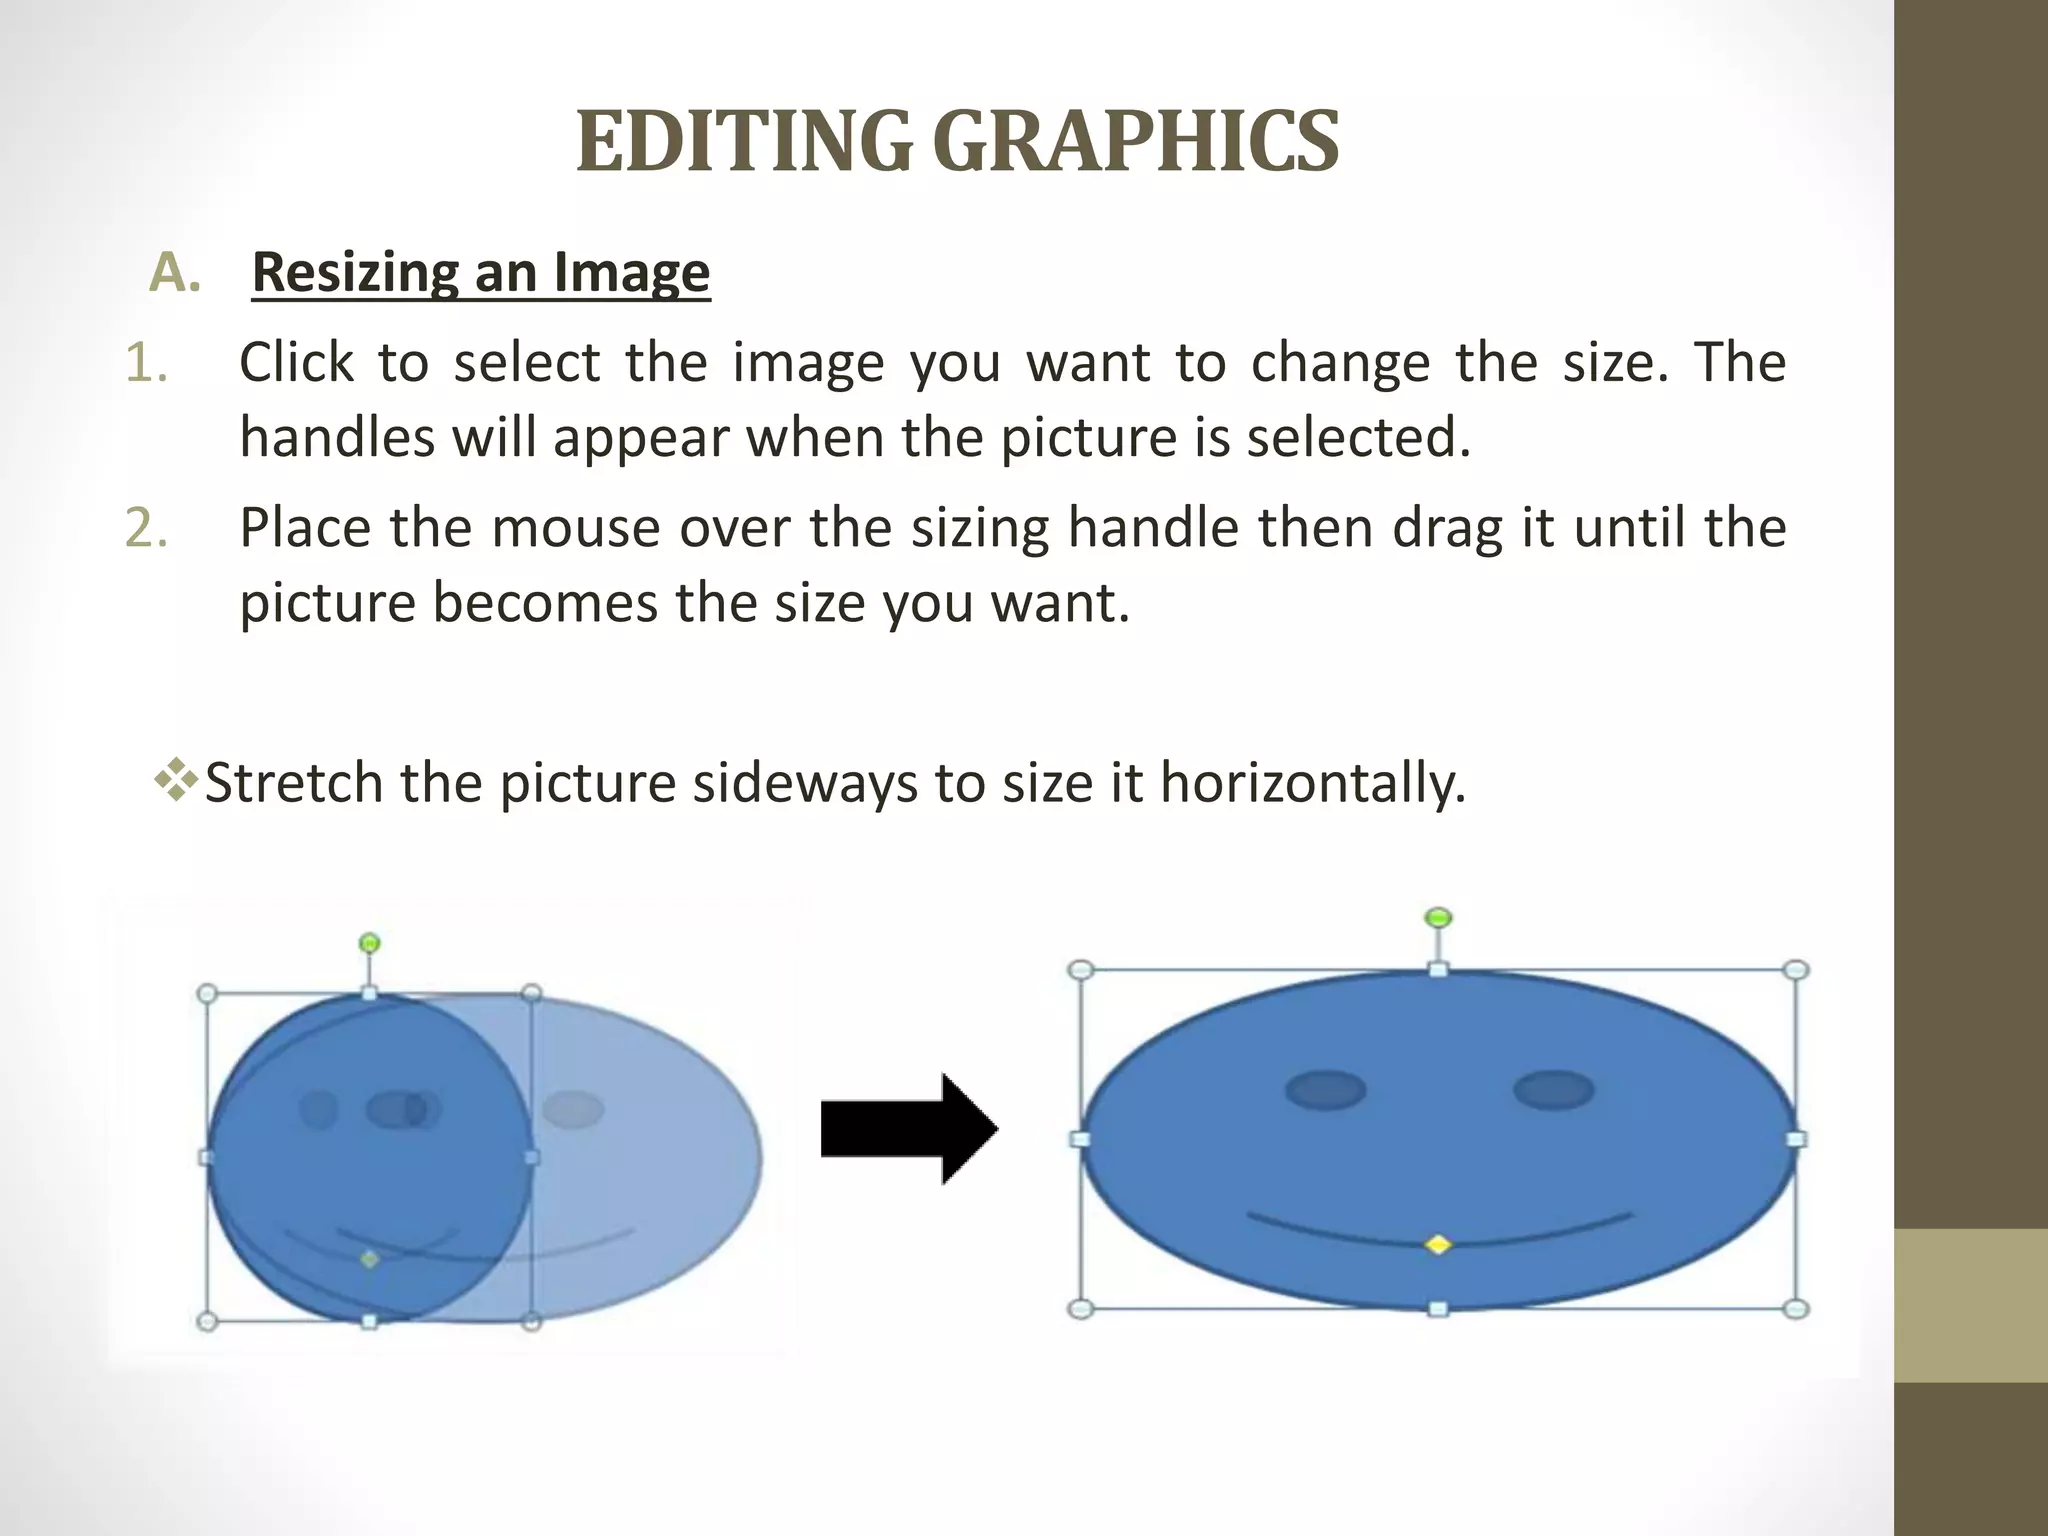
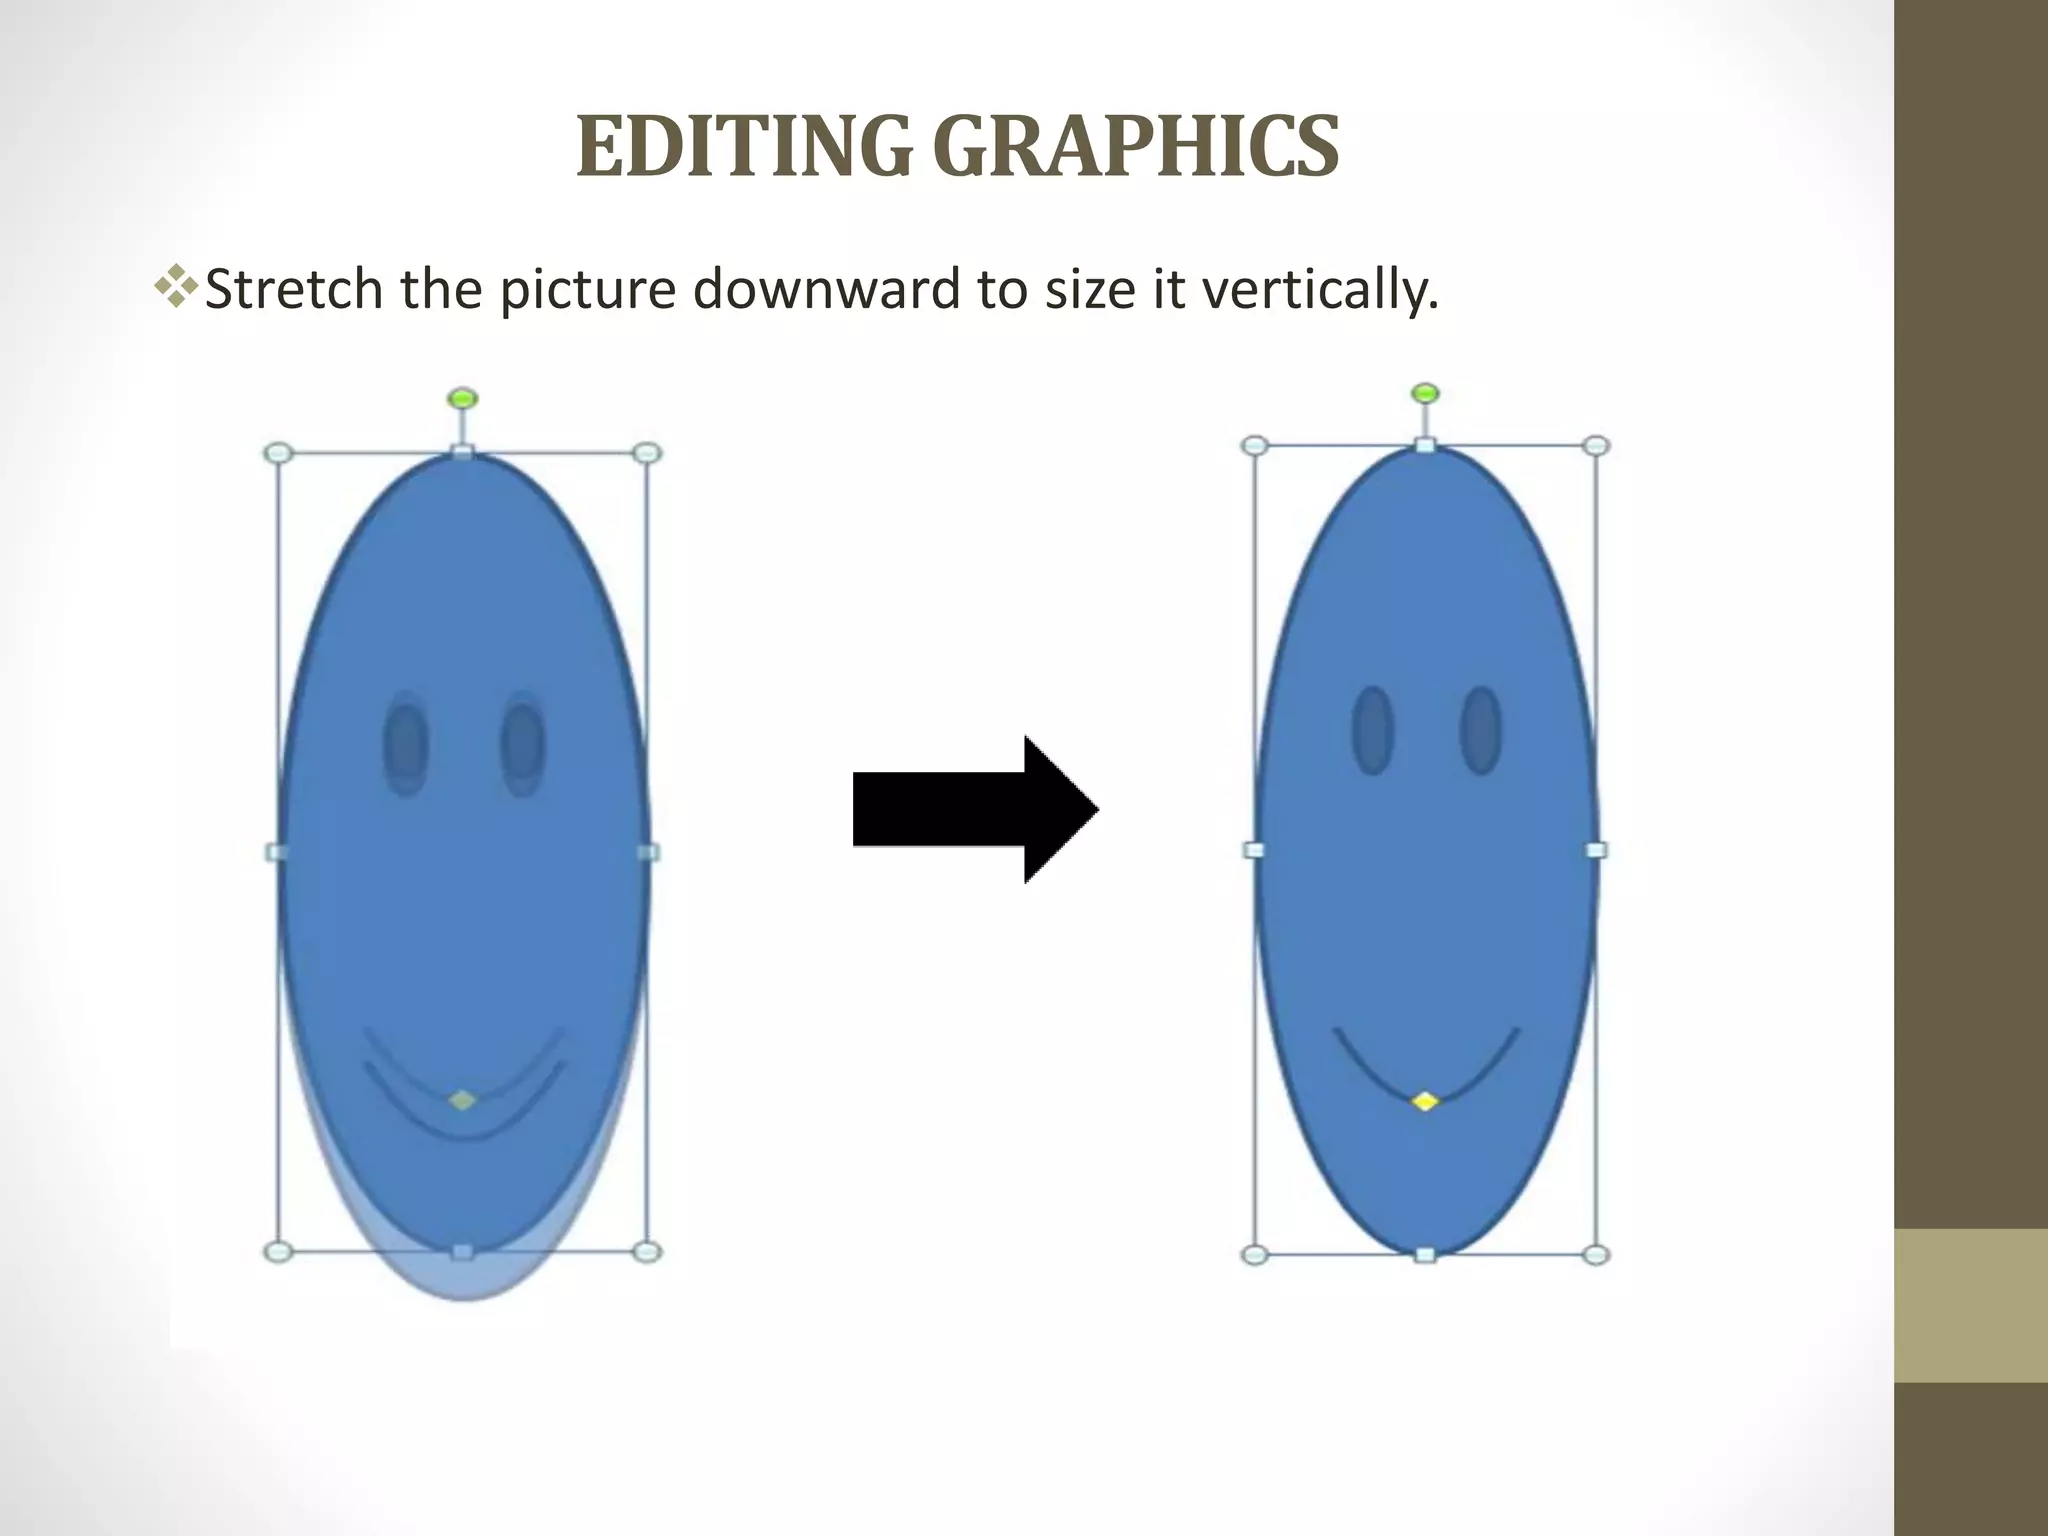
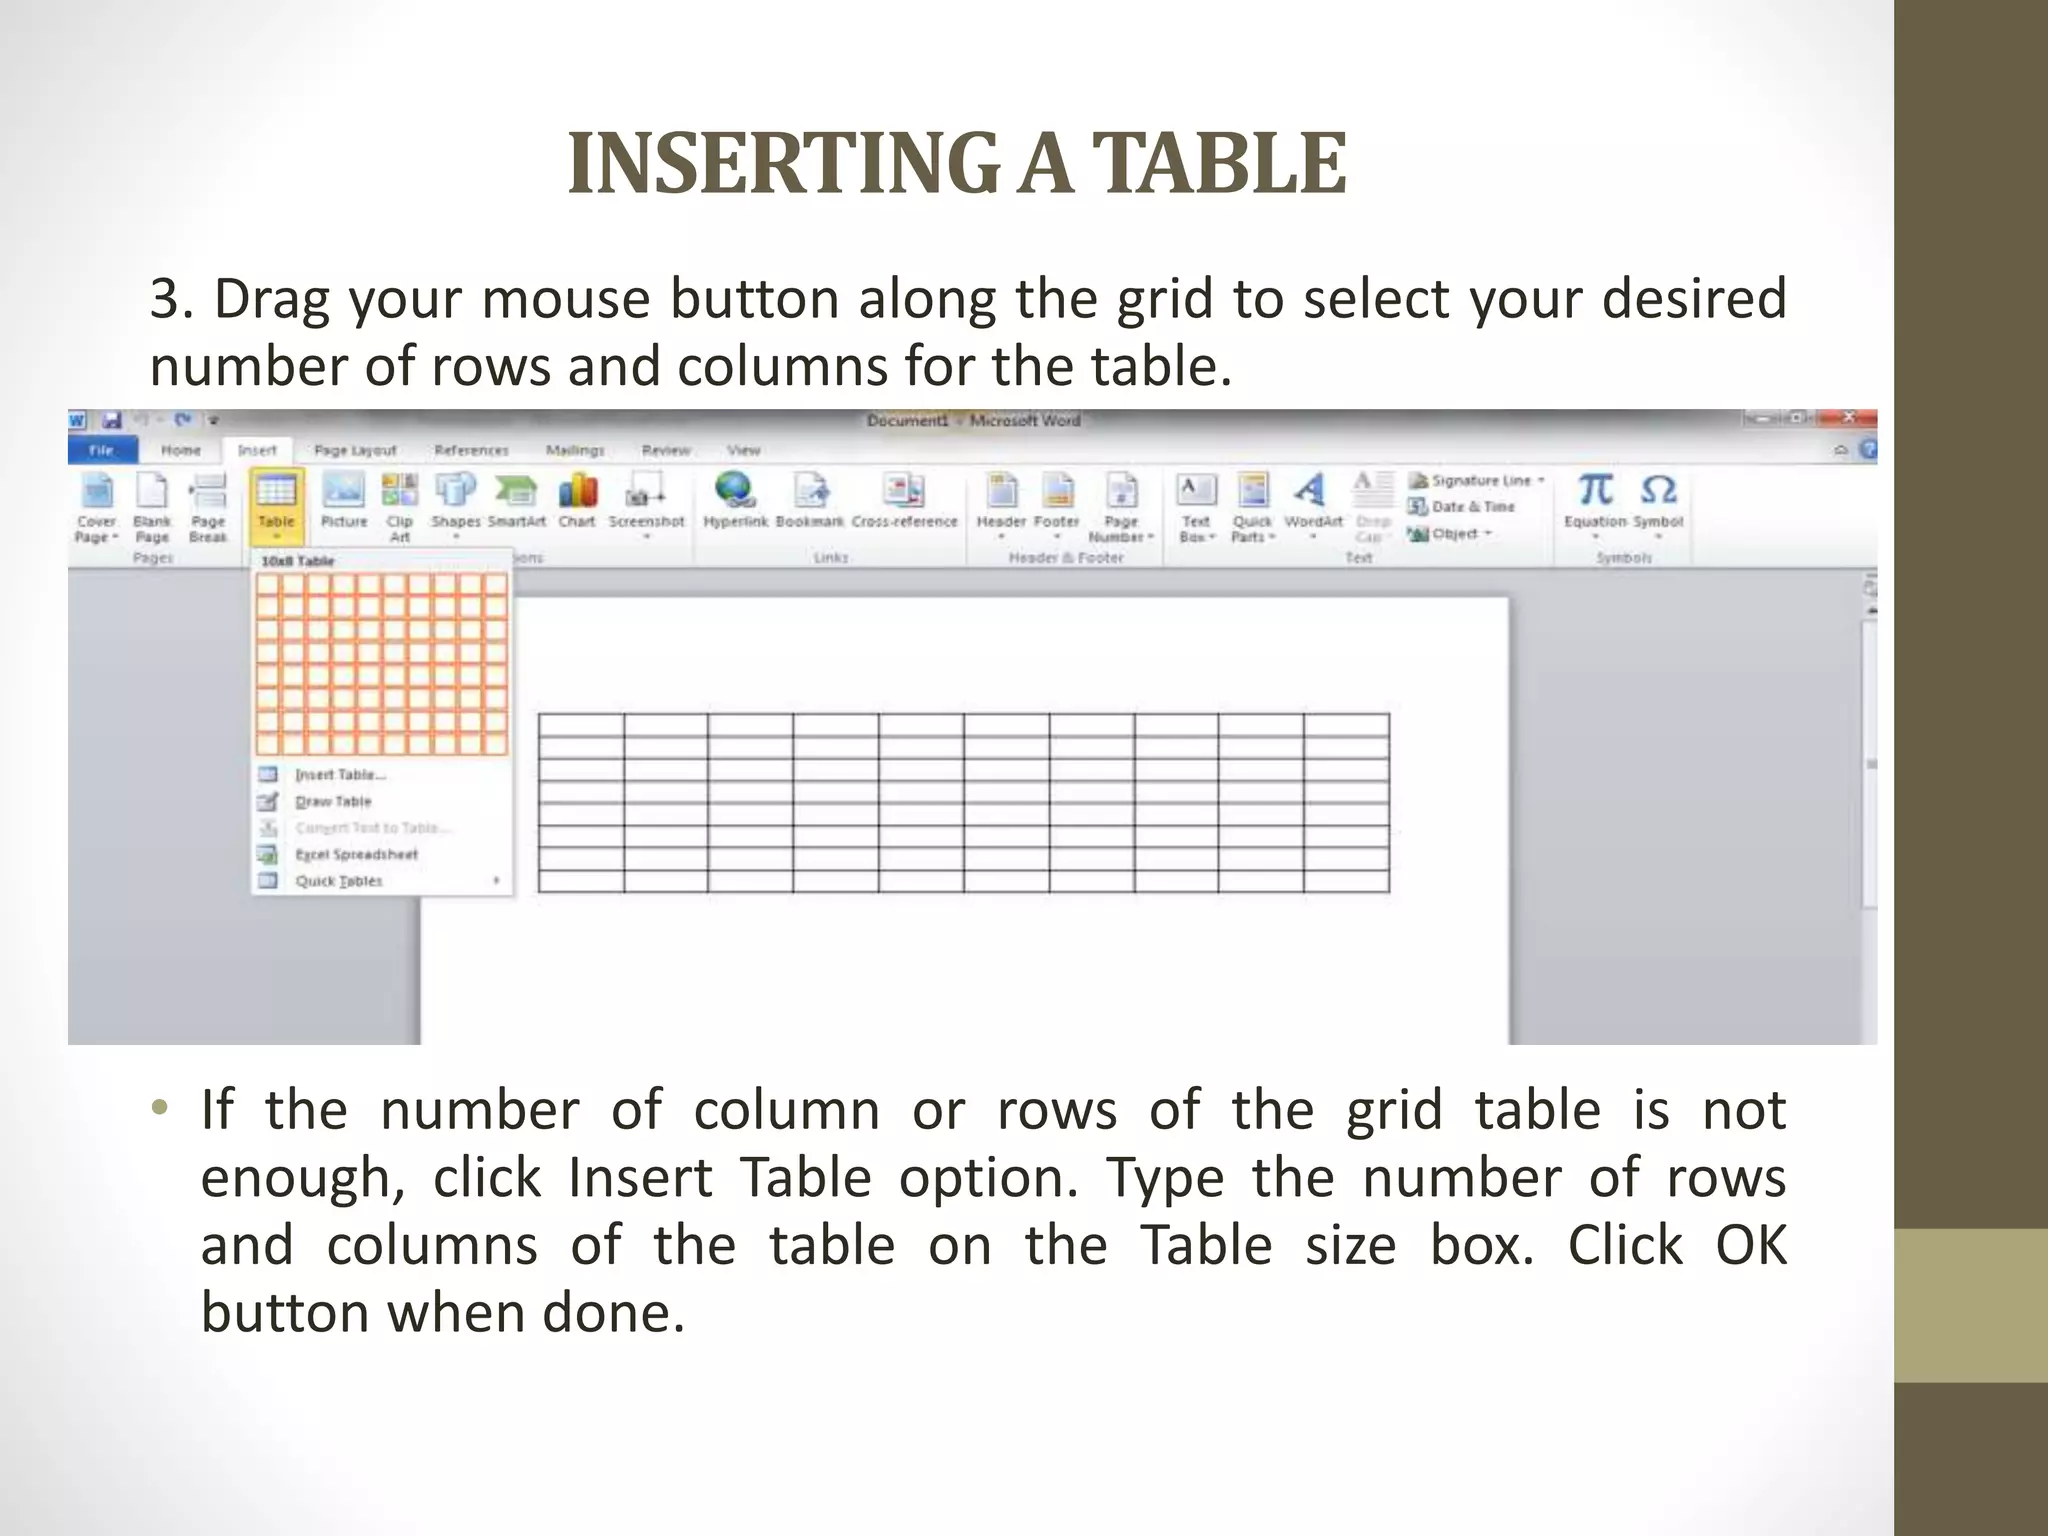
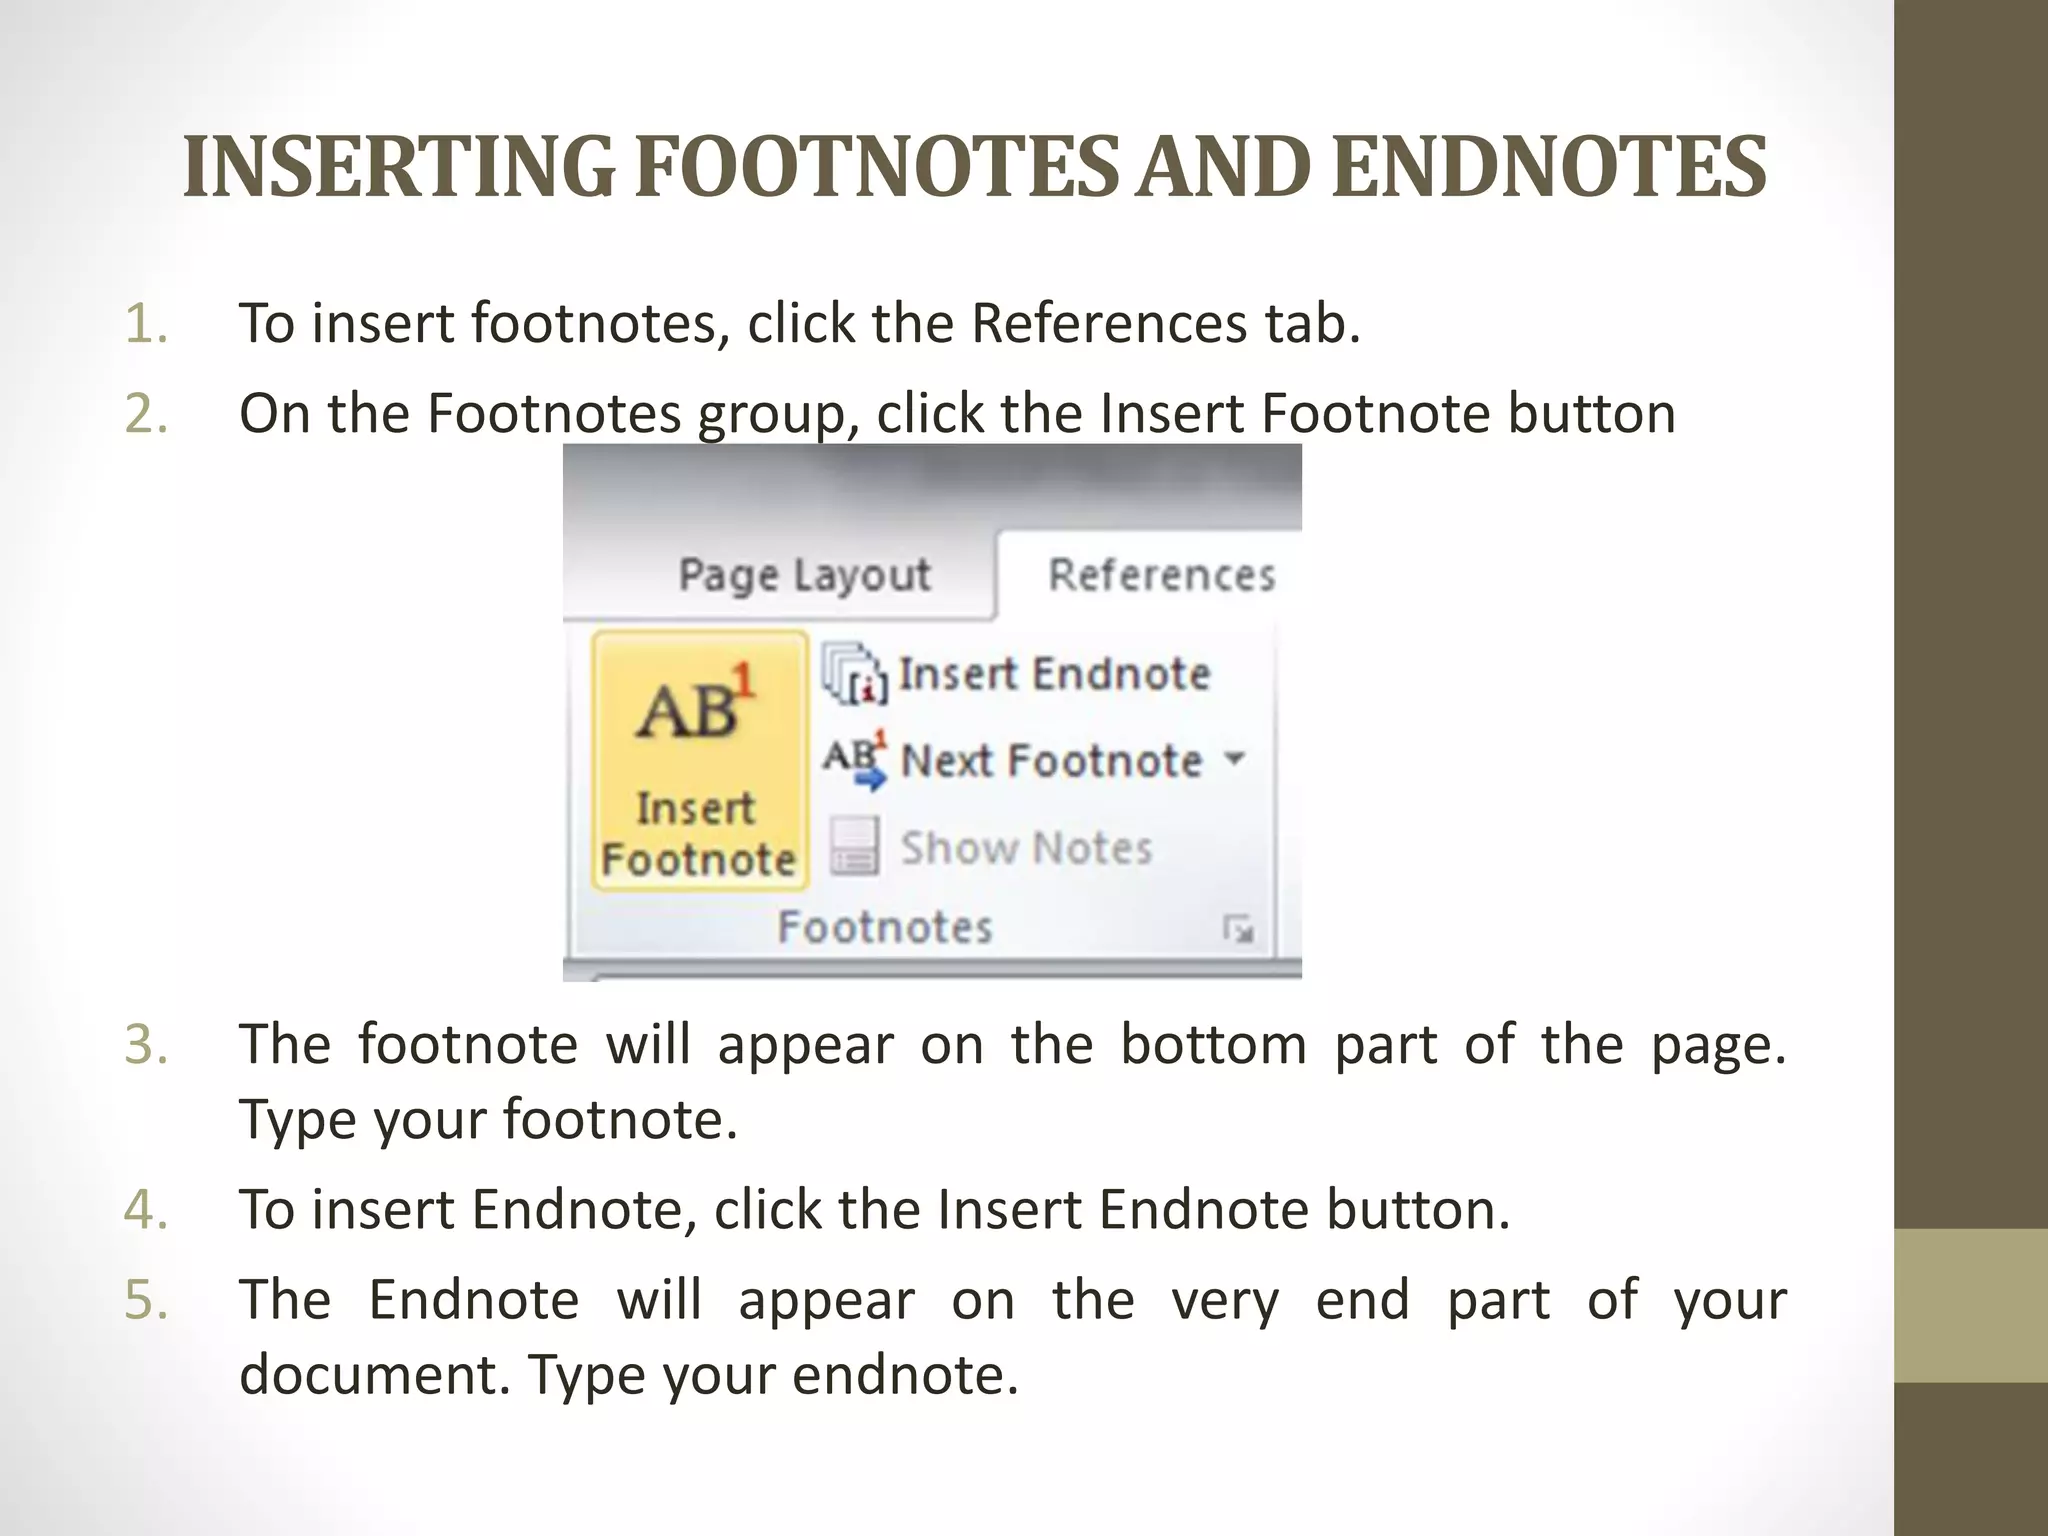
Techniques for inserting clip arts, pictures, and tables into documents along with footnotes and endnotes.
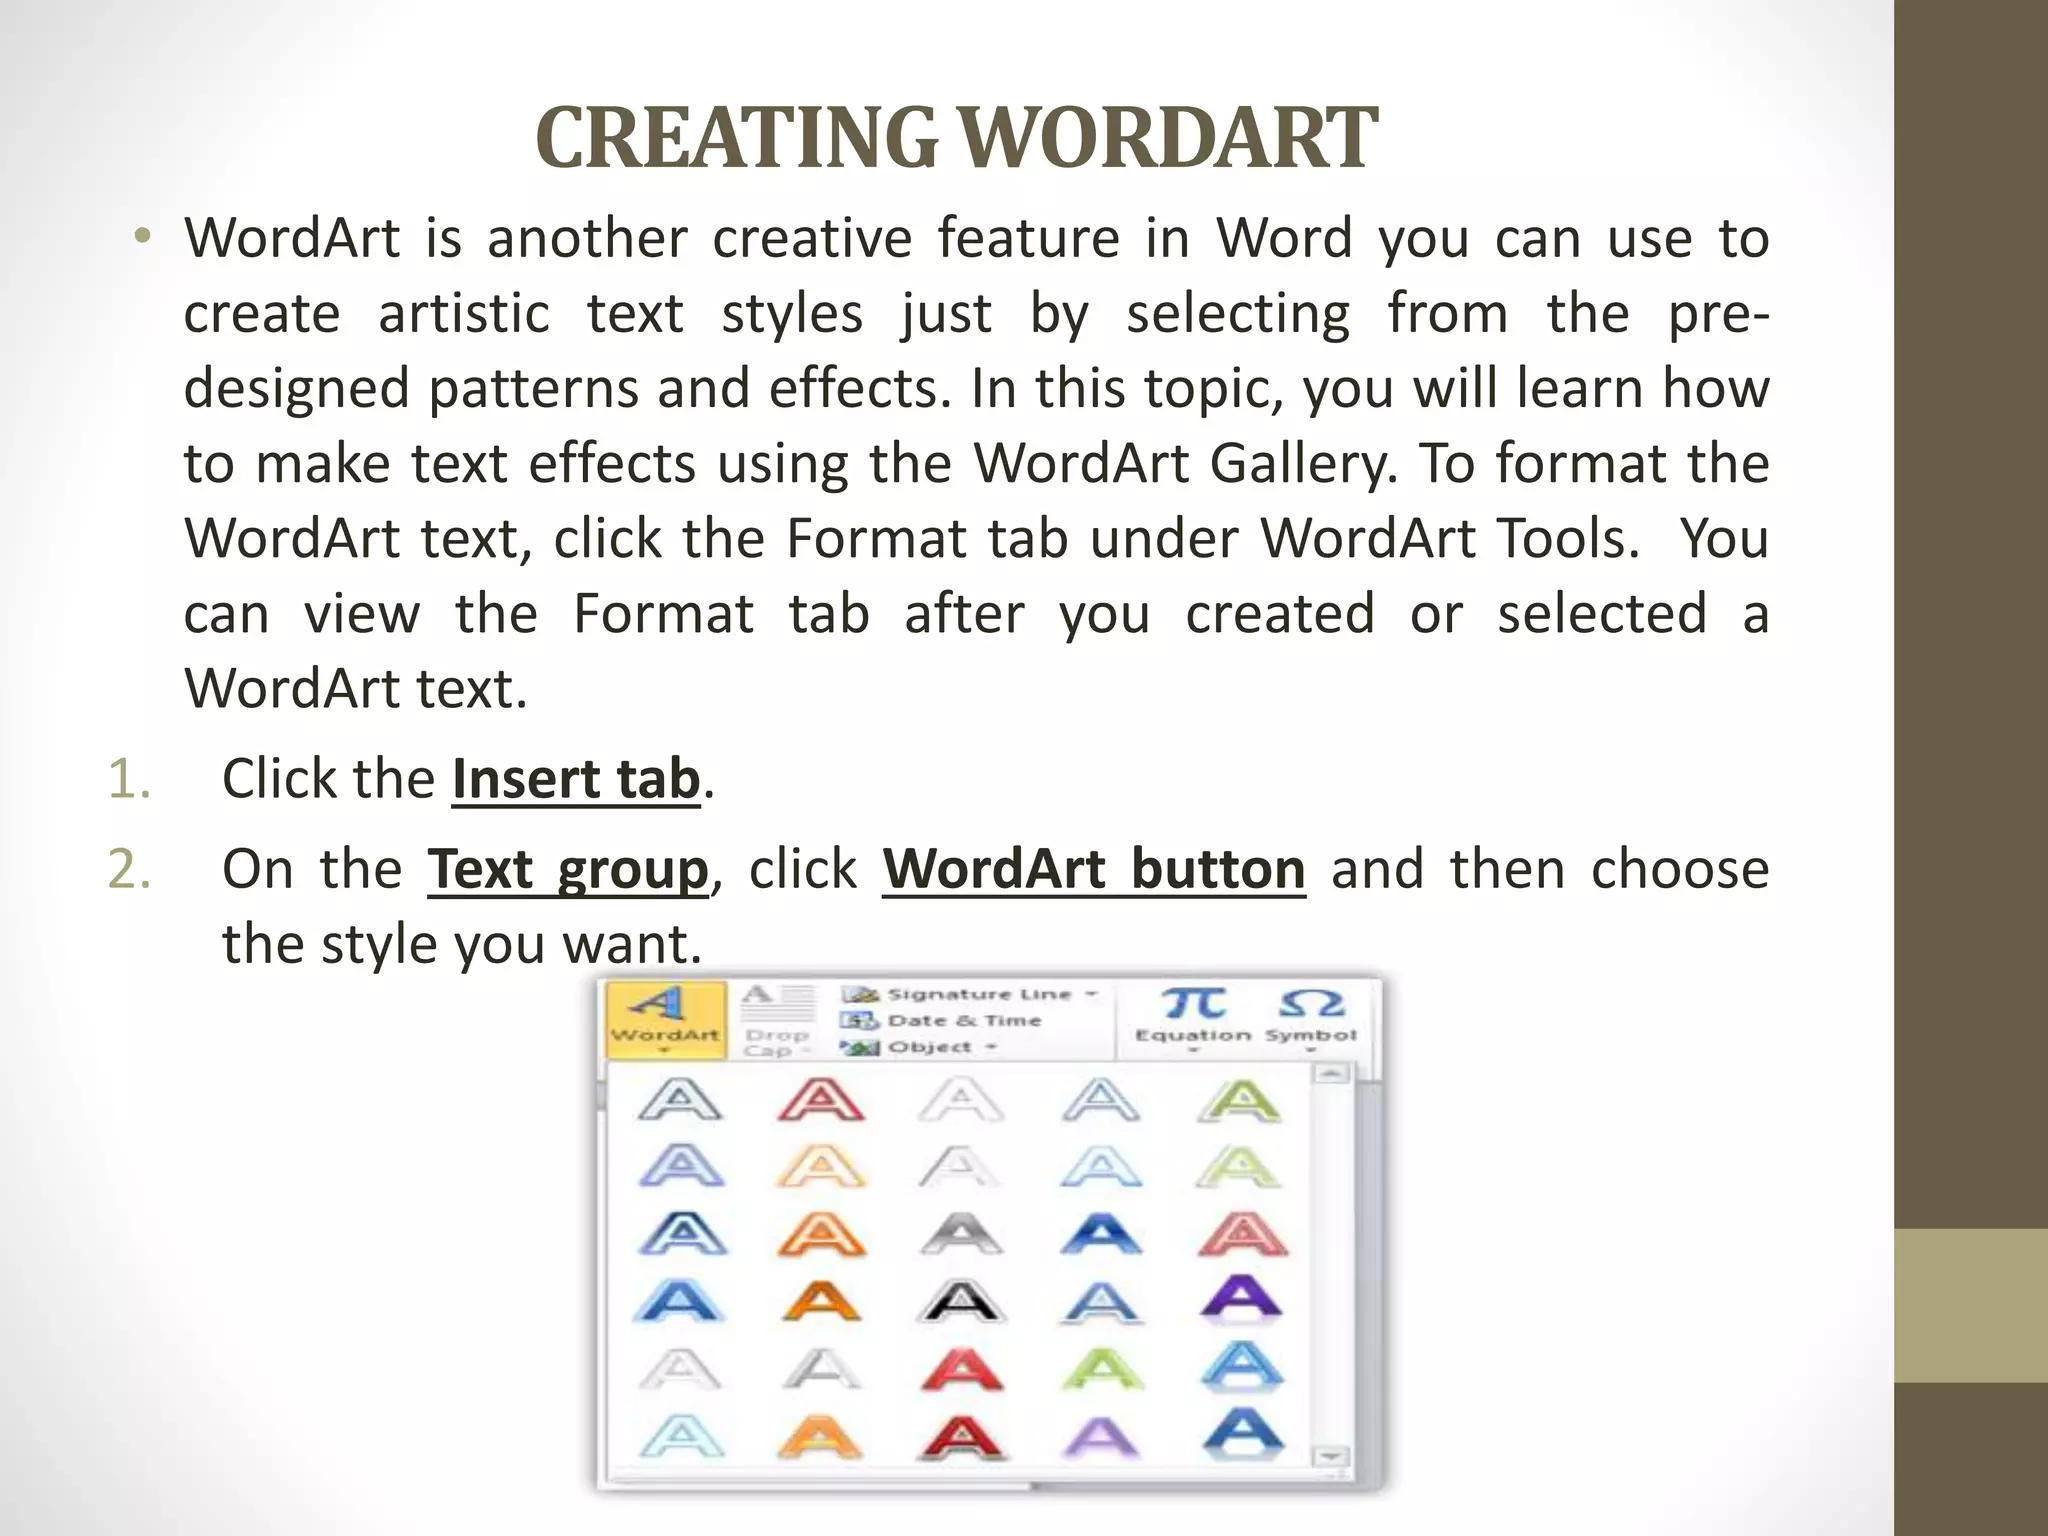
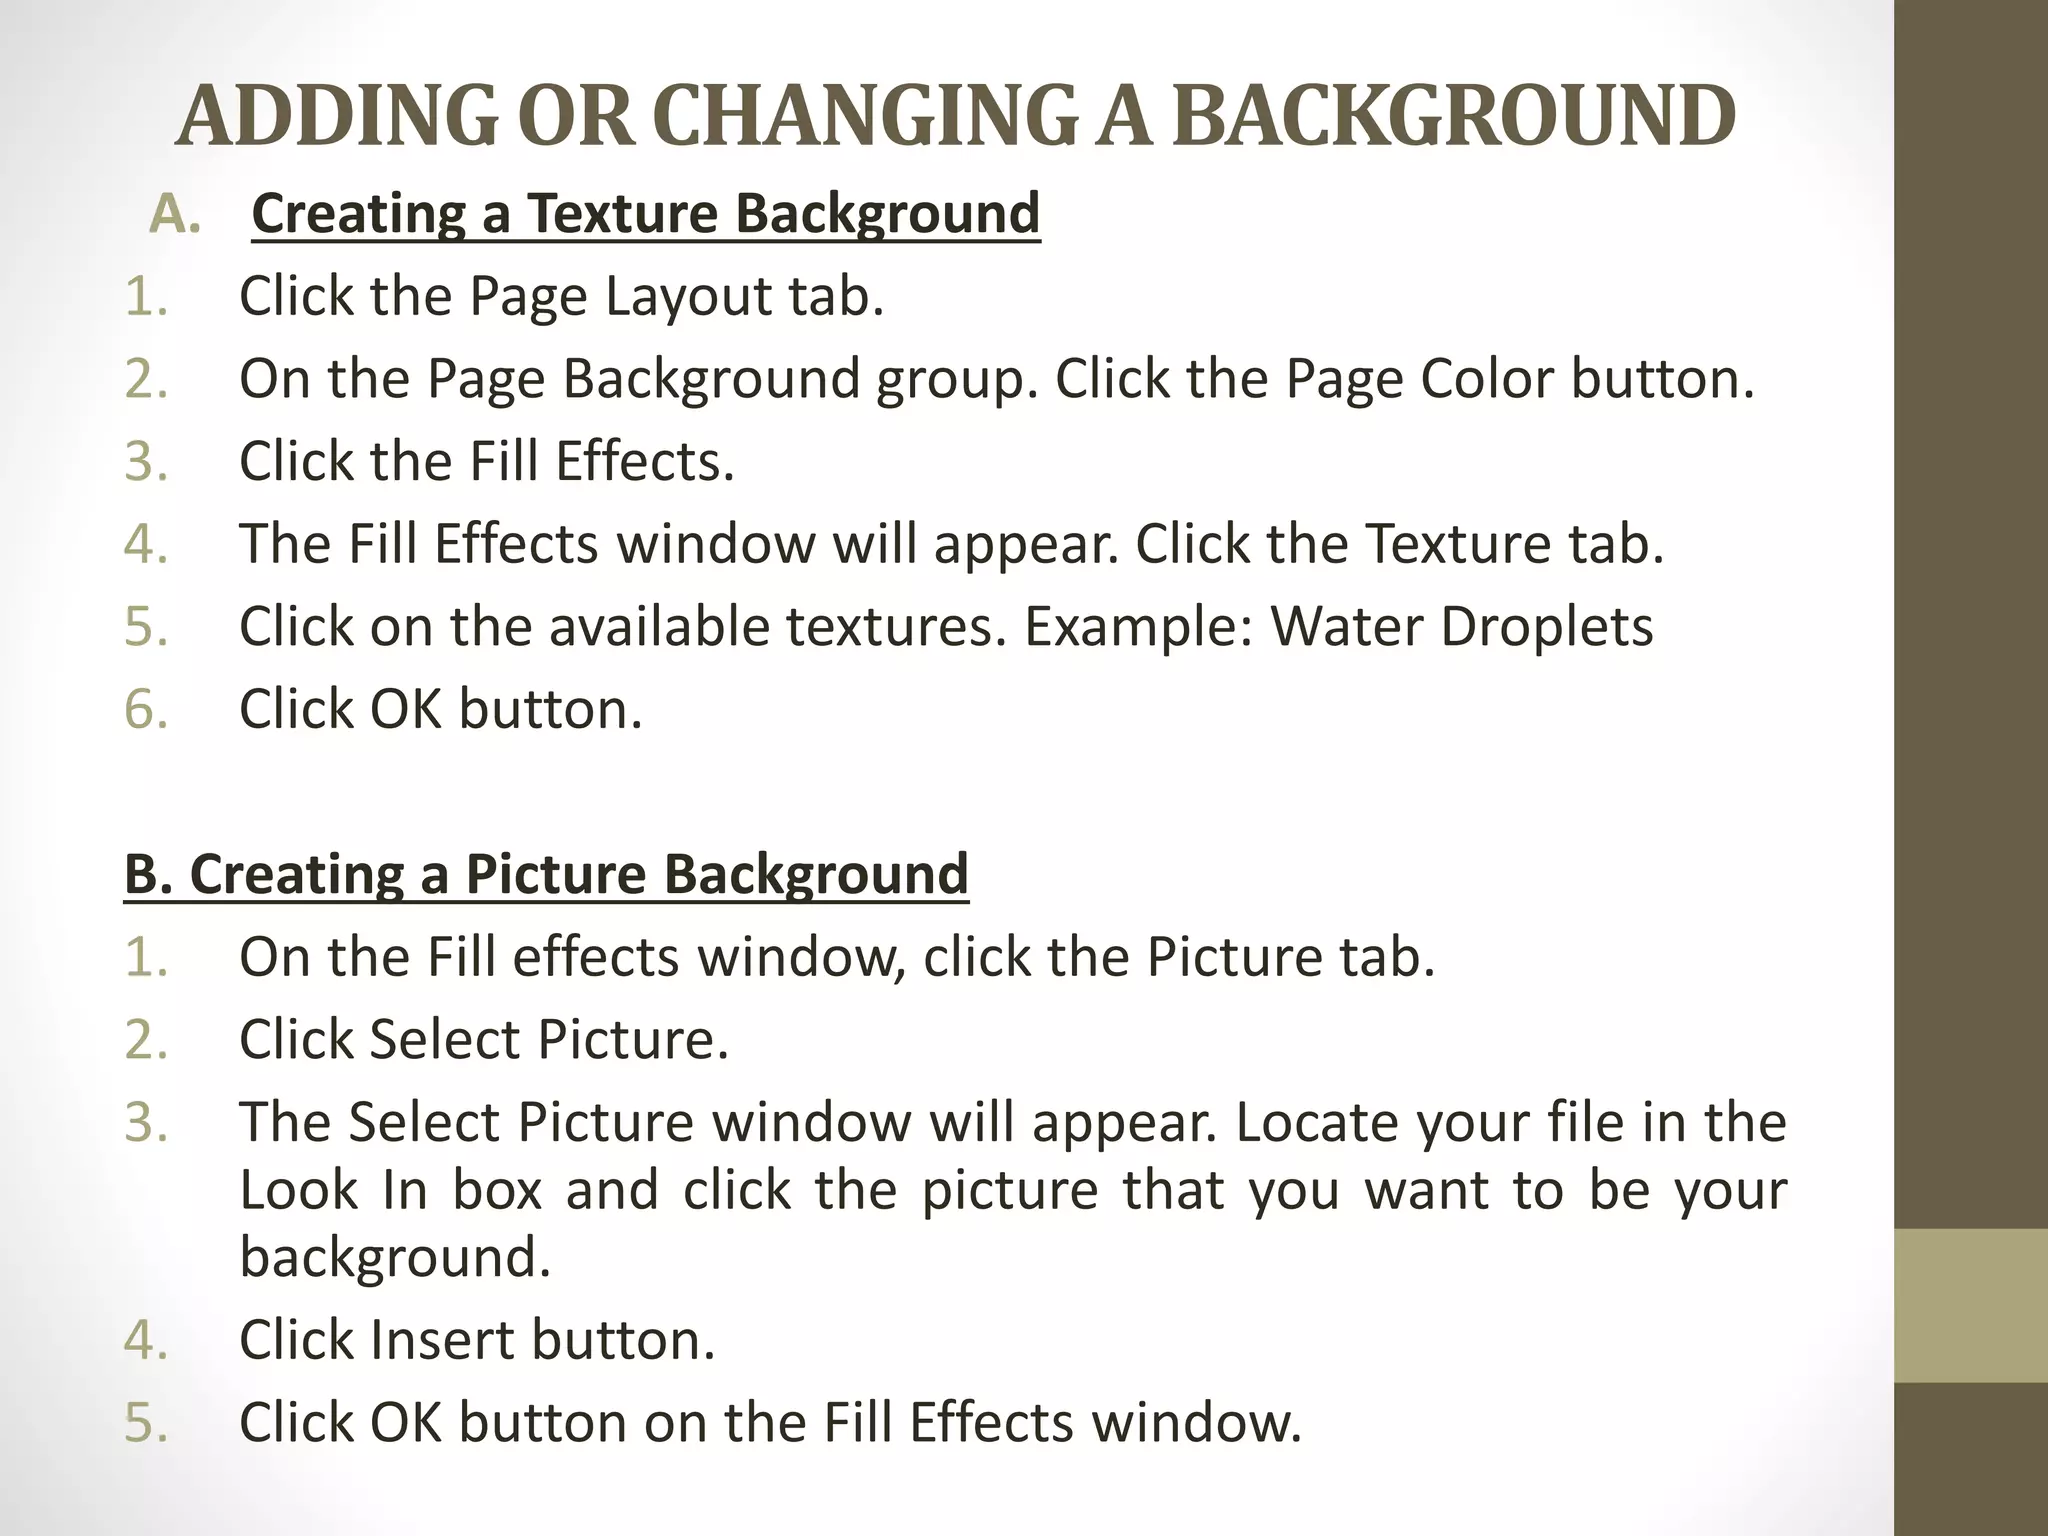
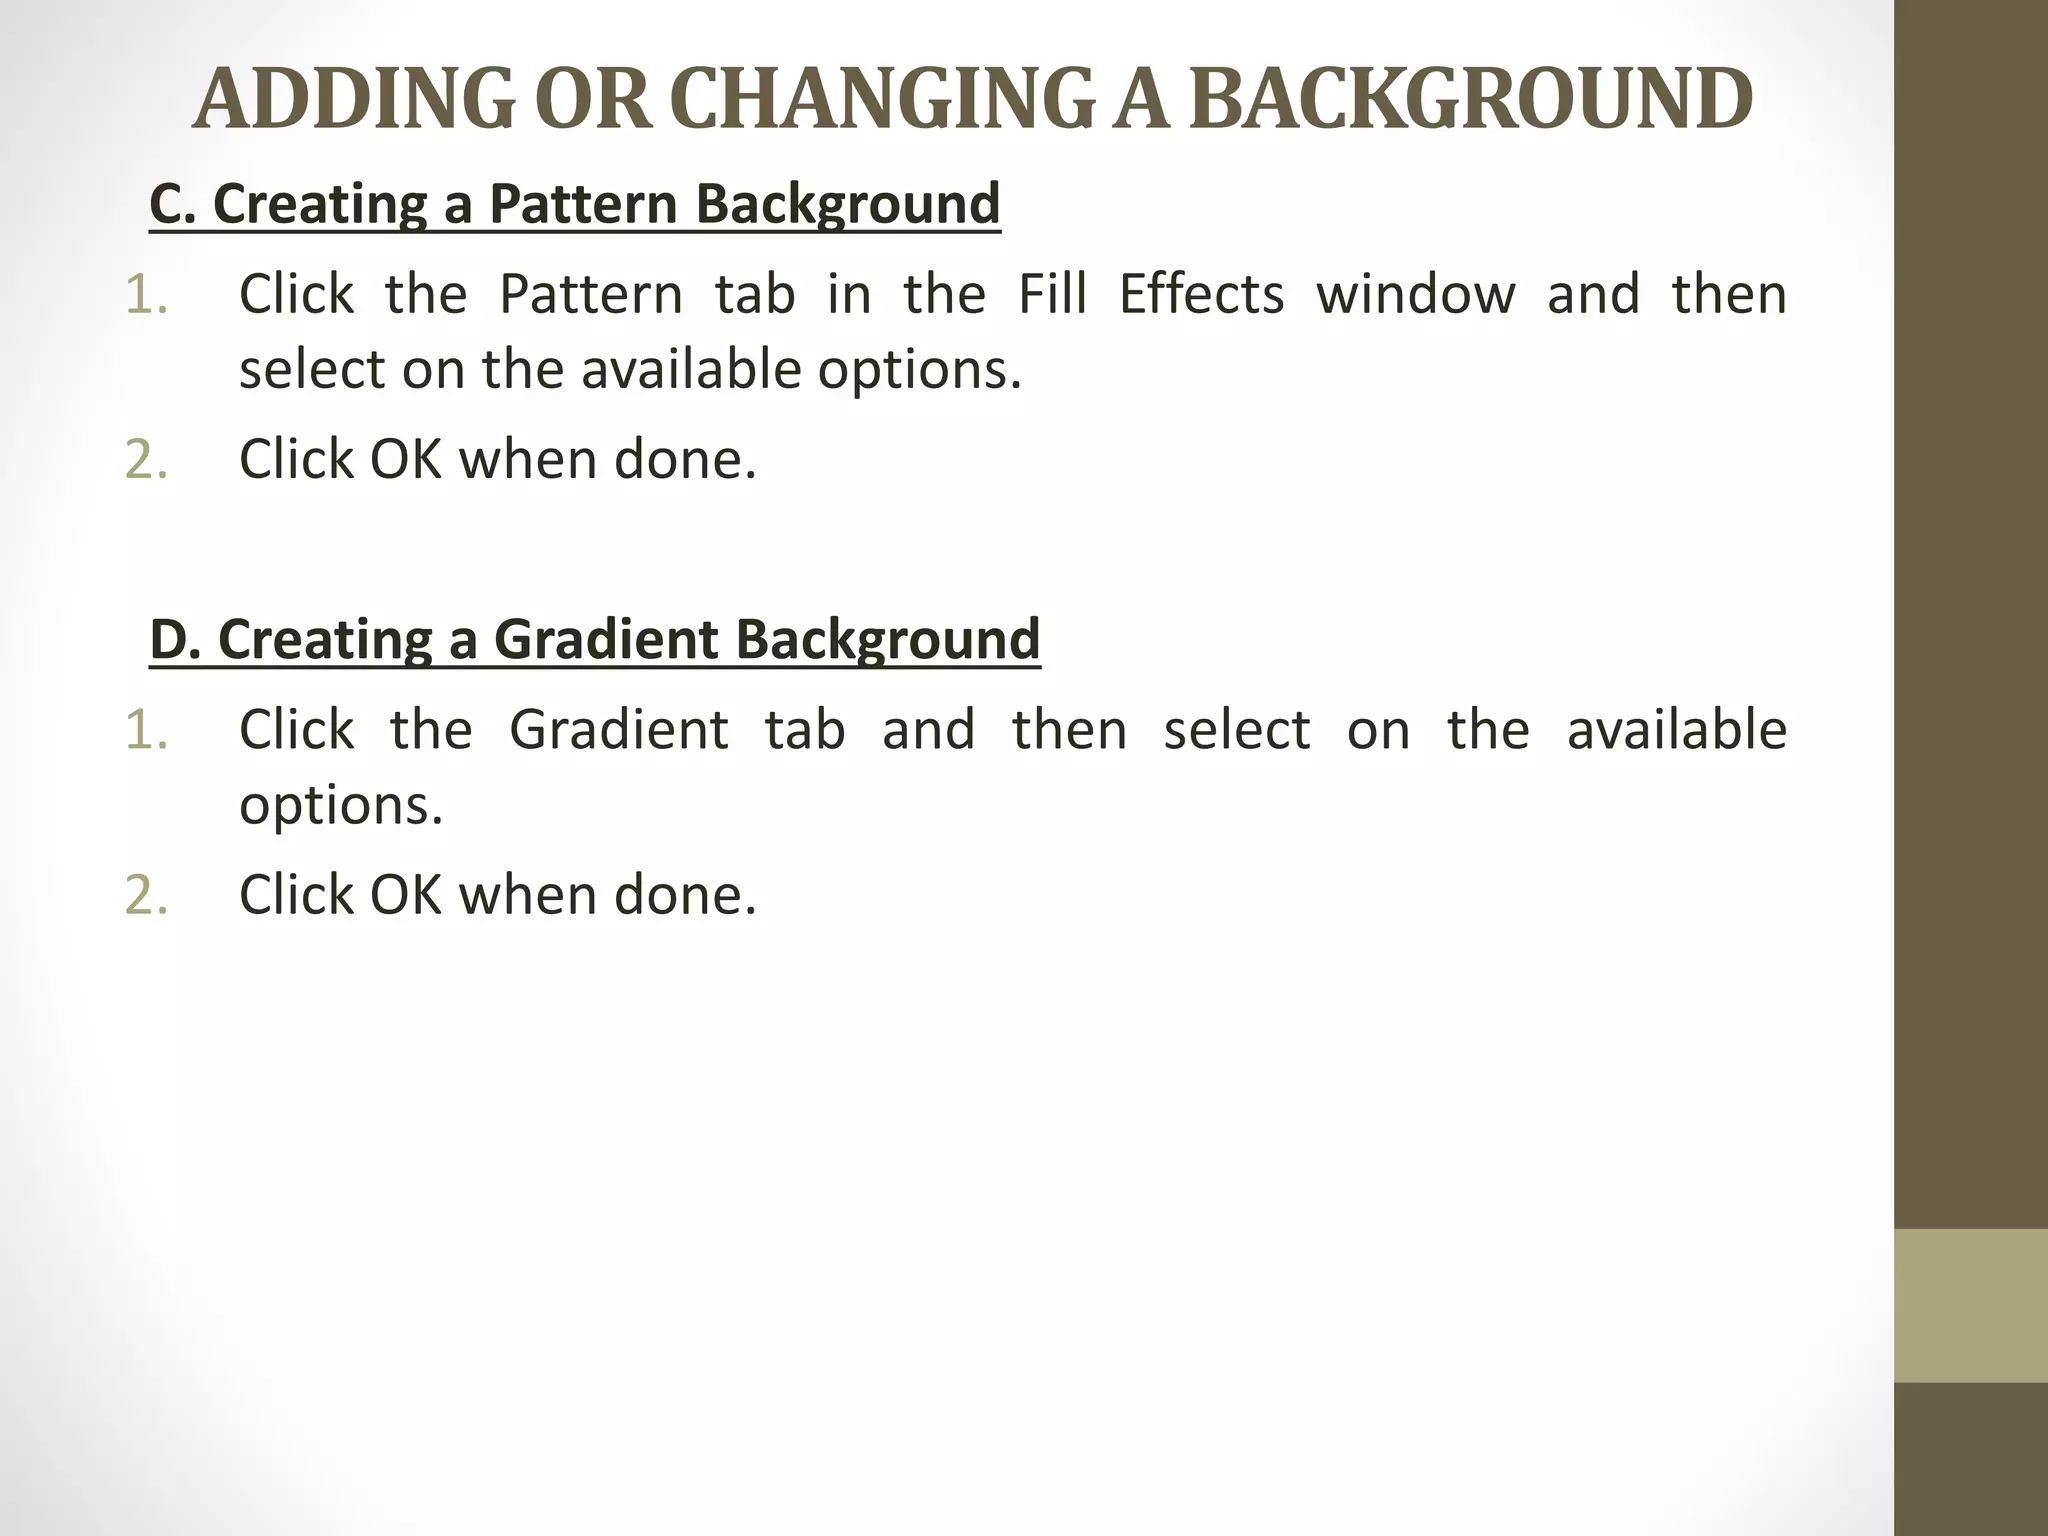
Creating WordArt and altering document backgrounds with textures, pictures, patterns, and gradients.
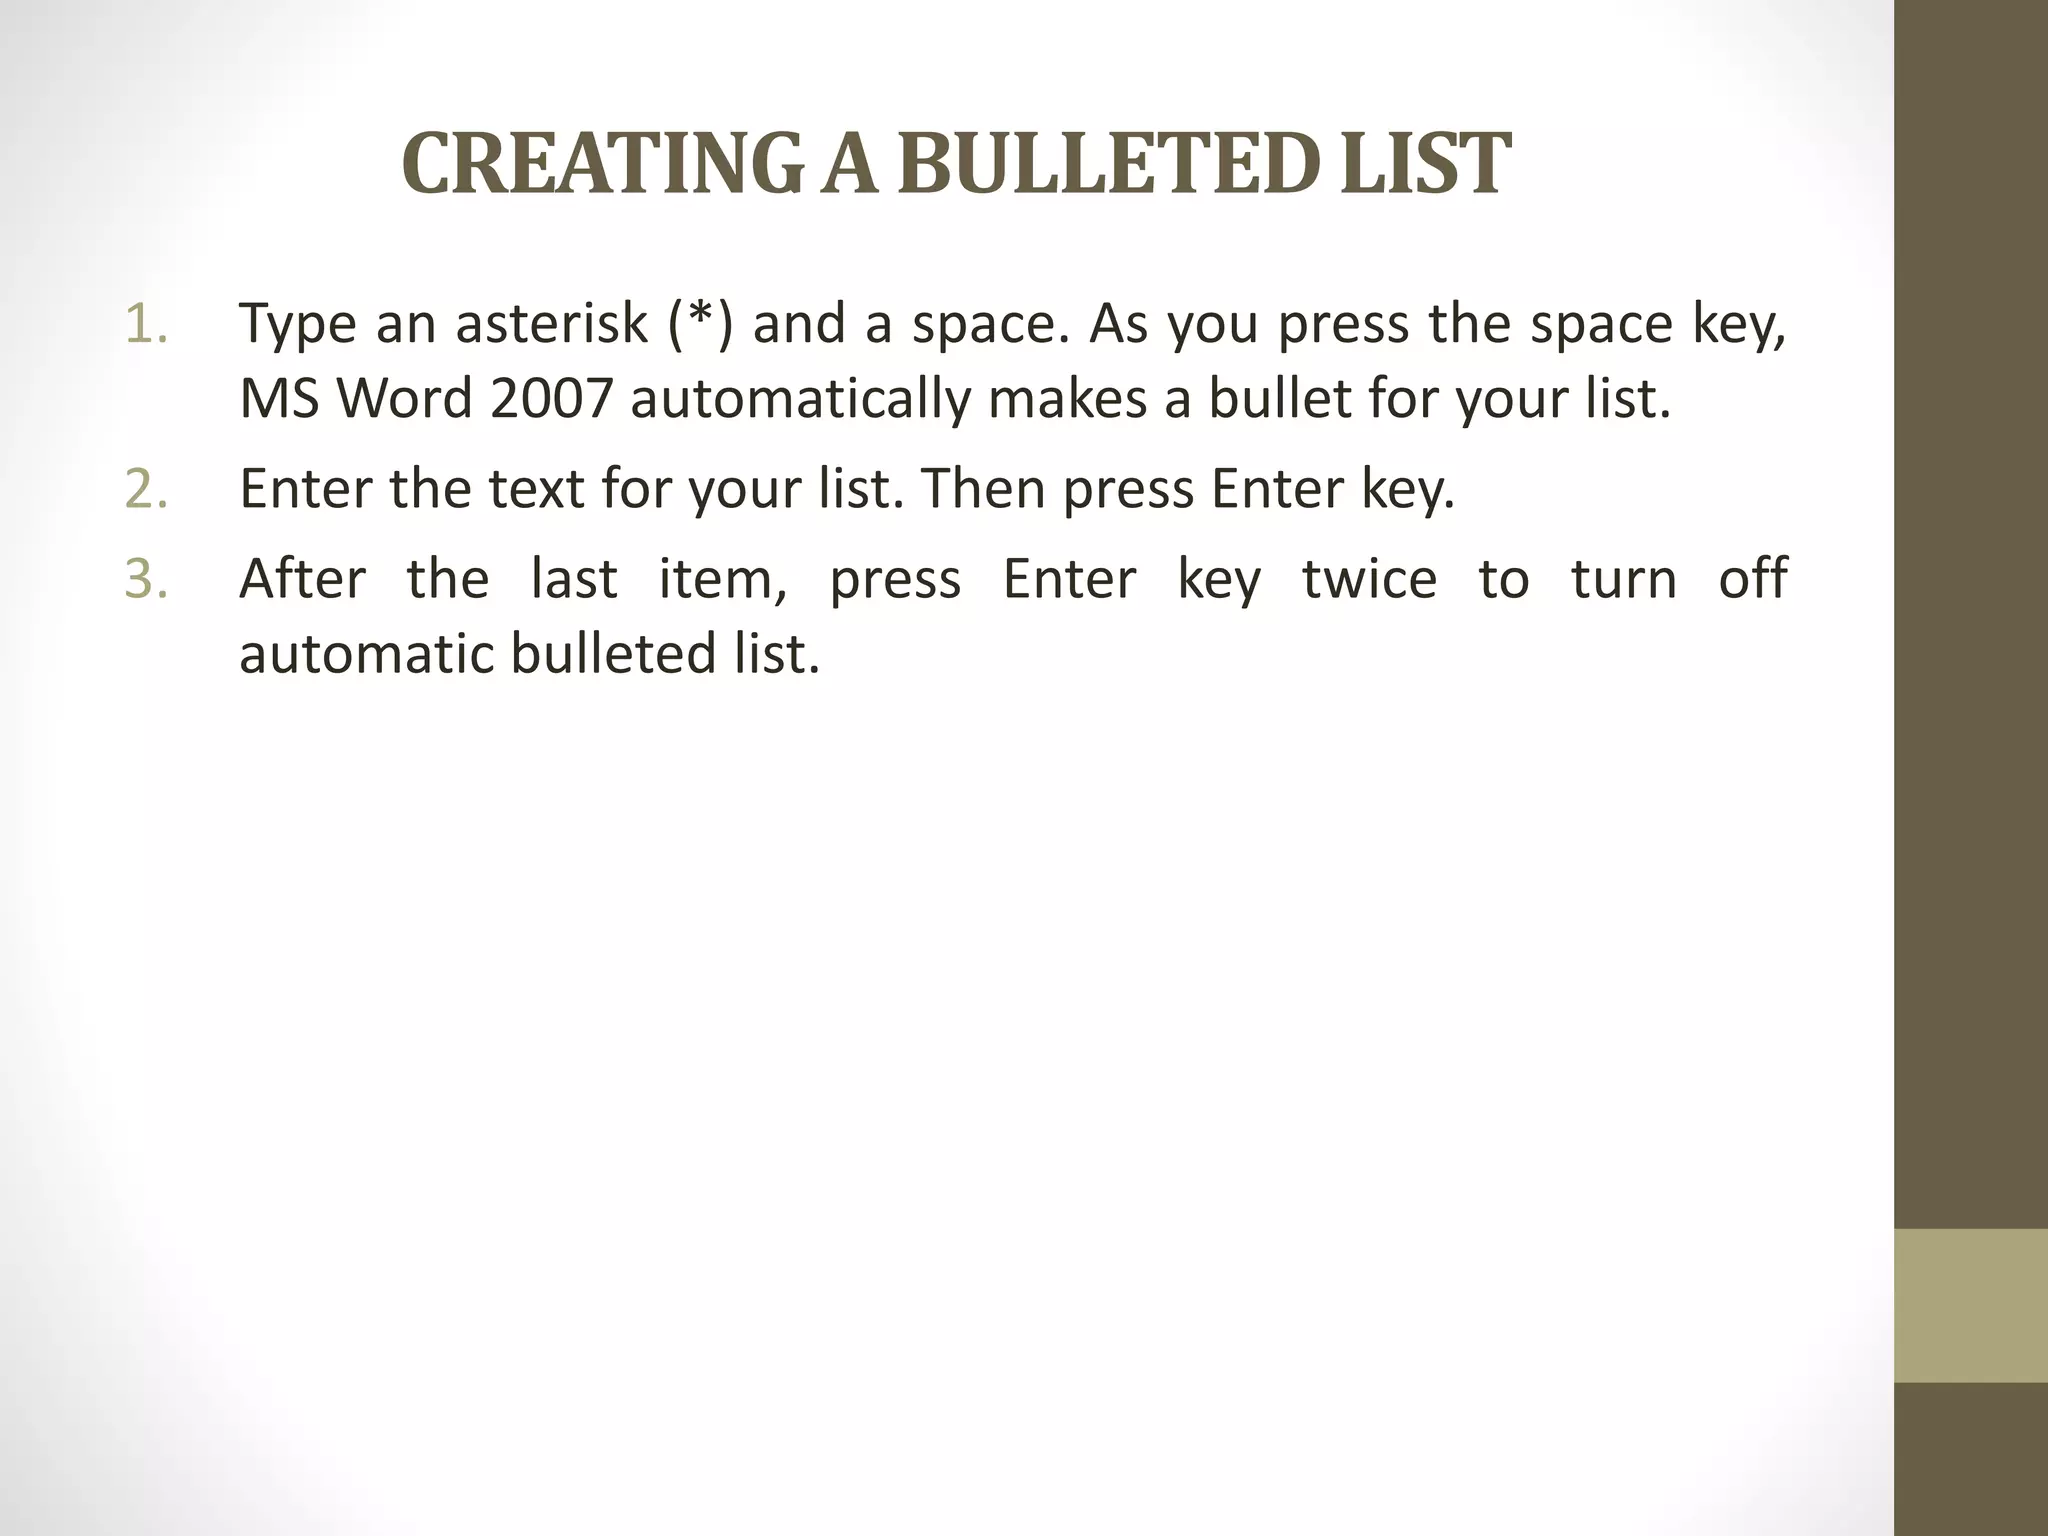
Instructions on how to create bulleted lists using asterisks in Word.